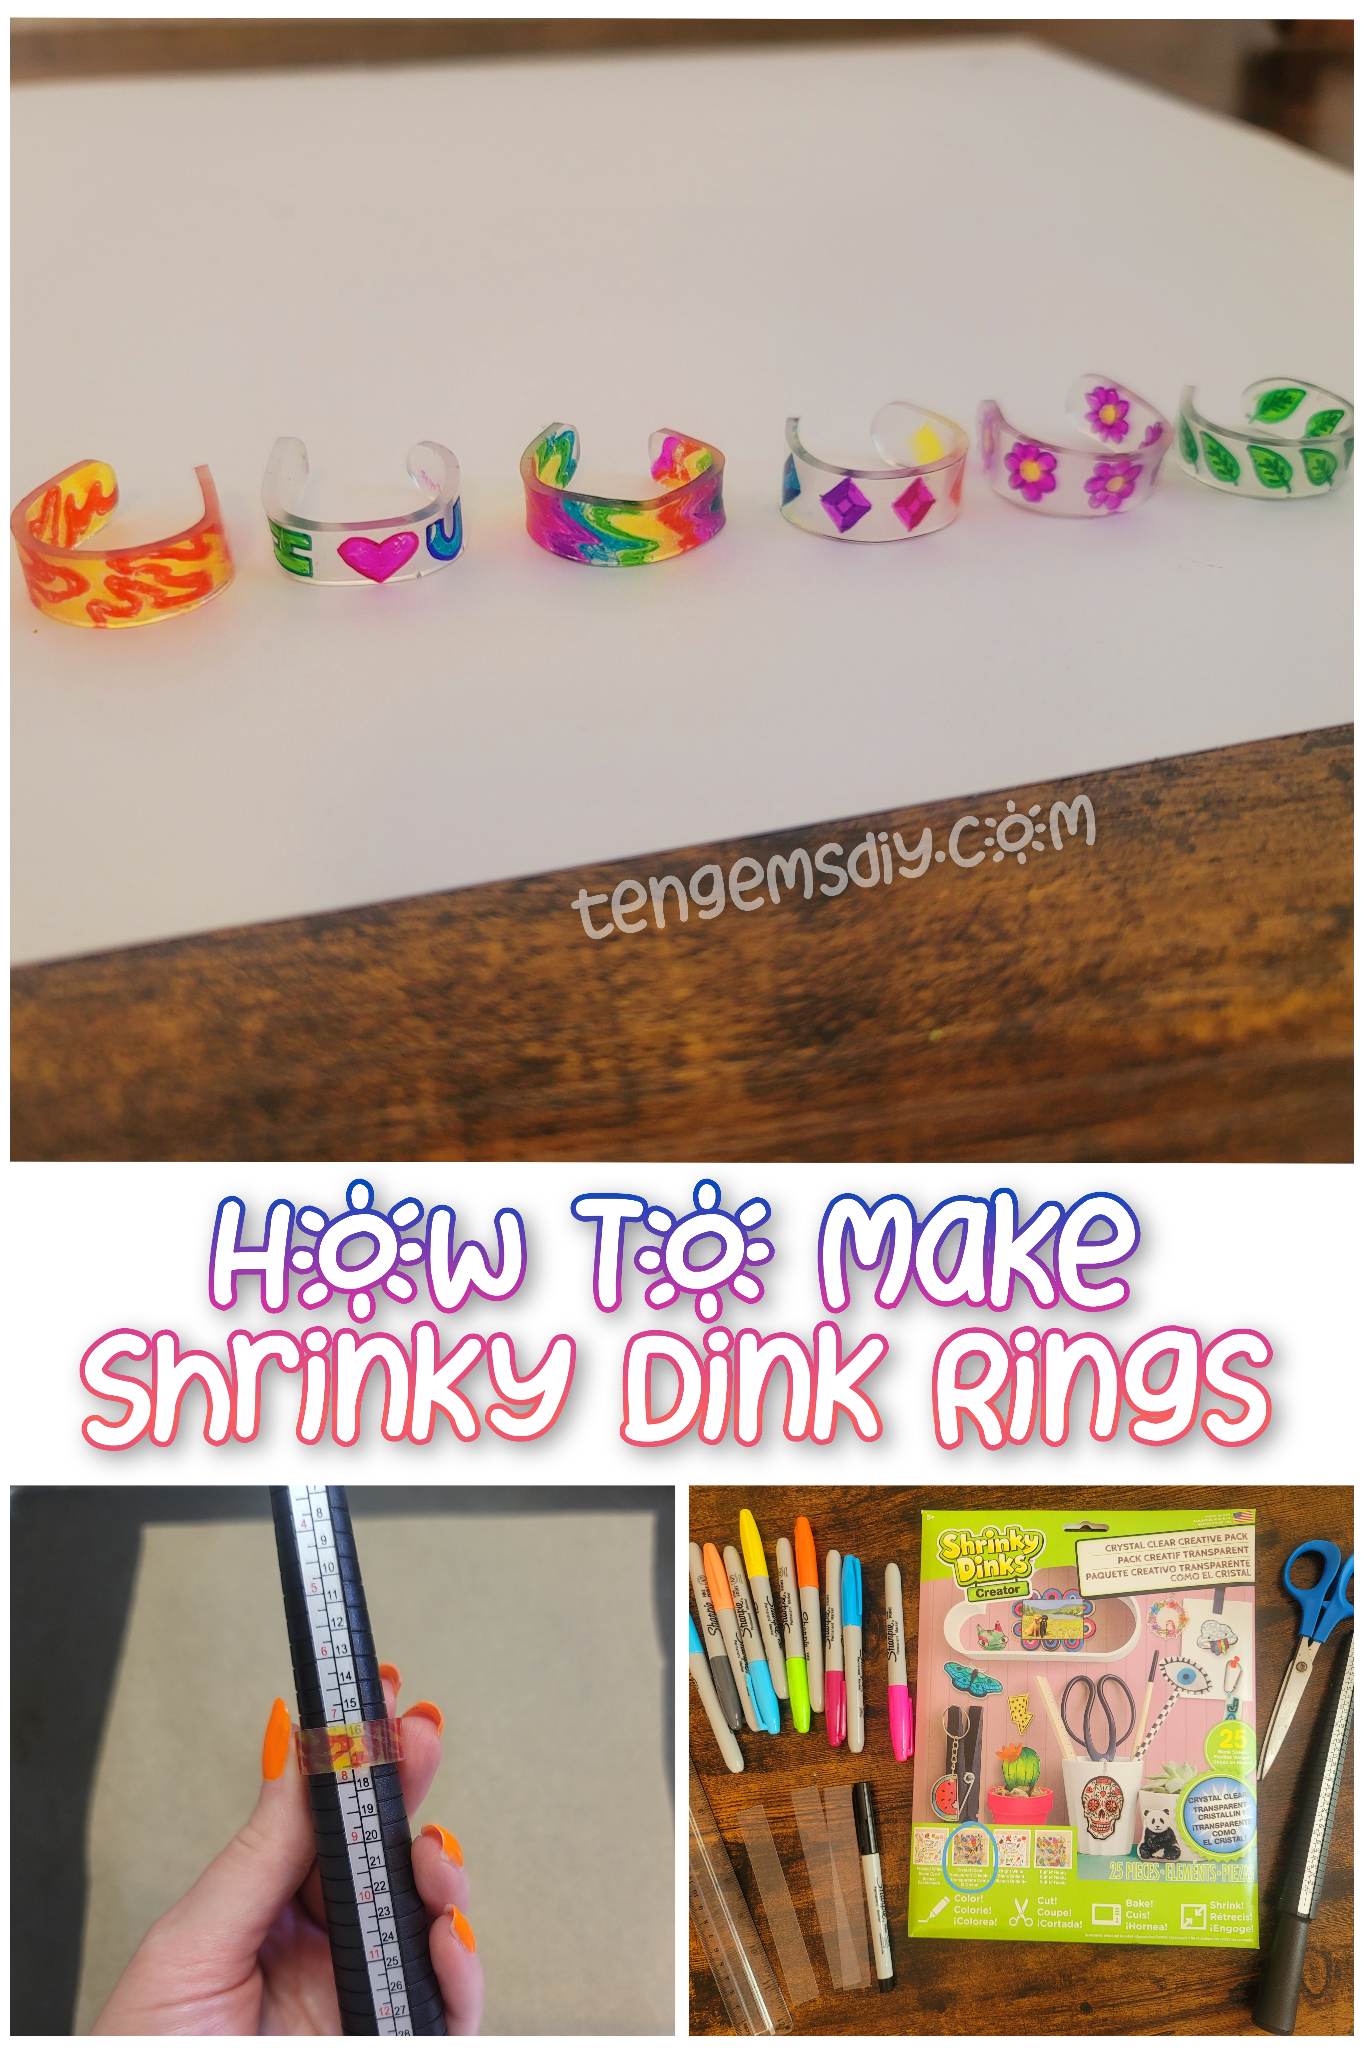
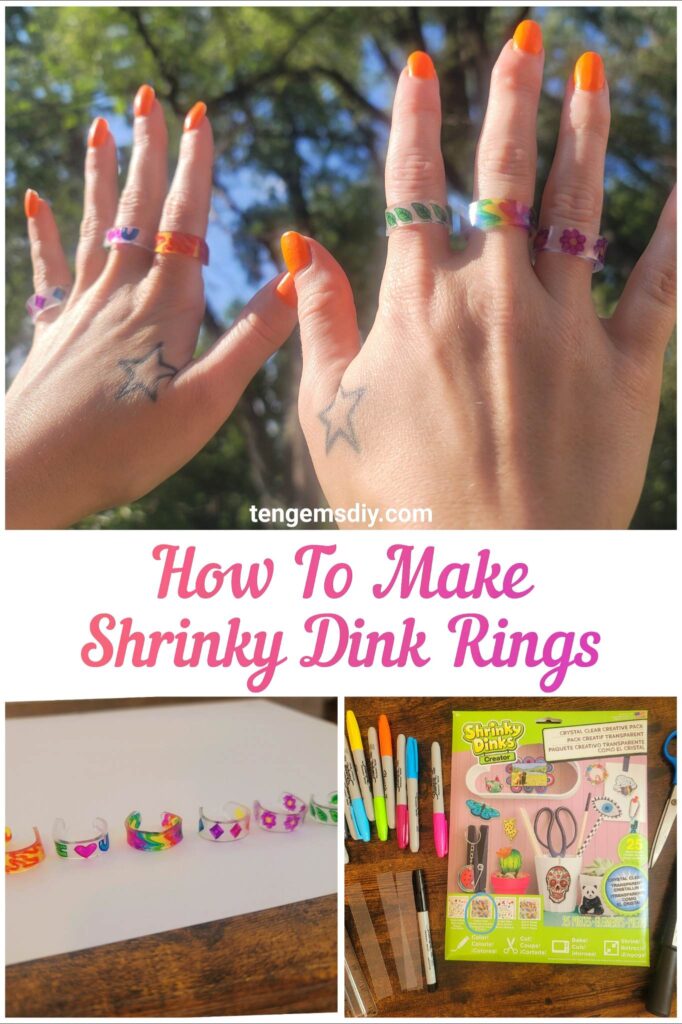
We love throw back and nostalgic arts and crafts, so today we’re learning how to make Shrinky Dink rings! Shrinky Dinks have always been a versatile tool for DIYs. Lets use them to make beautiful, unique and custom jewelry at home. There are a million ways you could make your Shrinky Dink rings. Make one for your BFF. Teach a little artist you care deeply for. Make a ring to suit every outfit you have. Whatever you do, enjoy your art time.

When you’re done with this Shrinky Dink tutorial, take a peek at these other sweet DIYs:
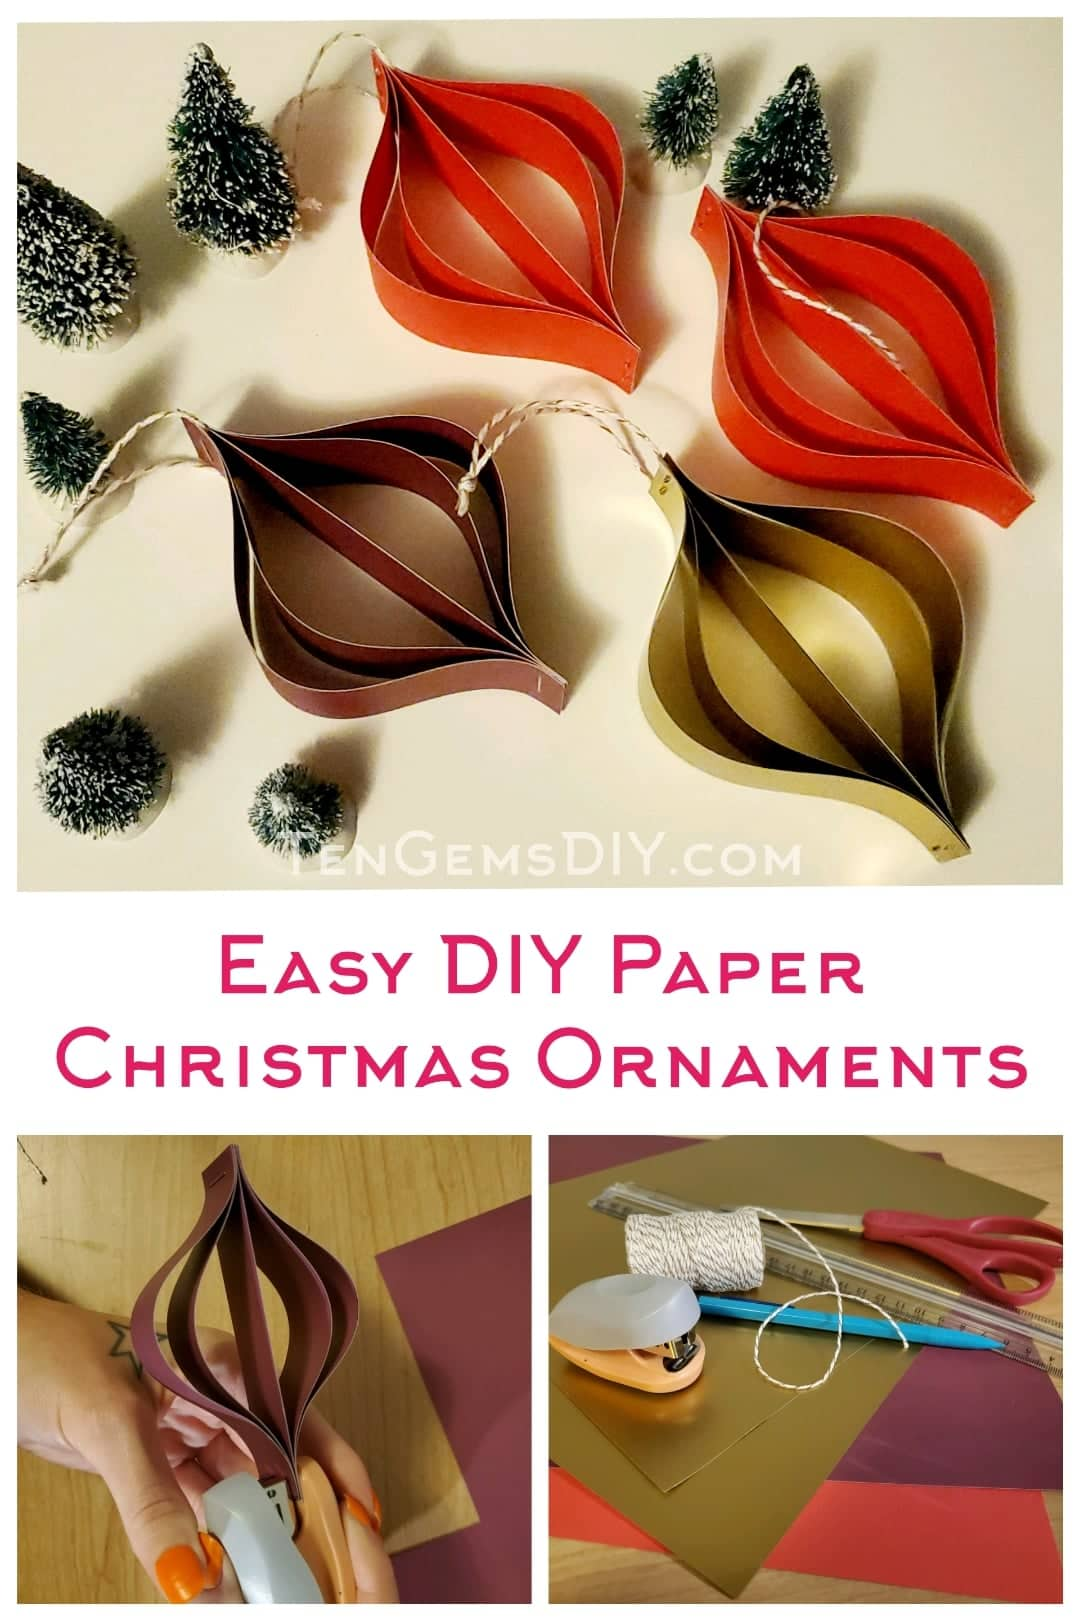
- How To Make Shrinky Dink Handprint Keychains – https://tengemsdiy.com/how-to-make-shrinky-dink-handprint-keychains/
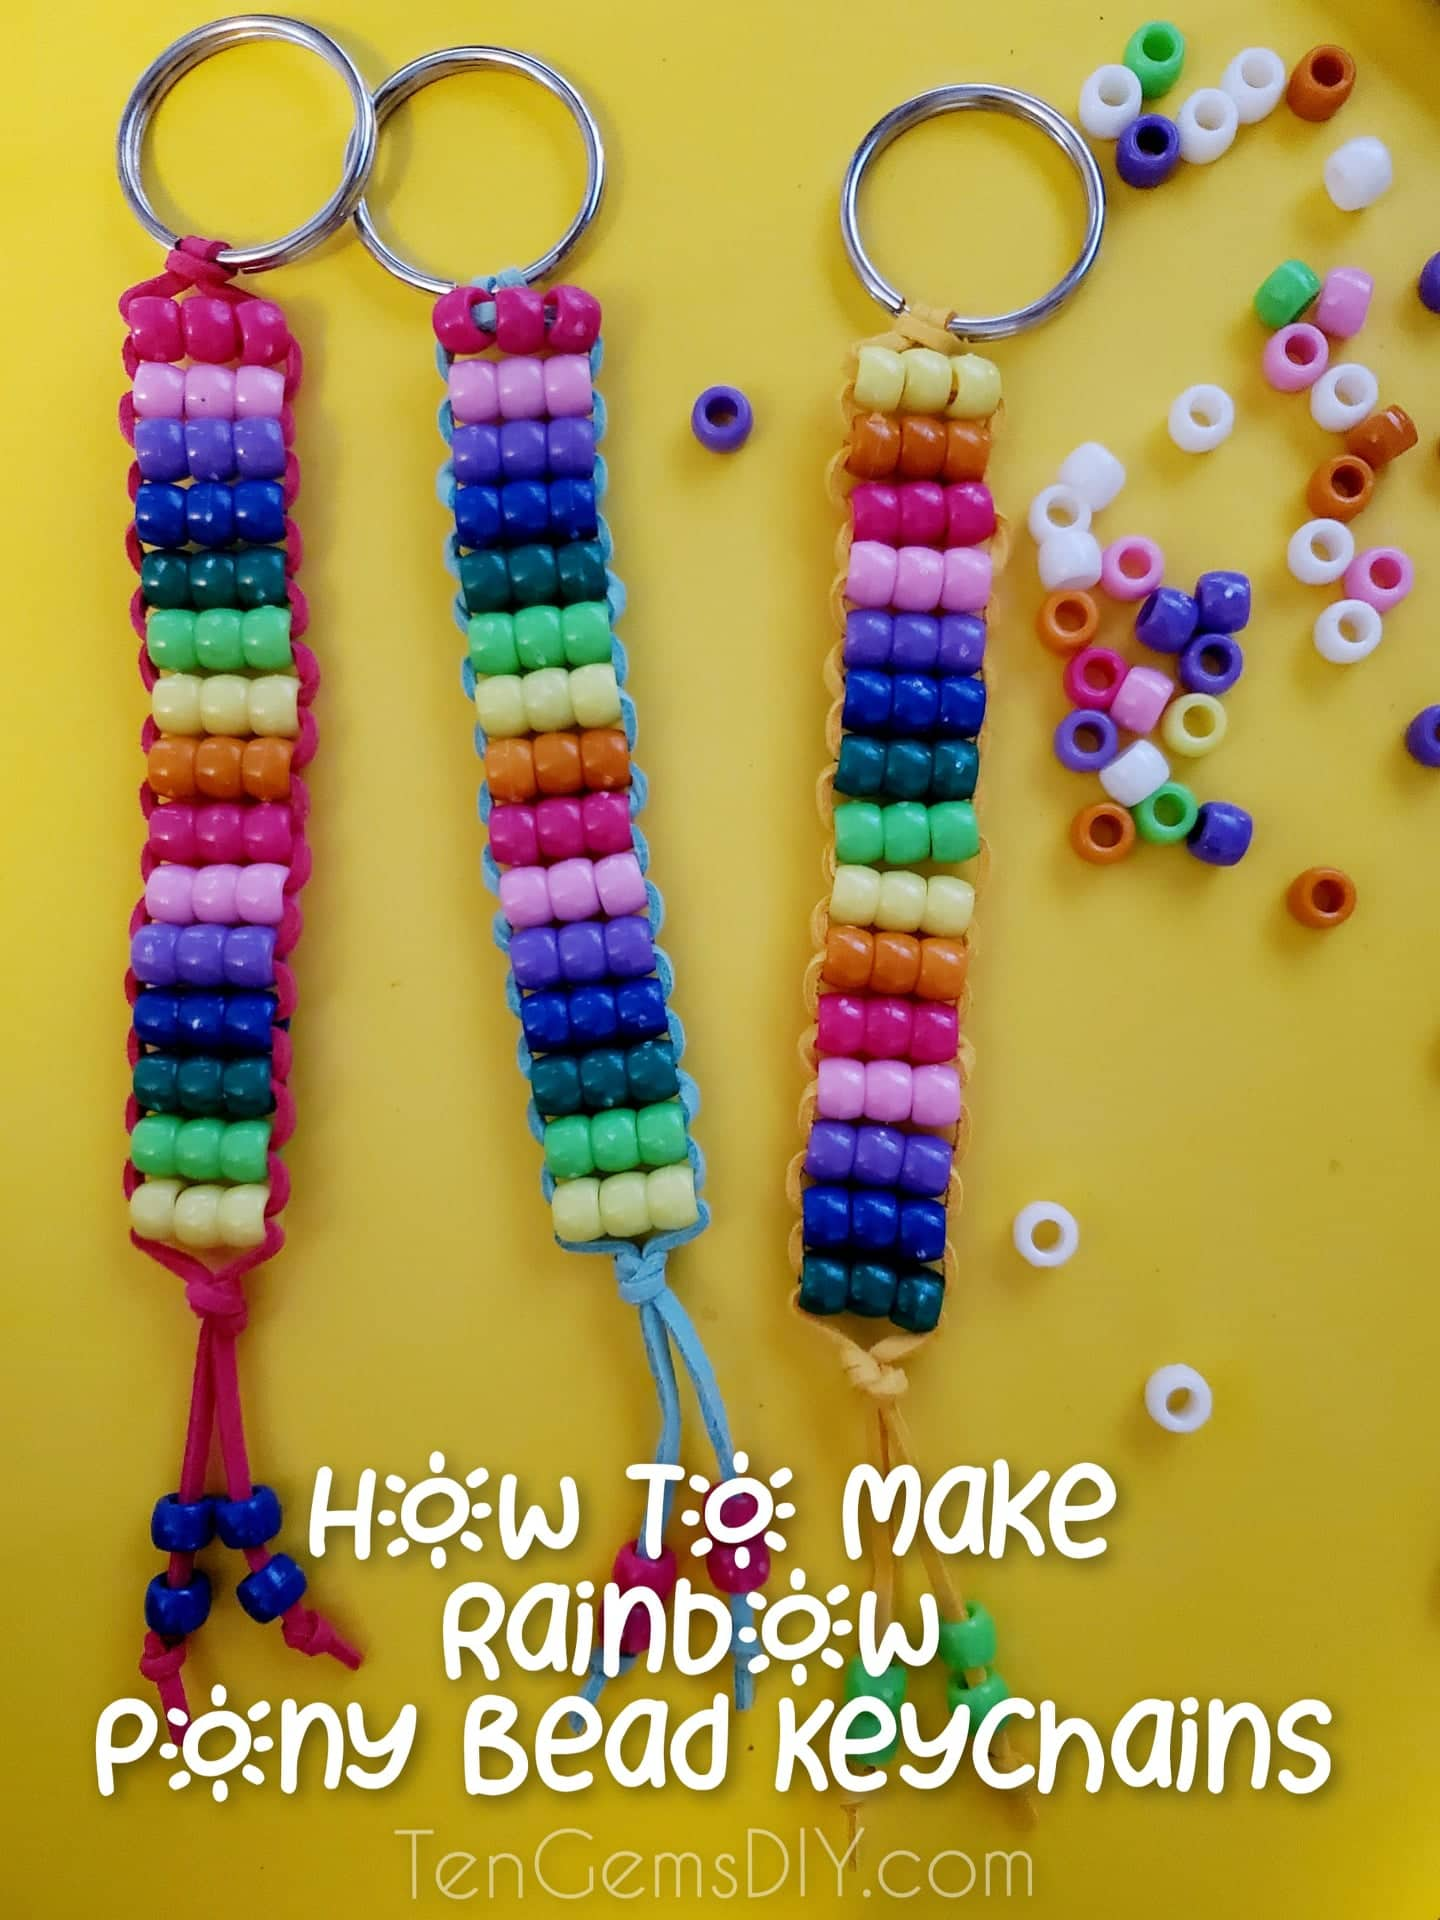
- How to make Rainbow Pony Bead Keychains – https://tengemsdiy.com/how-to-make-rainbow-pony-bead-keychains/
- How to make DIY Glitter and Canvas Wall Art – https://tengemsdiy.com/how-to-make-diy-canvas-and-glitter-wall-art/
TenGemsDIY is a DIY and craft blog. Some of our posts contain affiliate links for products we have tried and recommend. While clicking the links will not cost any money, we may receive a commission for items purchased, which helps keep our website up and running. Here is the privacy policy for more information: https://tengemsdiy.com/?page_id=3
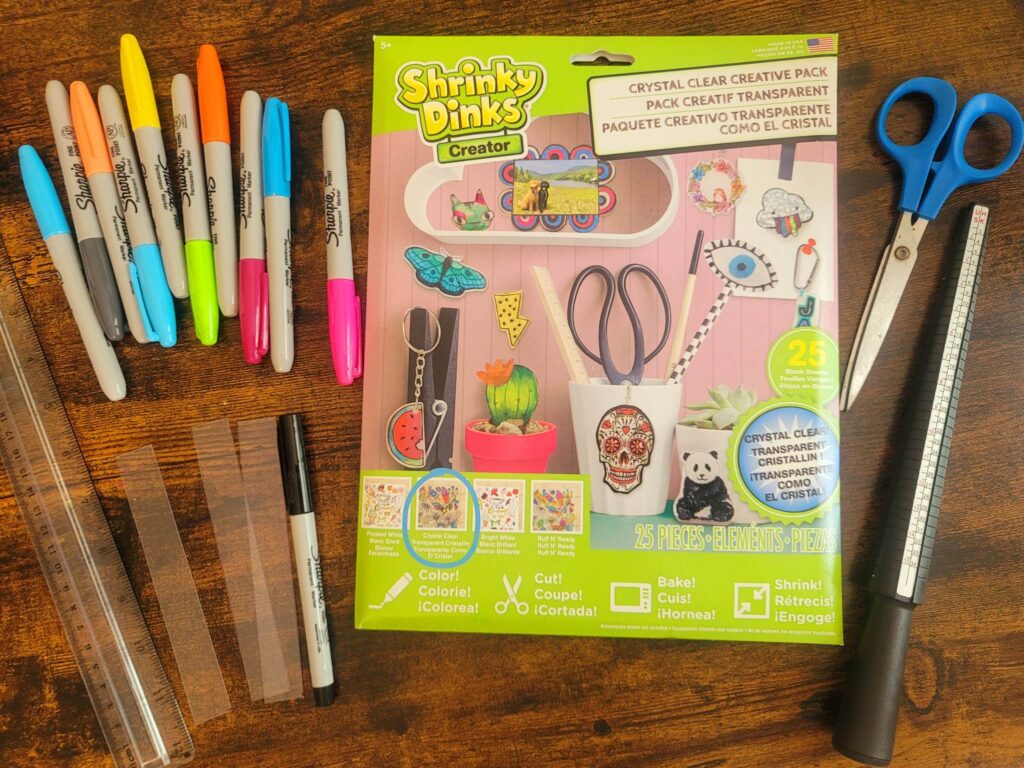
Supplies you’ll need for How To Make Shrinky Dink Rings and where to easily find them:
- Crystal clear shrinky dink sheets – https://amzn.to/44hiOiJ
- Colored permanent markers – https://amzn.to/46n57R7
- Scissors – https://amzn.to/3CLbJeB
- Ruler – https://amzn.to/43XU0fV
- Ring sizer – https://amzn.to/3JxTmxv
- Parchment paper or foil
- Baking sheet
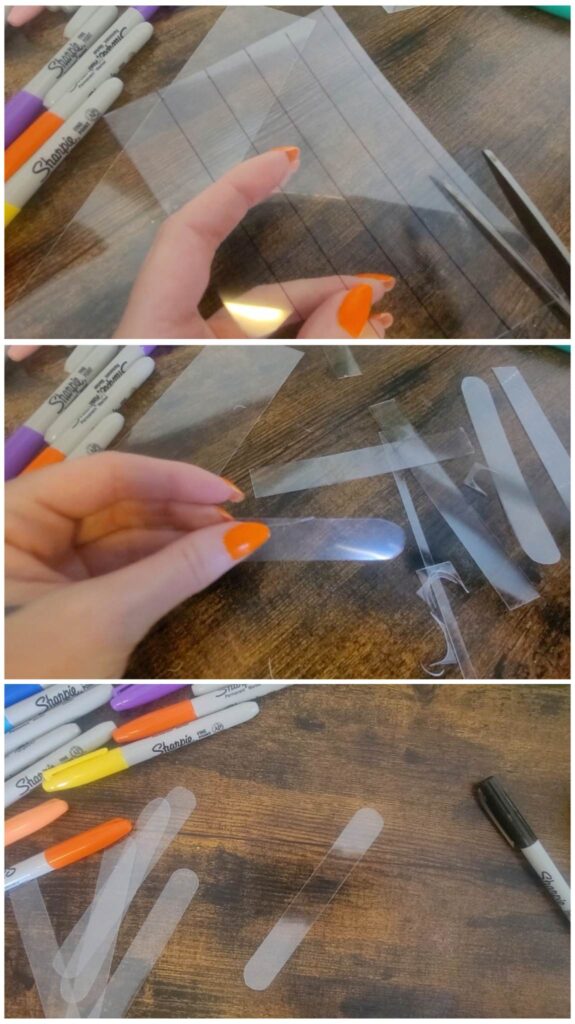
Step one: Measuring out the perfect Shrinky Dink Ring
Here is where we begin. With your sheet of crystal clear shrinky dink plastic, use your ruler to measure out your rings. The rings in this tutorial start out at 5 ¼ inch by ¾ inch. You can see in the photo here, we’ve cut out multiple at a time. Use a thin point permanent marker to trace out your initial shapes.

Step two: How to cut out your Shrinky Dink rings
After you have measured and marked your ring templates, carefully cut them out. Try to cut off any black outline that may be left over, as it will show up on your finished rings.
Using your scissors, round off the ends of your rings. This will assure your rings aren’t pointy or sharp after they’re finished.
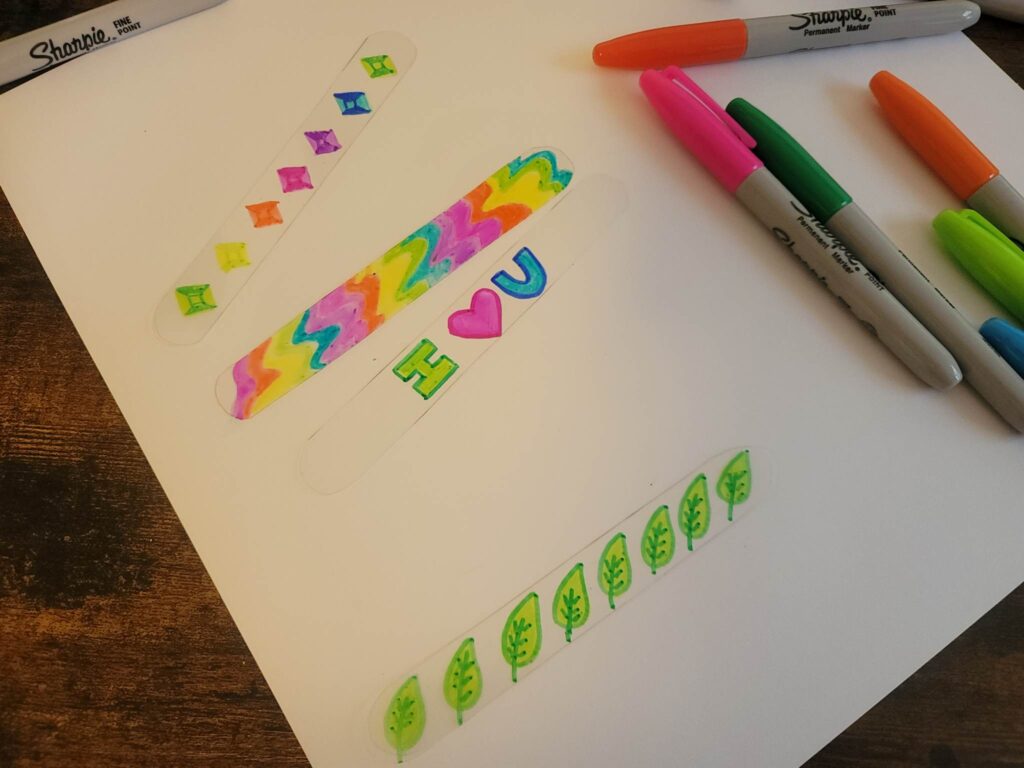
Step three: Design your Shrinky Dink rings!
Any color you choose, any design you wish! It’s great that the Shrinky Dinks start out fairly large, so we can fit our drawings on it before it gets tiny. Write a message to someone you love. Write a positive message to yourself to see every day. Rainbows, hearts, lightning bolts, leaves, flowers, kittens. There are a million things we could put on our Shrinky Dink Rings.
Step four: How hot should my oven be for Shrinky Dinks?
The package for these crystal clear Shrinky Dinks says to bake in a preheated oven at 325 degrees for 1-3 minutes. I recommend reading the instructions that are included with your Shrinky Dinks before you begin. Just to be thorough. So, we’ll preheat the oven. While it’s warming up, prepare a baking sheet with parchment paper or foil.
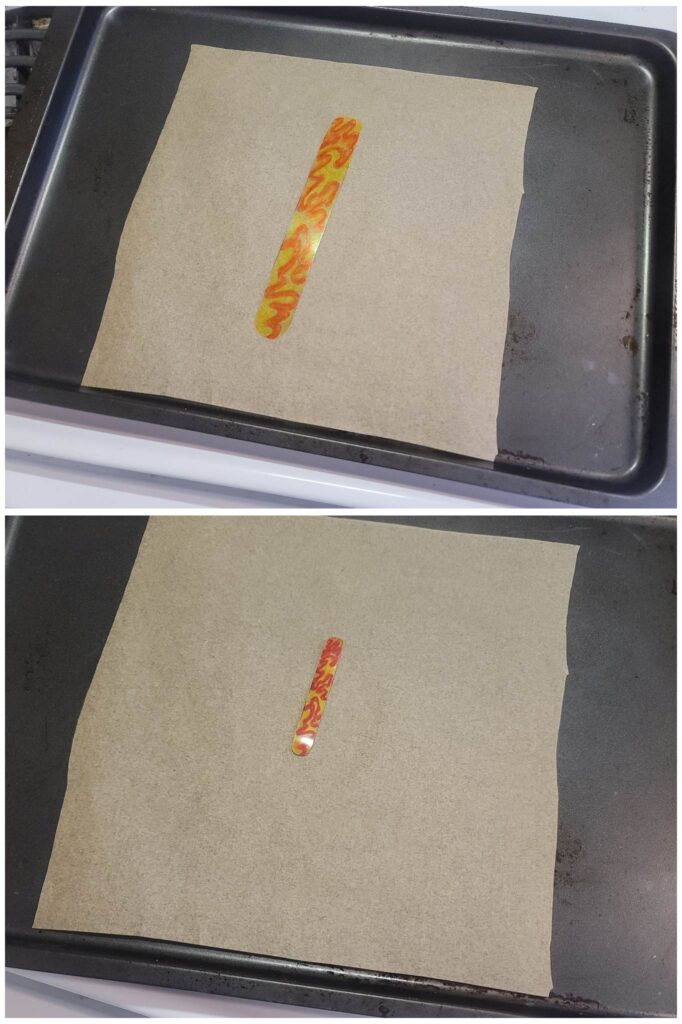
Place your uncooked Shrinky Dink ring, one at a time, on the baking sheet. Put the baking sheet in to the oven and stay close. Grab your ring sizer. Alternatively, you could use something similar in size to your finger to wrap the Shrinky Dink around if you don’t have a ring sizer. After your Shrinky Dink rings have baked for 1-3 minutes, remove the pan from the oven with an oven mitt. Immediately and carefully wrap the Shrinky Dink around your ring sizer. The ring sizer is amazing as I am easily able to see where my ring size is marked and use it quickly.
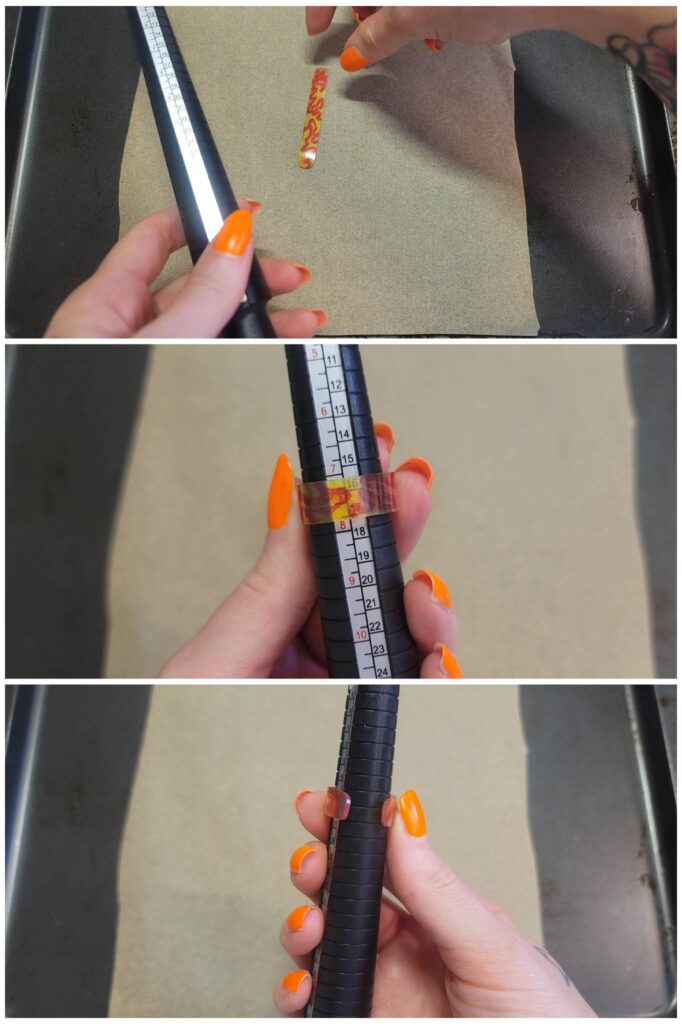
The Shrinky Dinks are not terribly hot when taken from the oven after just a few moments. However, the longer they’re in the oven, the hotter they will be. If you want to keep a barrier on your hand, you can use a thin winter glove to handle the warm Shrinky Dink.
Step five: Optional extra touch to protect your Shrinky Dink rings
If you have a bottle of clear nail polish, you can add a thin coat after you have baked your rings. This will help protect from any loss of color that may occur.
You’ve learned How To Make Shrinky Dink Rings! They are beautiful! Luckily these are easy to make and absolutely so much fun. They make the sweetest gifts and are a great way to add something new to your jewelry collection!
We are a participant in the Amazon Services LLC Associates Program, and affiliate advertising program designed to provide a means for us to earn fees by linking to Amazon.com and affiliated sites.