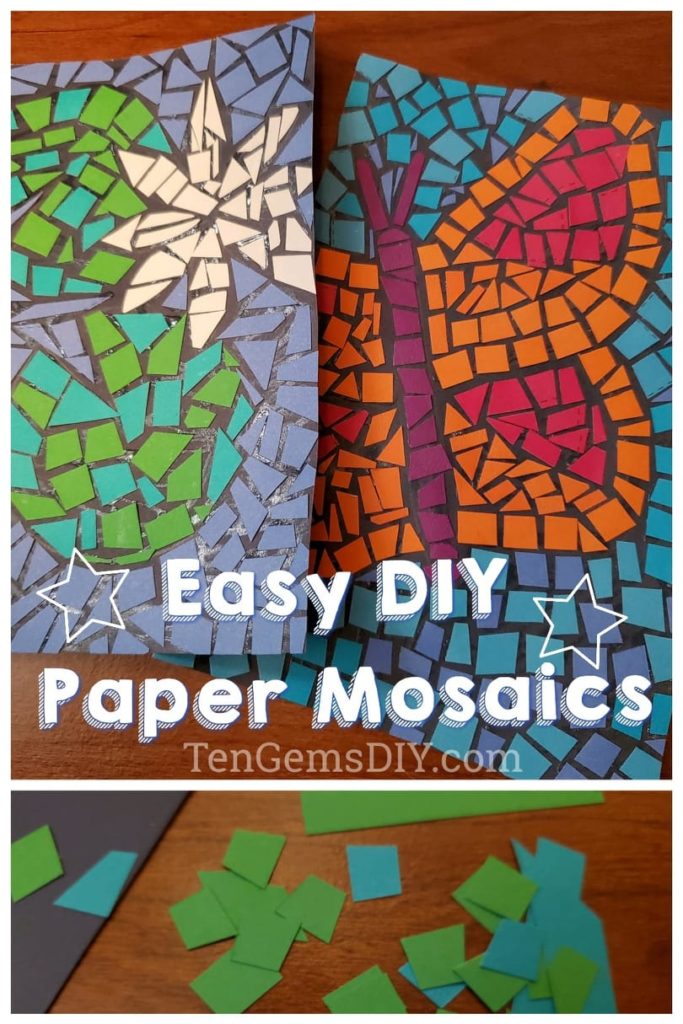
This step-by-step tutorial for How To Make Easy Paper Mosaics for Kids is amazing! Paper is so versatile in the crafting world. Let’s use it to make beautiful, custom DIY paper mosaics today. This project can be made easier or more difficult depending on skill level and time allowed. If you’re working with young ones, it might be easier to use slightly bigger “mosaic tiles”. If you’re wanting to make something intricate and detailed, you could use a bigger background paper to put your tiles on. Either way, art is for enjoyment!
Check out these other super easy kids’ DIYs after you’re finished with this tutorial!
How to make a paper weaving craft for kids – https://tengemsdiy.com/paper-weaving-craft-for-kids/
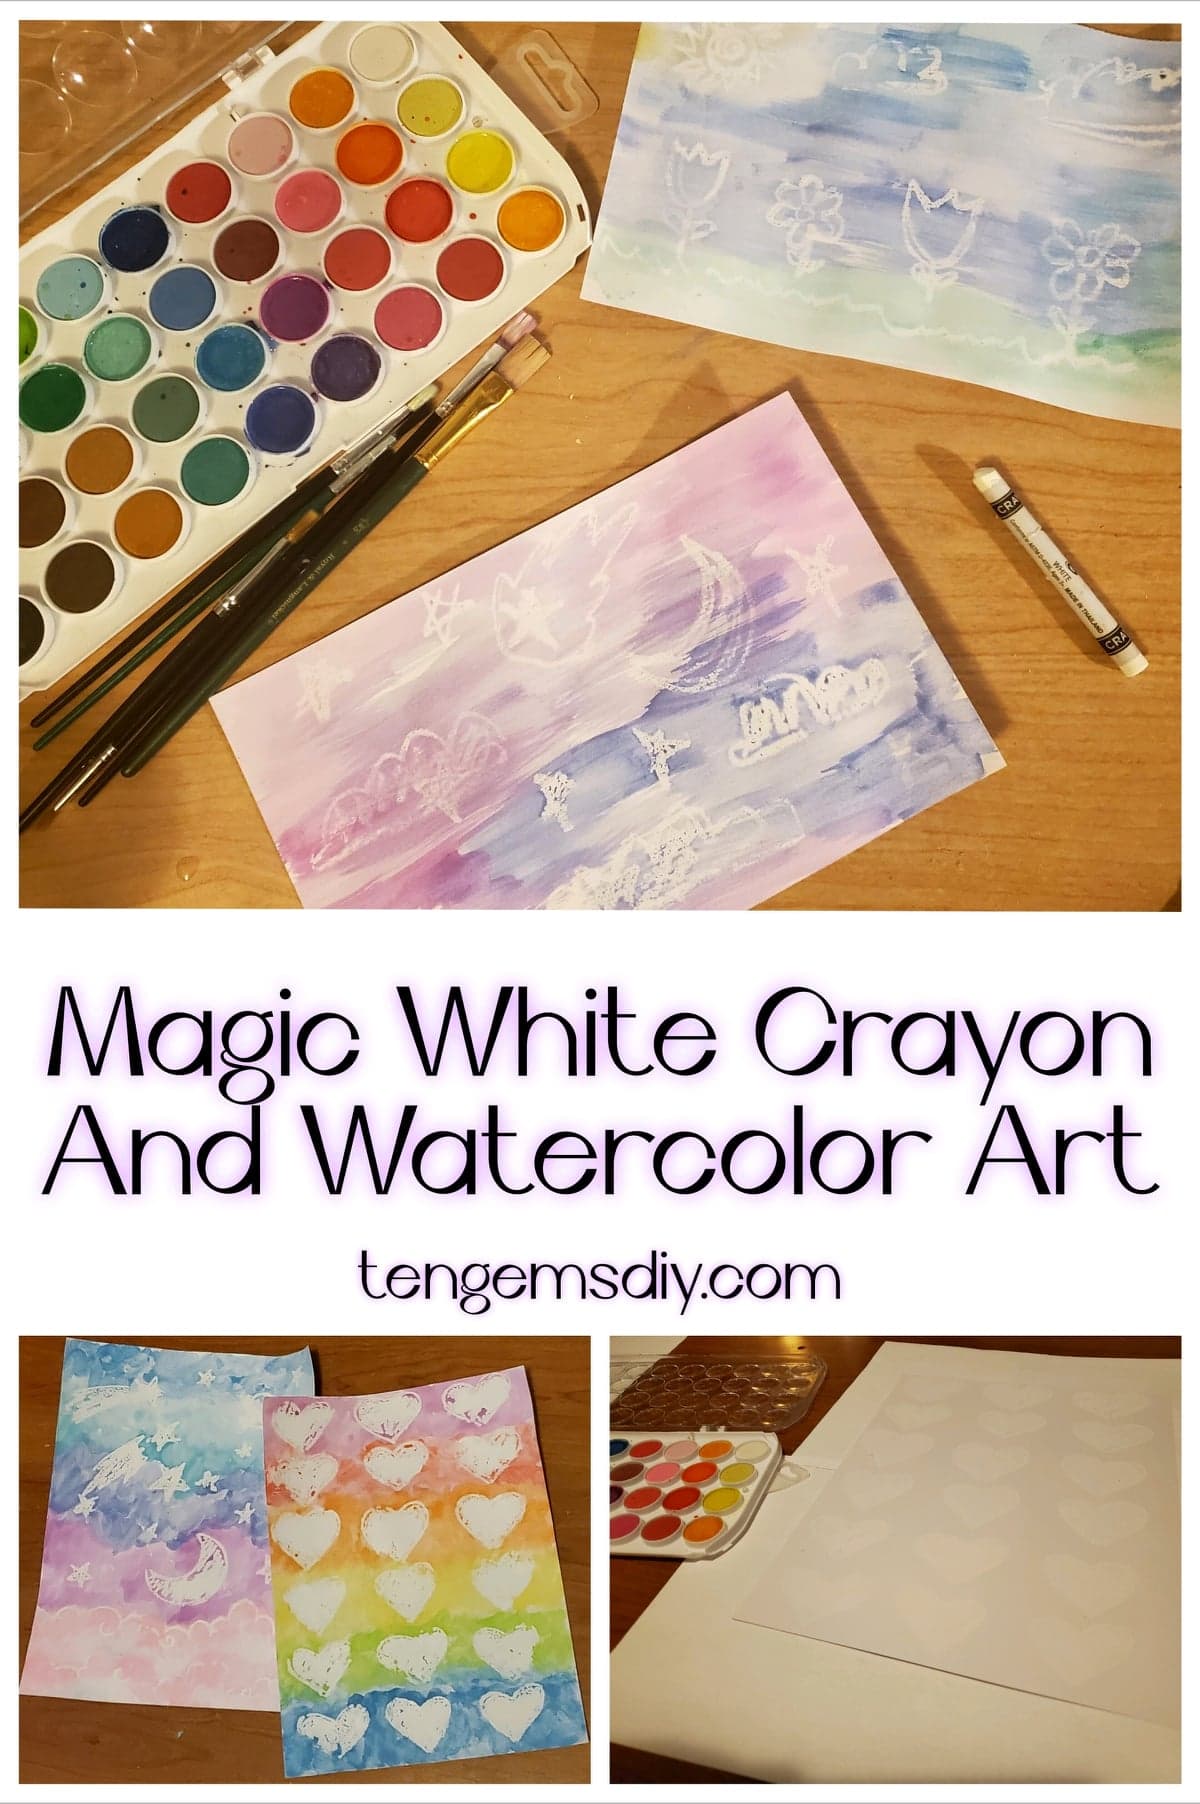
How to make magic white crayon and watercolor art – https://tengemsdiy.com/magic-white-crayon-watercolor-art/
No mess squish painting for kids – https://tengemsdiy.com/no-mess-colorful-squish-painting-for-kids/
Disclosure: TenGemsDIY is a DIY and craft blog. Some of our posts contain affiliate links for products we have tried and recommend. While clicking the links will not cost any money, we may receive a commission for items purchased, which helps keep our website ad free. Here is the privacy policy for more information: https://tengemsdiy.com/?page_id=3
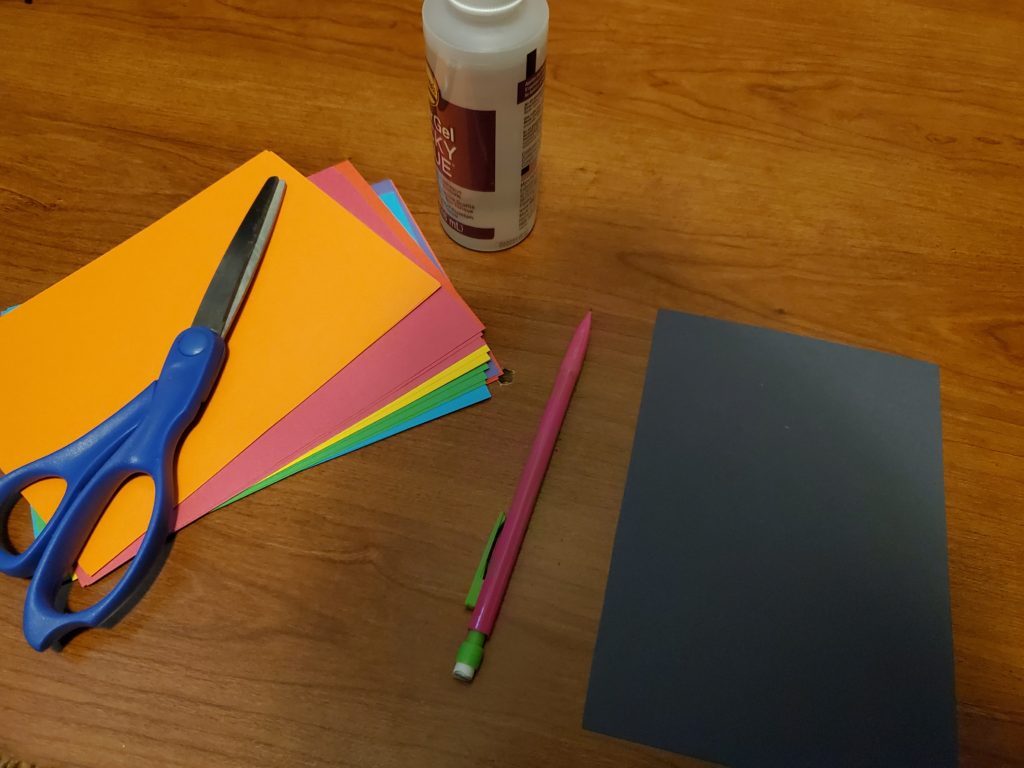
What you’ll need for your Easy Paper Mosaics For Kids:
- Paper of whatever colors you choose for your mosaic tiles – https://amzn.to/2RqHt4R
- Sturdy paper for your background
- Glue – https://amzn.to/3wsJAnD
- Scissors
- Pencil
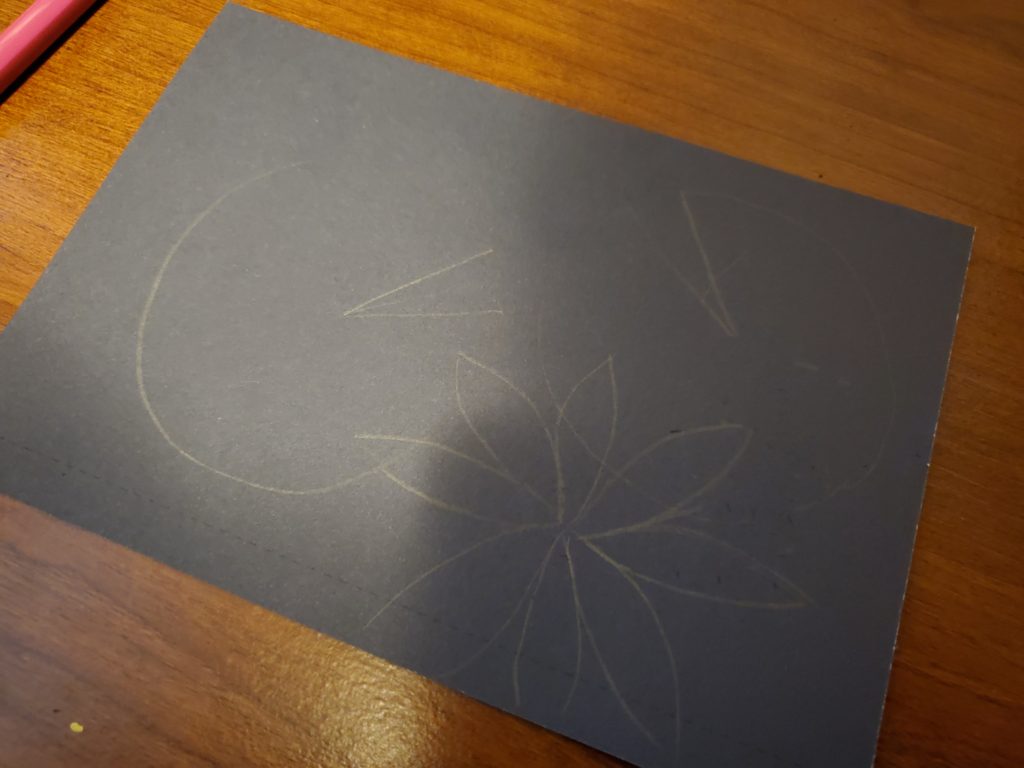
Step one: Choose your DIY Paper Mosaics background color
My daughter and I chose black for ours, but you can choose any color. Choose one that will contrast well with your mosaic tile colors.
Step two: Picking an image for your DIY Paper Mosaics
Lightly draw out your image with your pencil. You can see I have something drawn here! If your pencil marks are light enough, you won’t even be able to see them with your finished piece, otherwise you can gently erase them when your project has dried and you are done.
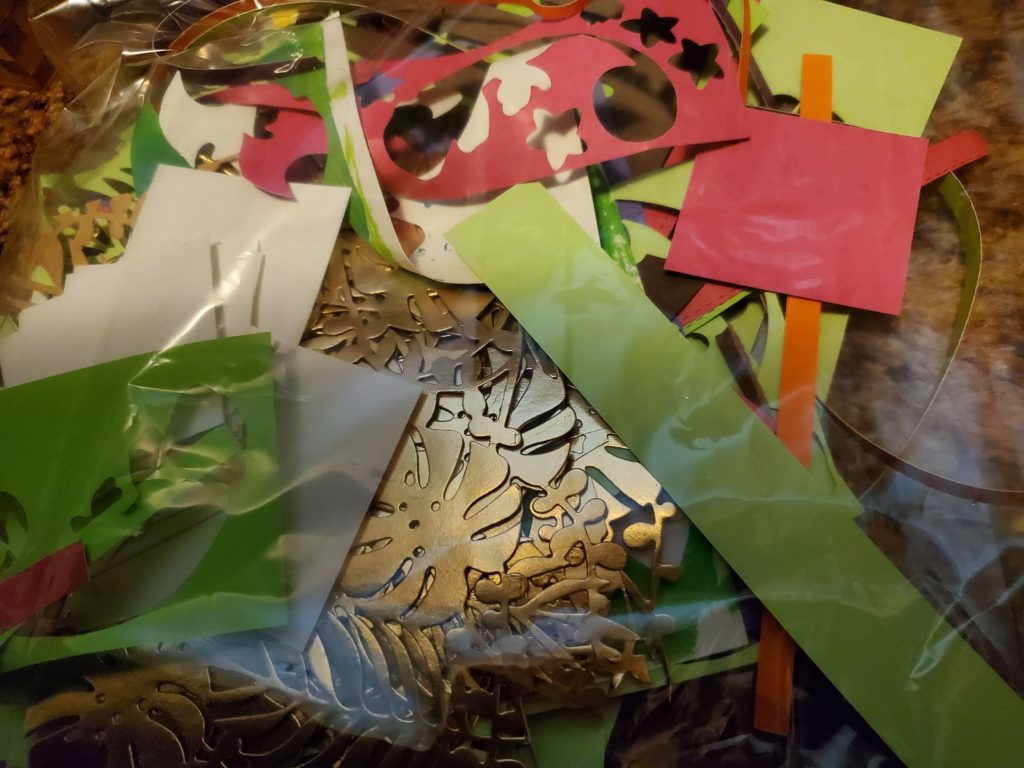
Step three: Start cutting your tiles out
We keep a bag of scrap paper that is perfect for this project. I found it easiest to cut the paper into strips, and then cut those strips in to smaller pieces.
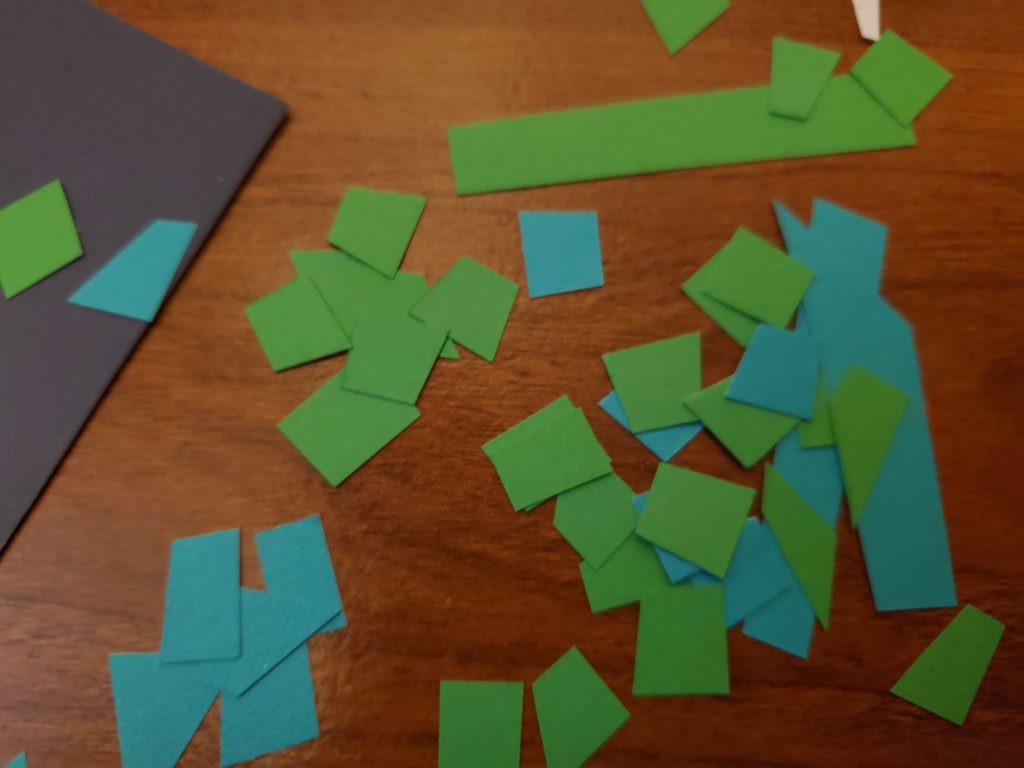
Step four: Adding colorful tiles to your easy paper mosaics for kids
It’s best to go through one color at a time. And you can see in some places we’ve used different shades of the same color. This’ll add some pretty dimension for your paper mosaic.
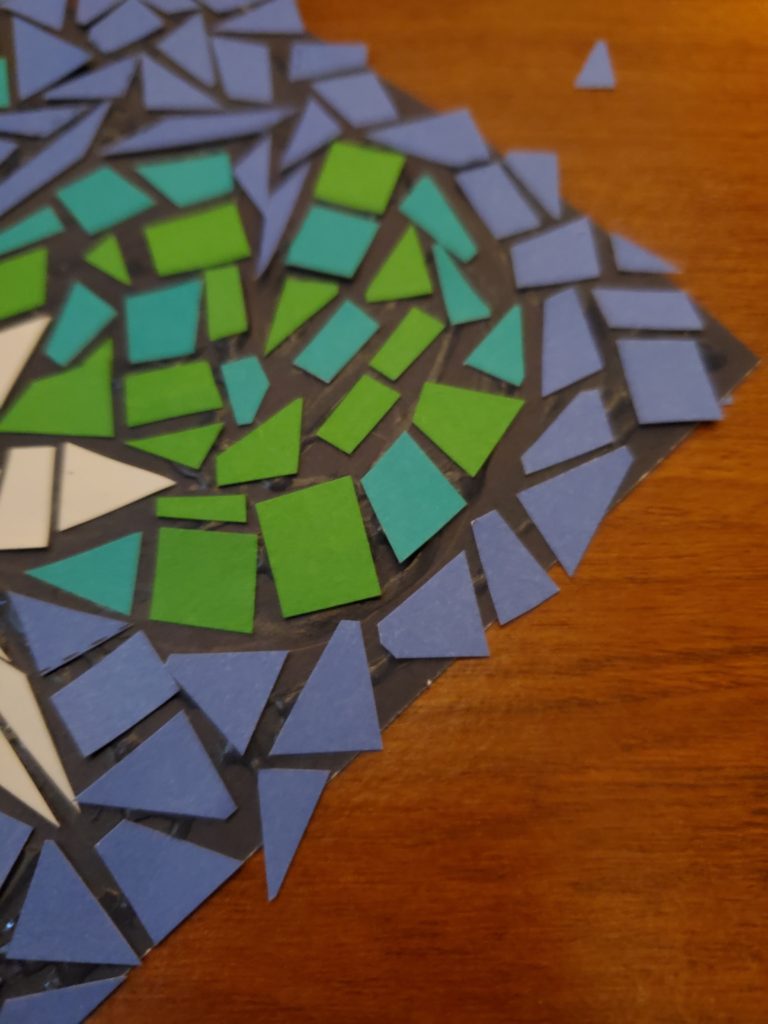
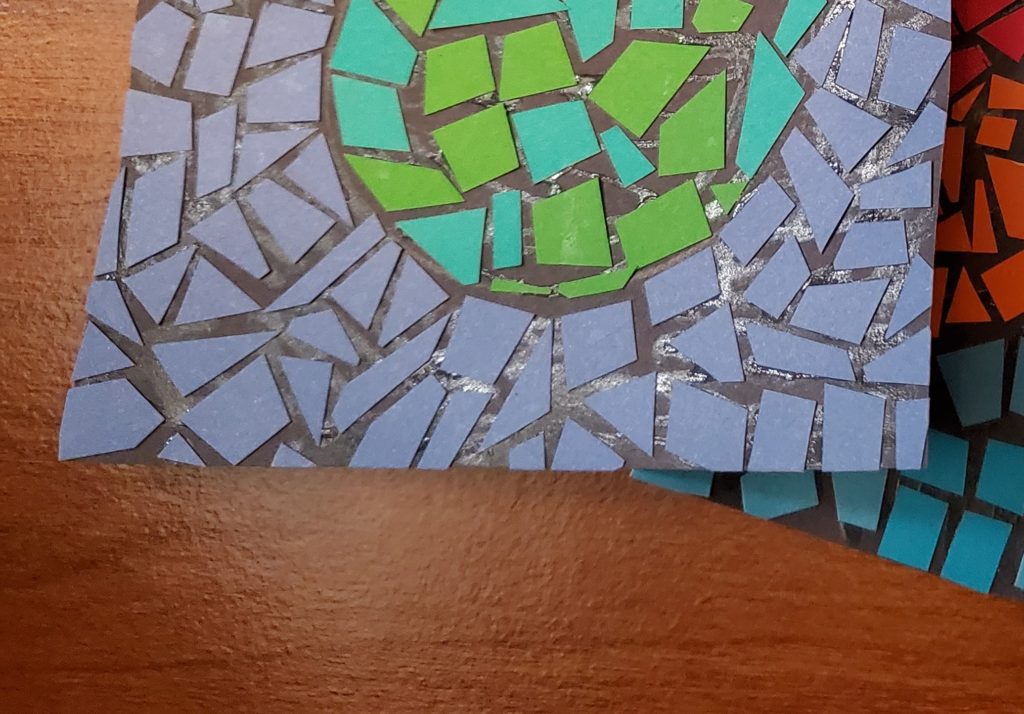
As you’re moving toward the sides of your base paper, it is okay to let your mosaic pieces hang over the edge. Let them dry and go back and cut the excess off. Then you will have a nice, clean edge. Here is a picture of the finished product after the sides have been trimmed.
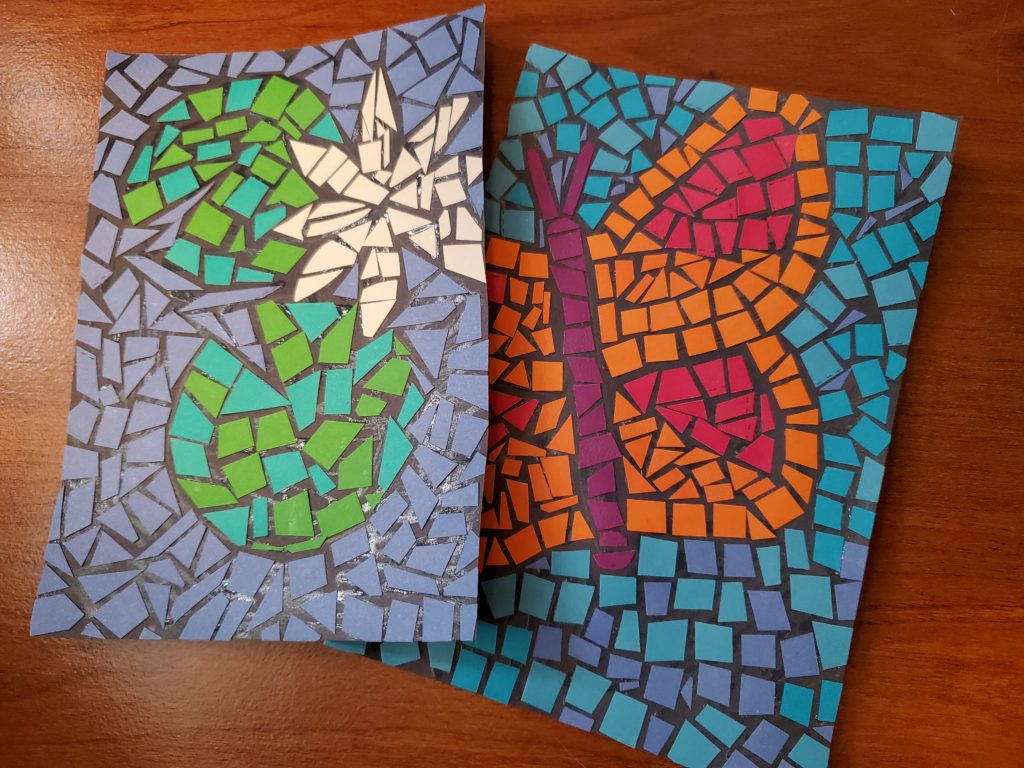
You can totally frame that mosaic you’ve made, because it’s amazing!! The best thing about having to wait for one project to dry, is doing another while you wait!
We are a participant in the Amazon Services LLC Associates Program, and affiliate advertising program designed to provide a means for us to earn fees by linking to Amazon.com and affiliated sites.