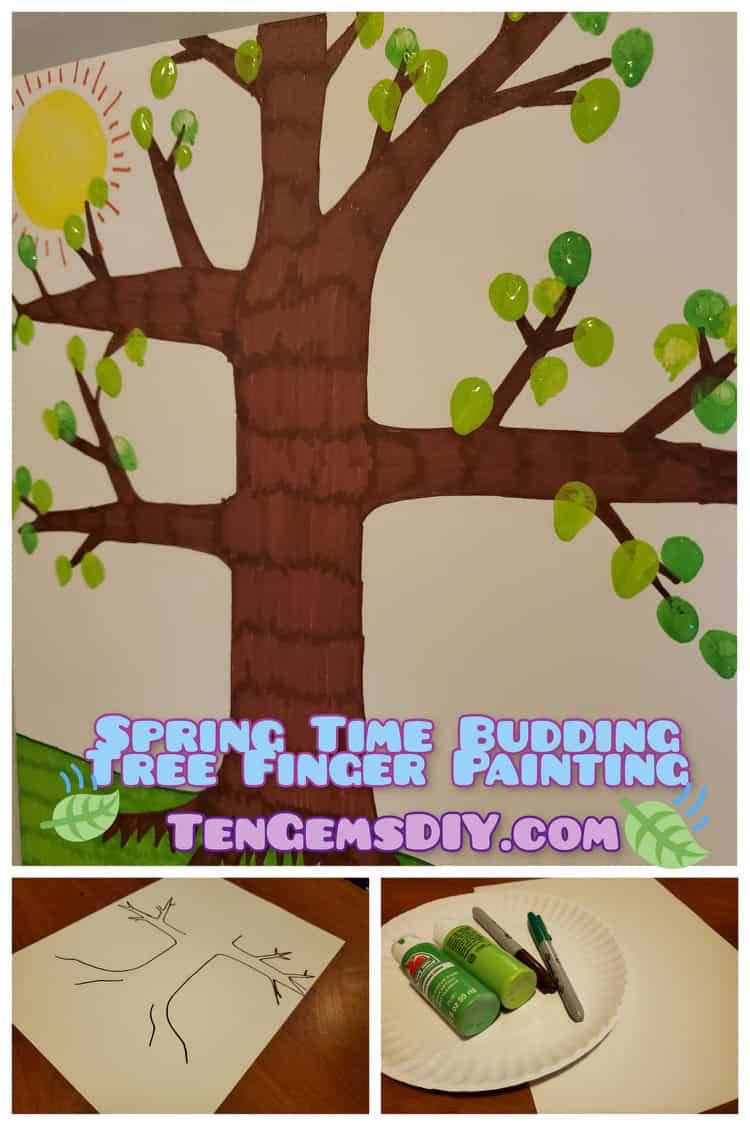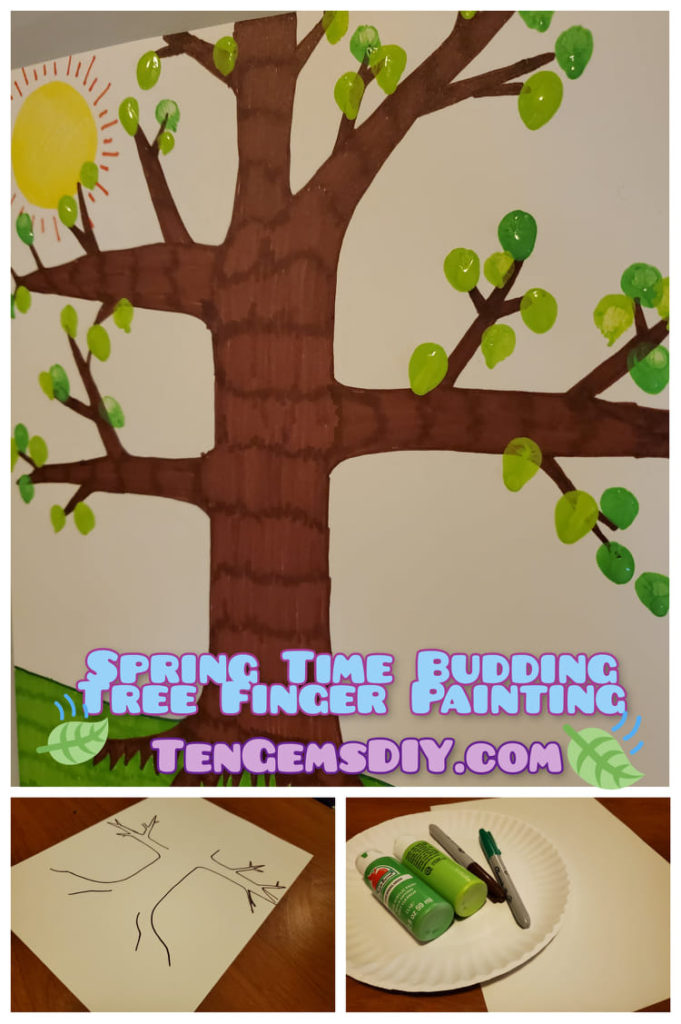
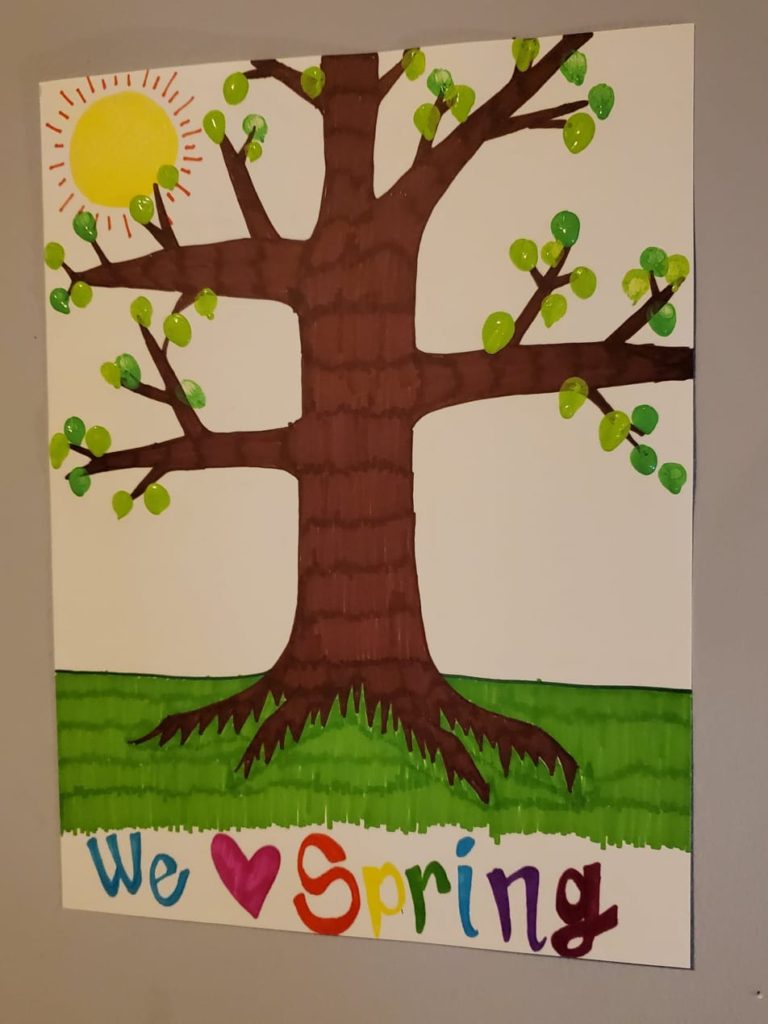
Here’s another super kid friendly project! Some of the work is done by the adult, but the fun part is done by the little one! In this budding tree Finger Painting for Kids, little fingerprints make the springtime tree so green and lovely! All of the crafts with TenGemsDIY keep material needs to a minimum, and this project helps prove it! Here is another crafts with the use of minimal supplies that little ones will love! https://tengemsdiy.com/?p=274
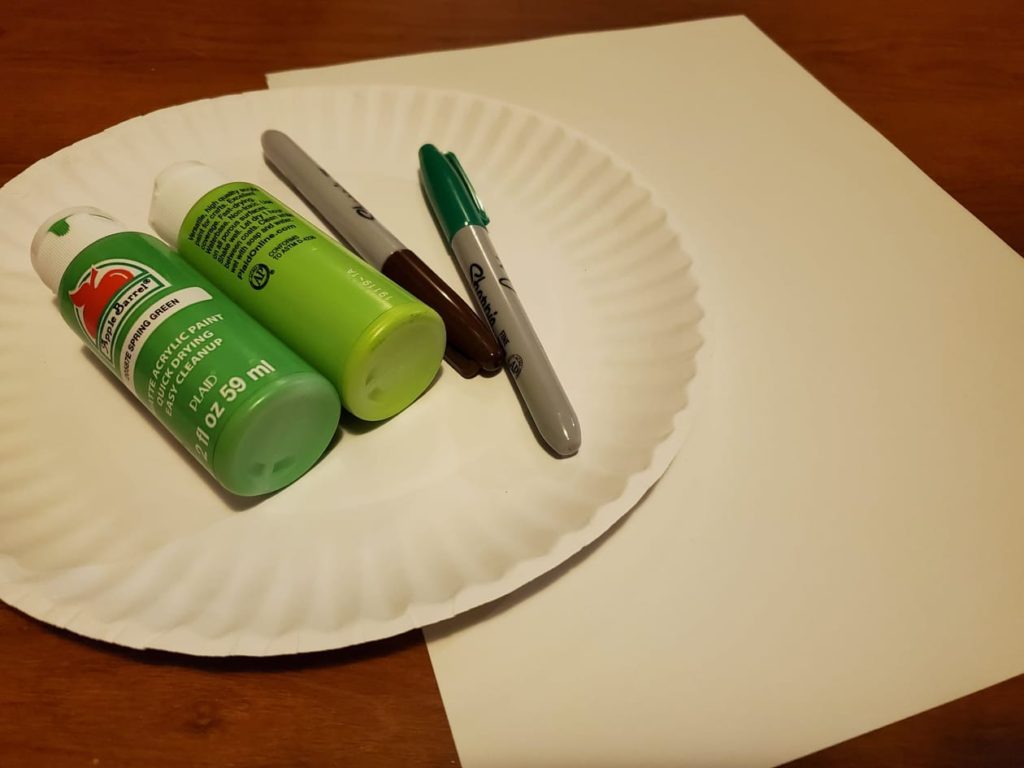
What you’ll need:
- Kid friendly paints
- Markers
- Sturdy paper
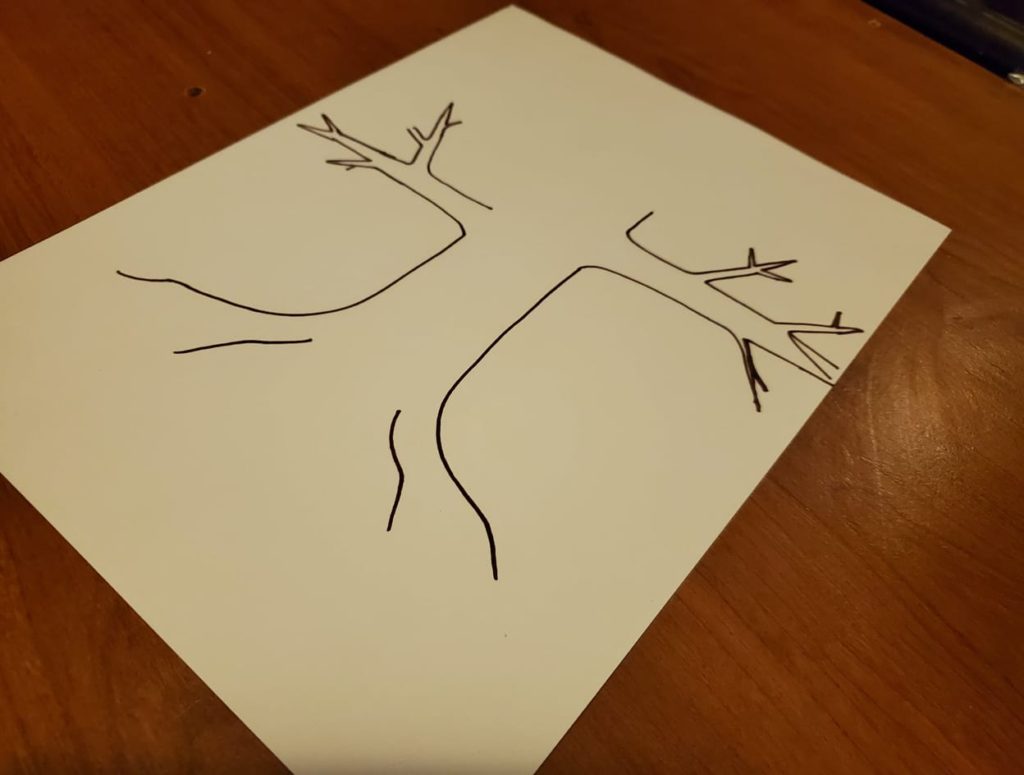
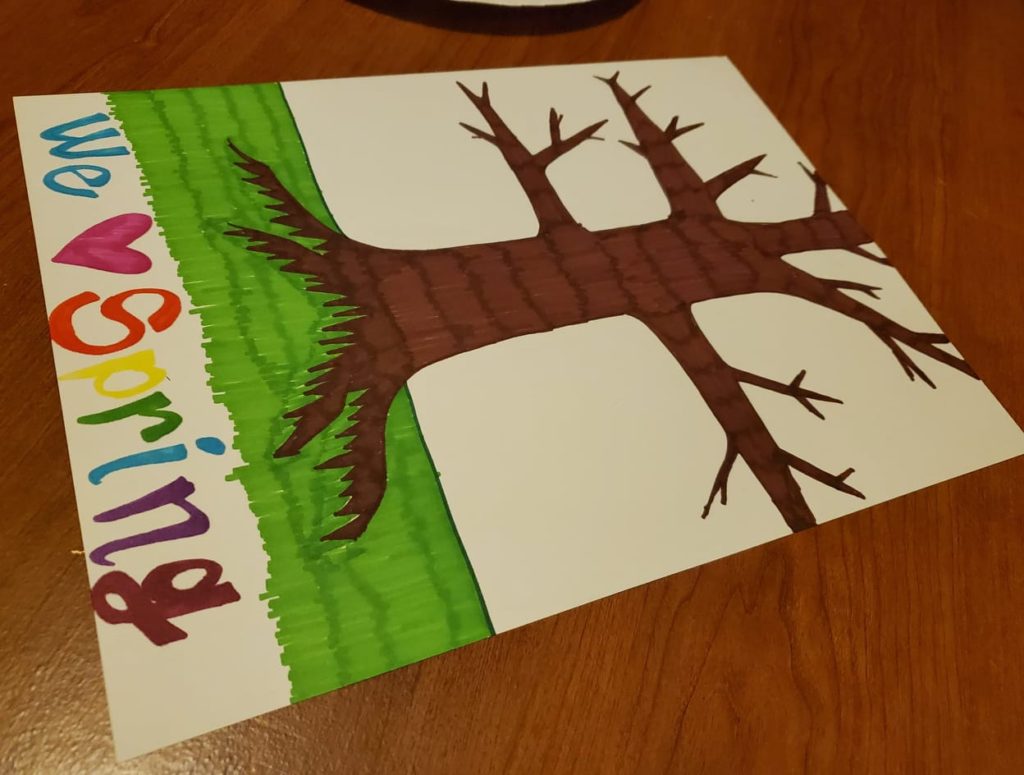
Step one: Drawing out a base for the little one to paint on
Draw the tree out for your young one. You can add as many branches as he or she would like! The more branches, the more spaces for fingerprints! Color the tree in. You can always let your little one help. Let them decide how big the tree will be, maybe there can be two smaller trees instead. They can help color and count branches as you work together.
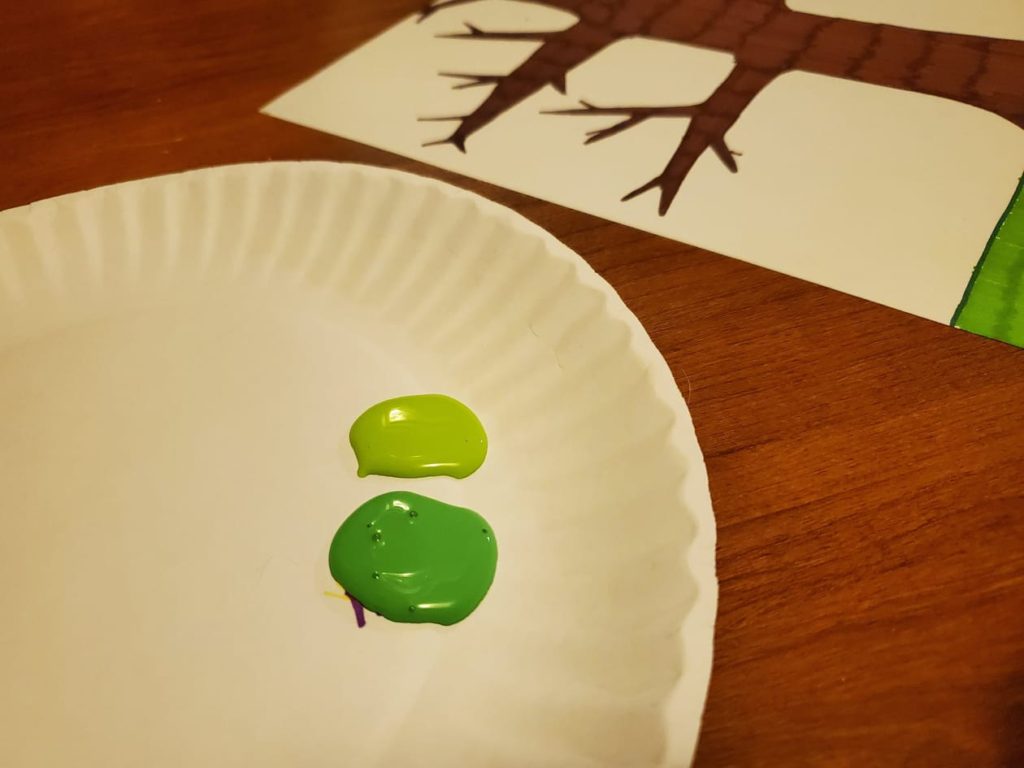
Step two: Time to get colorful!
Here we’ll start the painty part! My daughter and I chose two different greens. This’ll help add some dimension to our tree. Make a small puddle of paint to dip finger tips in. You won’t need a lot. I keep paper plates around for our paint projects. We’ll continue to use them until there isn’t surface space for more paint. They’re cheap, easy to clean up and biodegradable.
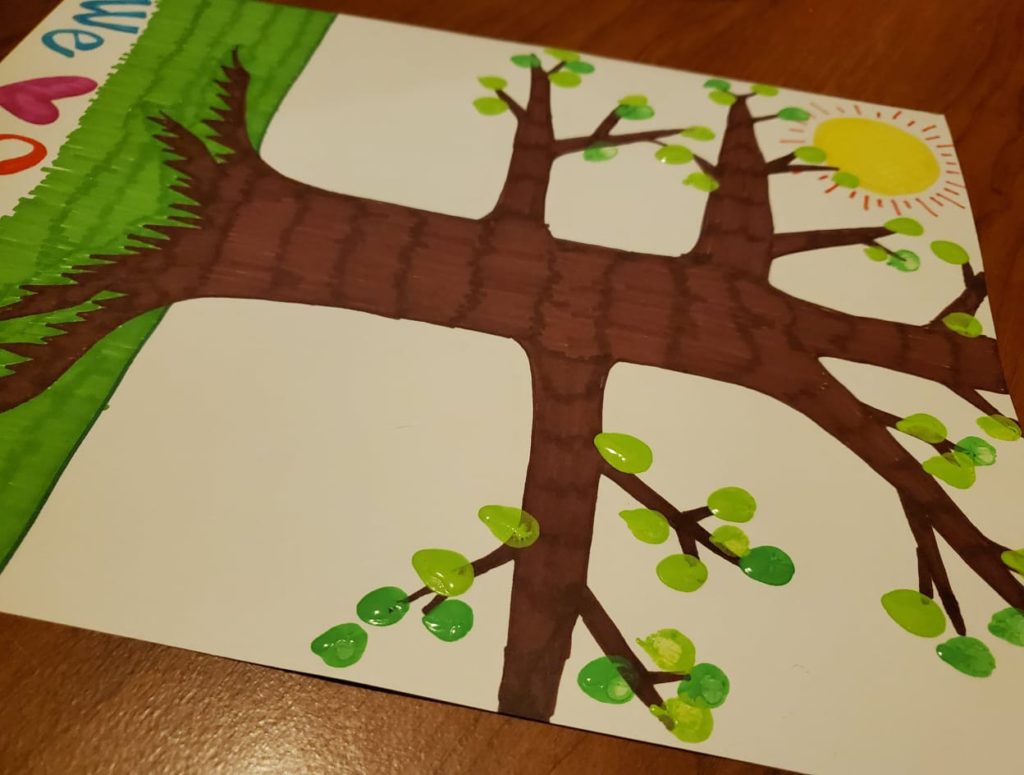
Step three: Making the Finger Painting for Kids
Help guide your little one on where to put their finger prints for budding green leaves. Older kids might want less guidance. A little bit of independence goes a long way.
Step four:
Let those cute little tree buds dry! We displayed our springtime tree in grandma’s living room for everyone to admire. Finger Painting for kids is always a fun time!
