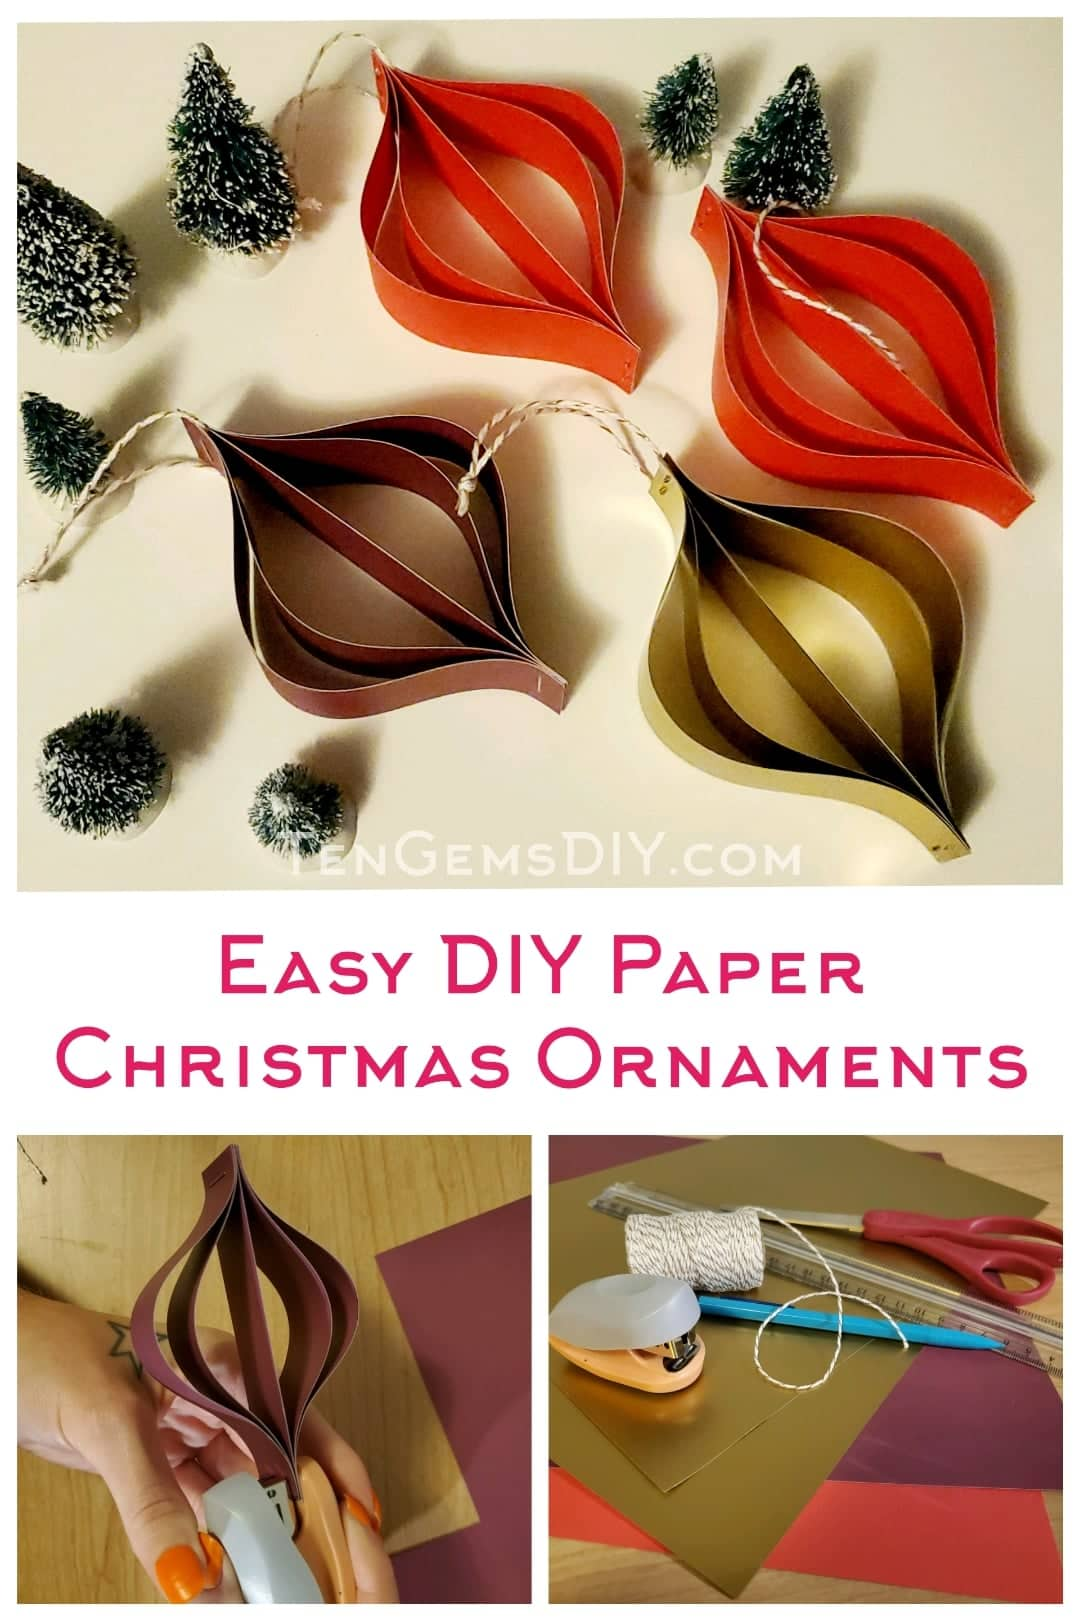
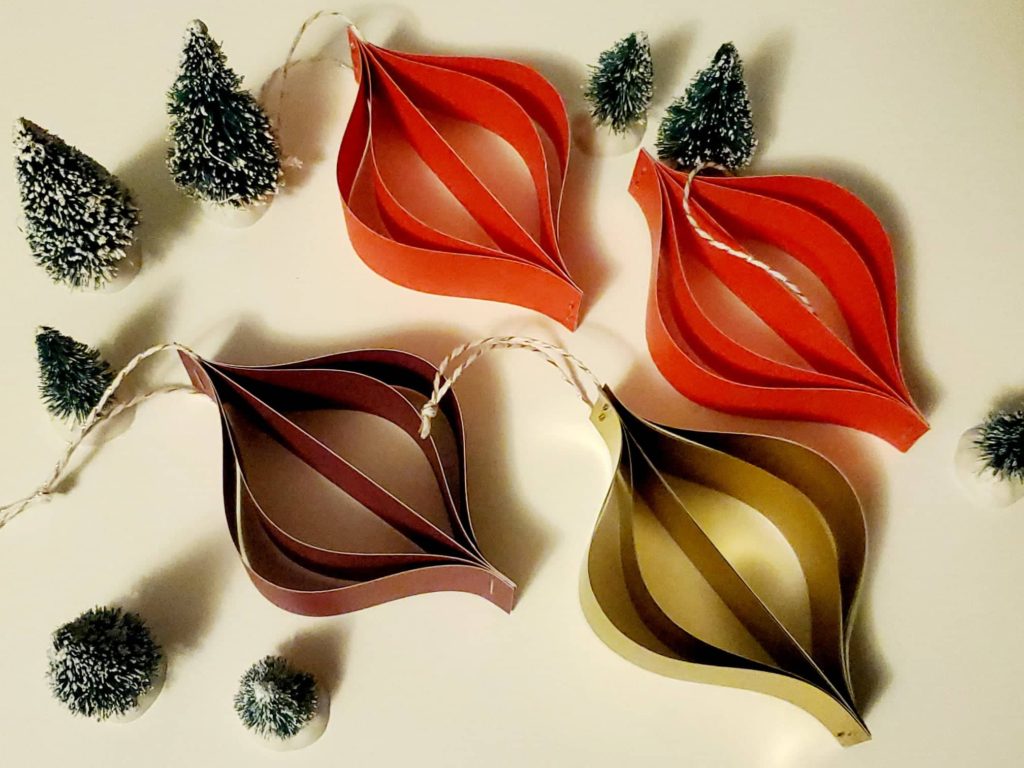
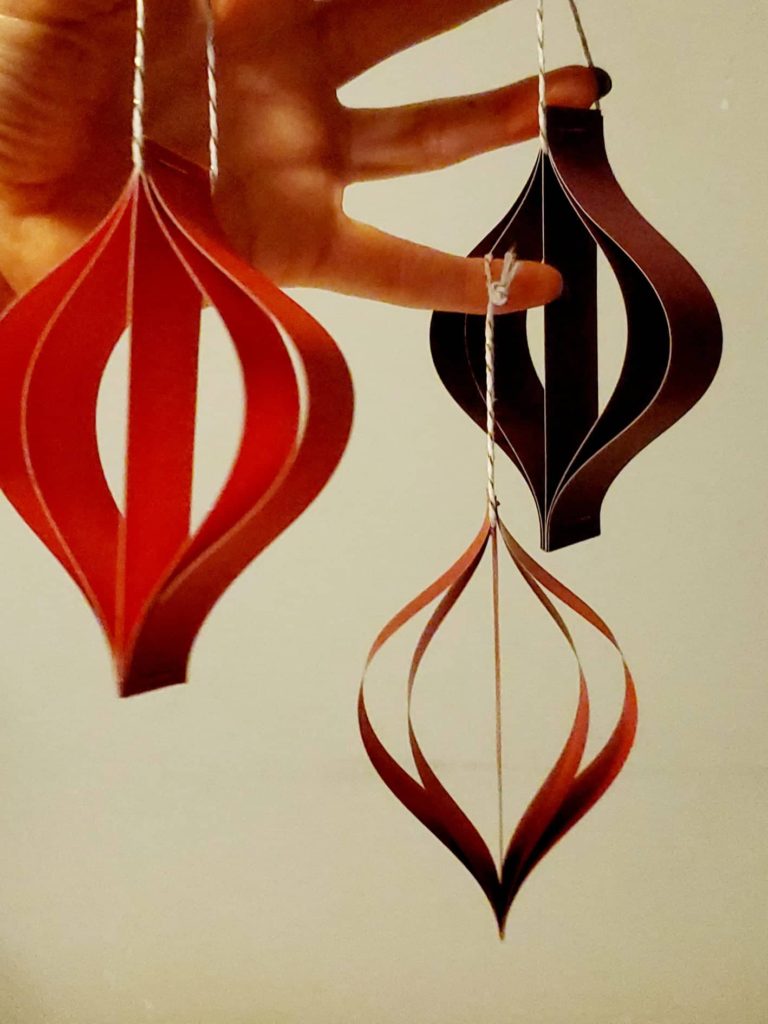
So you’re looking at a few ideas on how to make Easy DIY Paper Christmas Ornaments! You are in the right spot, because this tutorial will show you one of the easiest ways possible. With minimal supplies and low time commitment, we love this holiday DIY. Customize the colors to match your tree, or make them with friends and little ones for holiday together-time. Whichever way you decide to do it, these ornaments are elegant and pretty and low stress to make.
If you’re looking for inspiration for other DIY Christmas ornament ideas, swing over and see this easy tutorial for 3D Paper Christmas Ornaments! >> https://tengemsdiy.com/how-to-make-easy-3d-paper-christmas-ornaments/
Here is a super fun tutorial for DIY Beaded Star Ornaments also !>> https://tengemsdiy.com/how-to-make-diy-beaded-star-ornaments/
TenGemsDIY is a DIY and craft blog. Some of our posts contain affiliate links for products we have tried and recommend. While clicking the links will not cost any money, we may receive a commission for items purchased, which helps keep our website up and running. Here is the privacy policy for more information: https://tengemsdiy.com/?page_id=3
Supplies you’ll need for your easy DIY paper Christmas ornaments, and where to find them:
- Paper of various colors – https://amzn.to/3DTHMYq – This is a really great assorted cardstock set.
- Stapler – https://amzn.to/3m1Rvpx – Swingline makes really great mini staplers, which are a craft room essential.
- String – https://amzn.to/3C6vpHT – The beautiful gold embossed string used for these ornaments.
- Scissors – https://amzn.to/2Z3UdBL – Fiskars is an amazing brand. My grandma has had me devoted since childhood.
- Ruler – https://amzn.to/3b04CBi – I like clear rulers so I can see through to the project underneath.
- Pencil

Step one: Cutting your string
I like to get this part out of the way first! You’ll need something to hang your easy DIY paper Christmas ornaments from. Use your ruler to cut an 8 inch piece of string and set it aside.
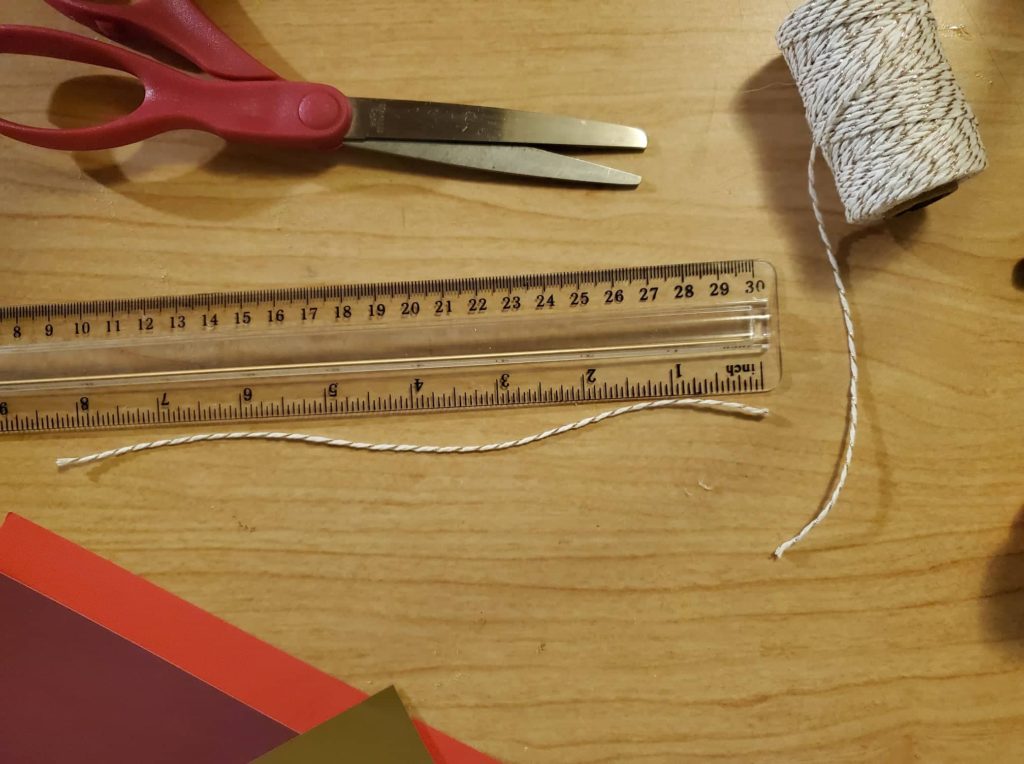
Step two: Measuring and cutting the strips for your easy DIY paper Christmas ornaments
Each ornament will use five strips. You will have one short strip, two medium strips and two long strips. Measure your strips out as follows:
- One short strip: 4 inches x 1 inch
- Two medium strips: 4.5 inches x 1 inch
- Two long strips: 5 inches x 1 inch

Cut the strips out when you are finished measuring.
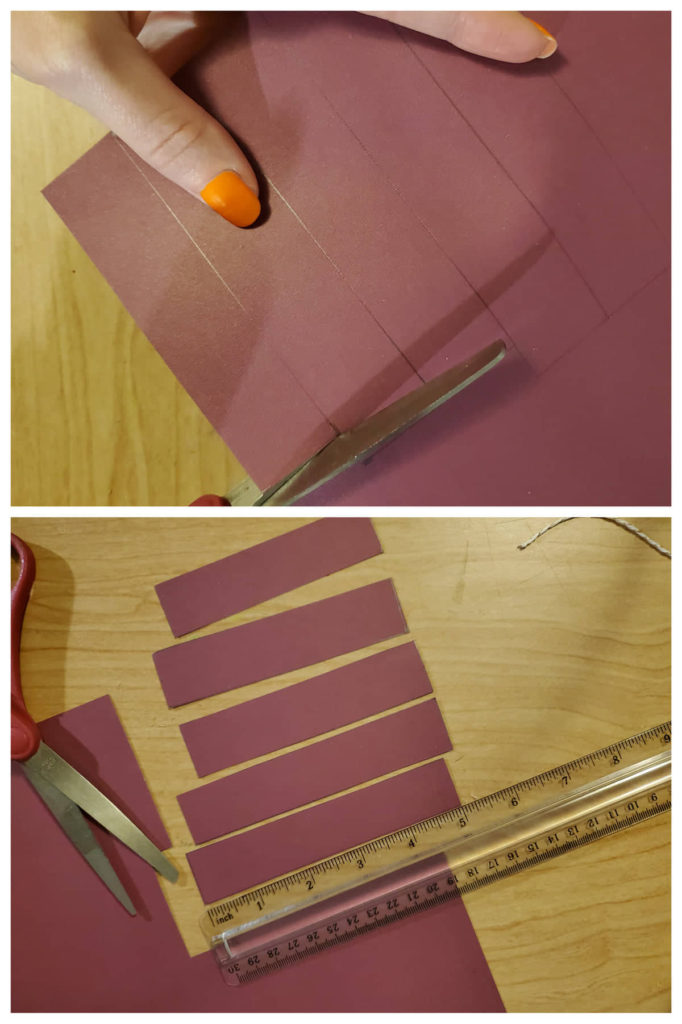
Step three: Putting the easy DIY paper Christmas ornaments together
In this step, you are going to sandwich your paper strips together. They need to go in order so you can achieve the ornament shape when you’re finished. The order the strips go in is as follows:
- Long strip
- Medium strip
- Short strip
- Medium strip
- Long strip

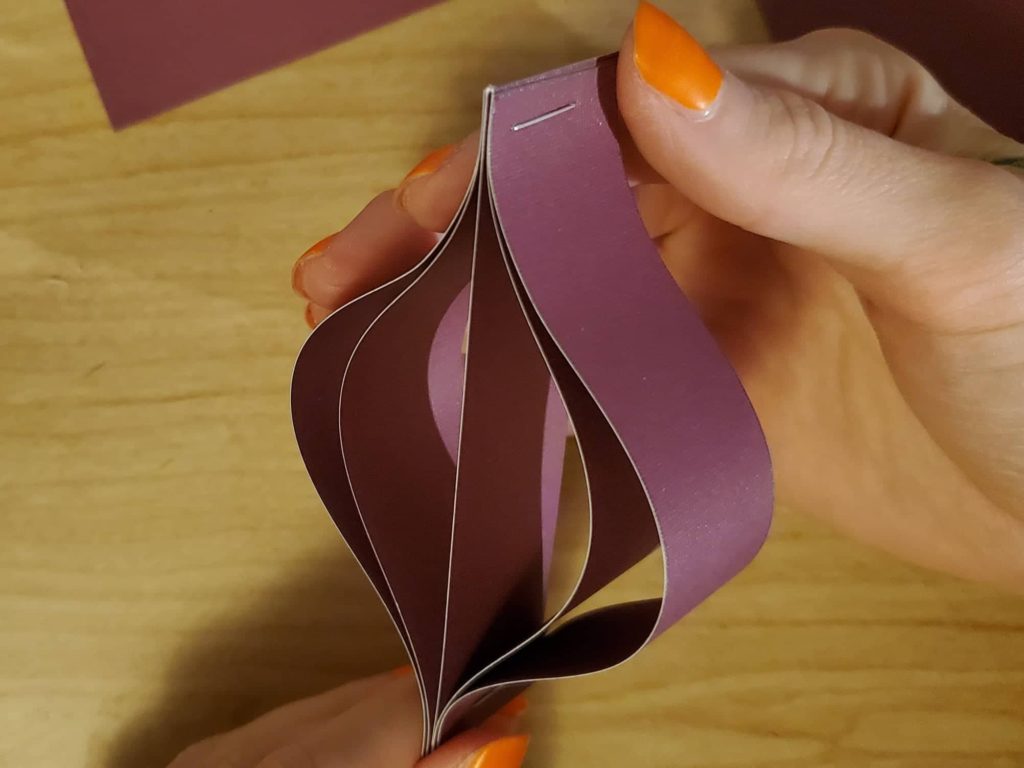
Stack the strips on top of each other in order and match the ends up on one side so they are all together, like in the photo. Staple this end together!

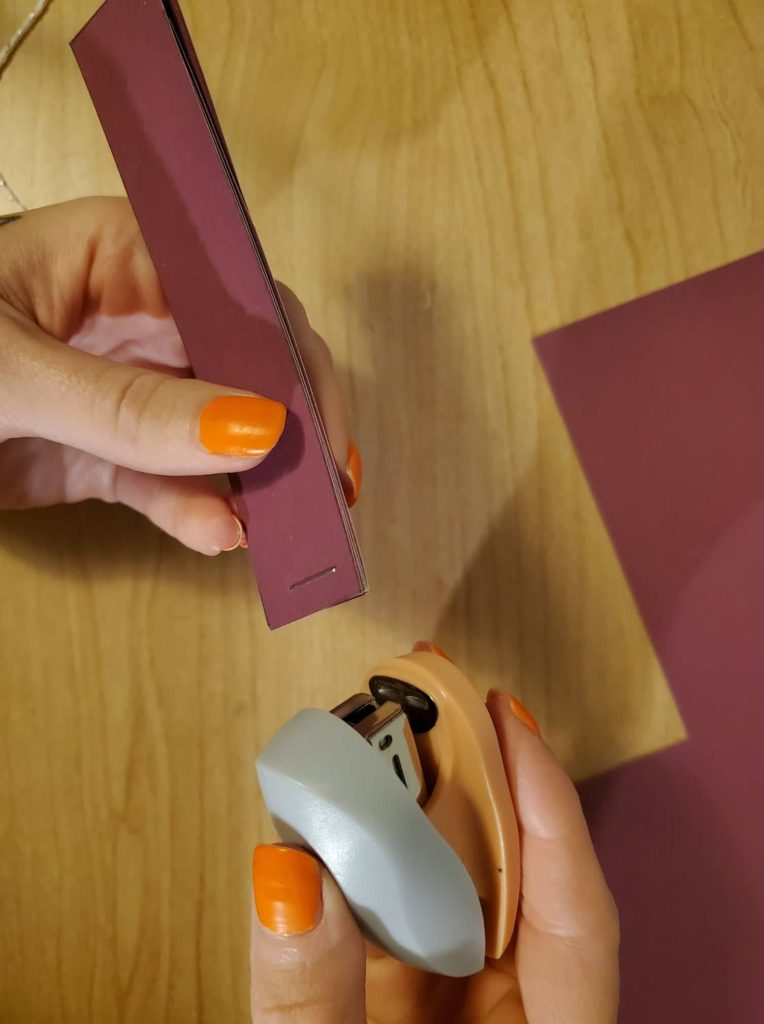

This next part takes a little finesse. After you have secured one end of your easy DIY paper Christmas ornaments, the other end will be uneven. Match the opposite ends of your paper strips up and carefully staple them.
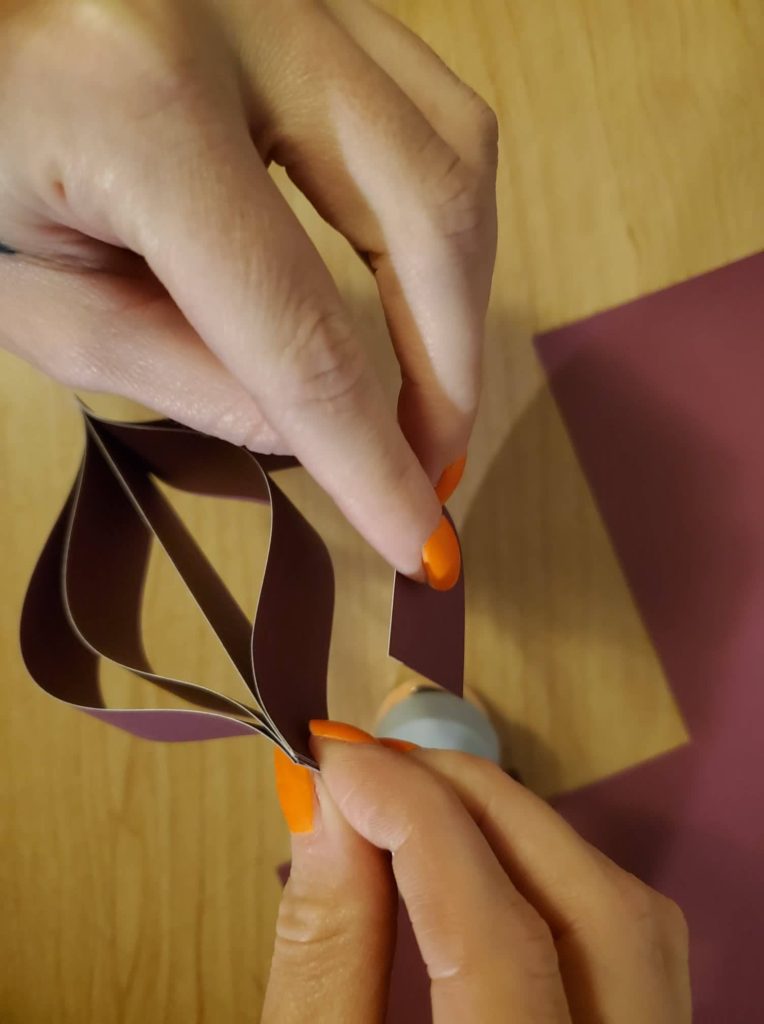
You will end up with this beautifully shaped paper ornament!
Step four: Finishing your ornaments up!
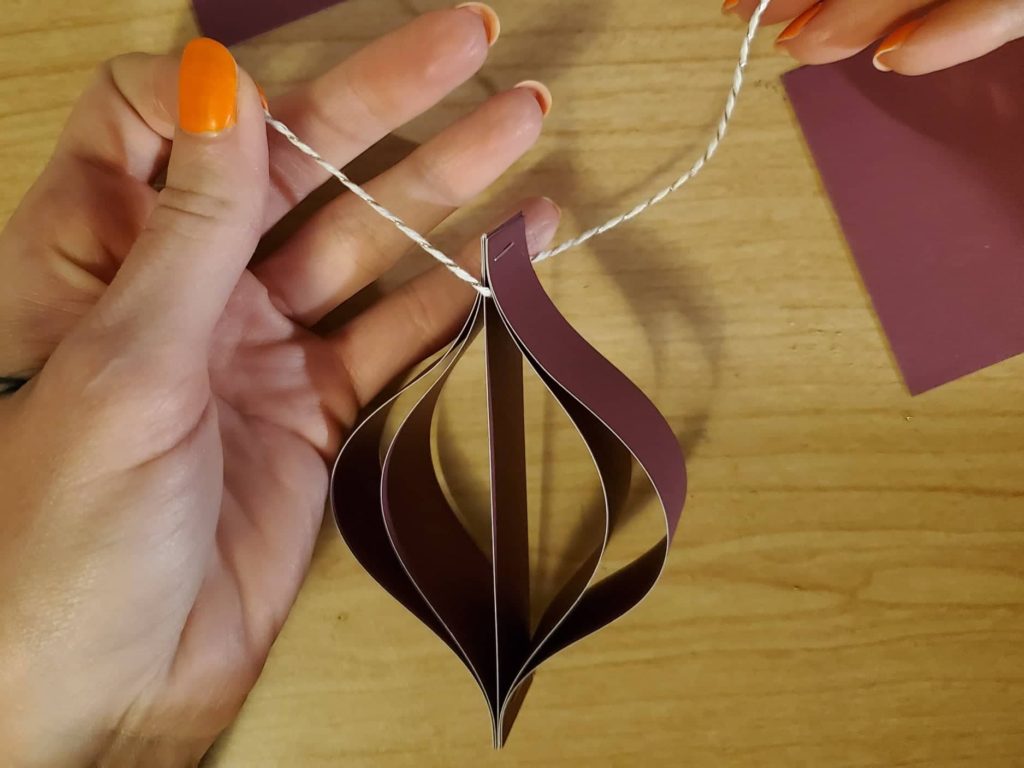
The last this to-do in this oh-so-easy tutorial is to tie your string through one of the sections of the ornament. You are finished with that one and it looks great! how many more are you going to make??
We are a participant in the Amazon Services LLC Associates Program, and affiliate advertising program designed to provide a means for us to earn fees by linking to Amazon.com and affiliated sites.
