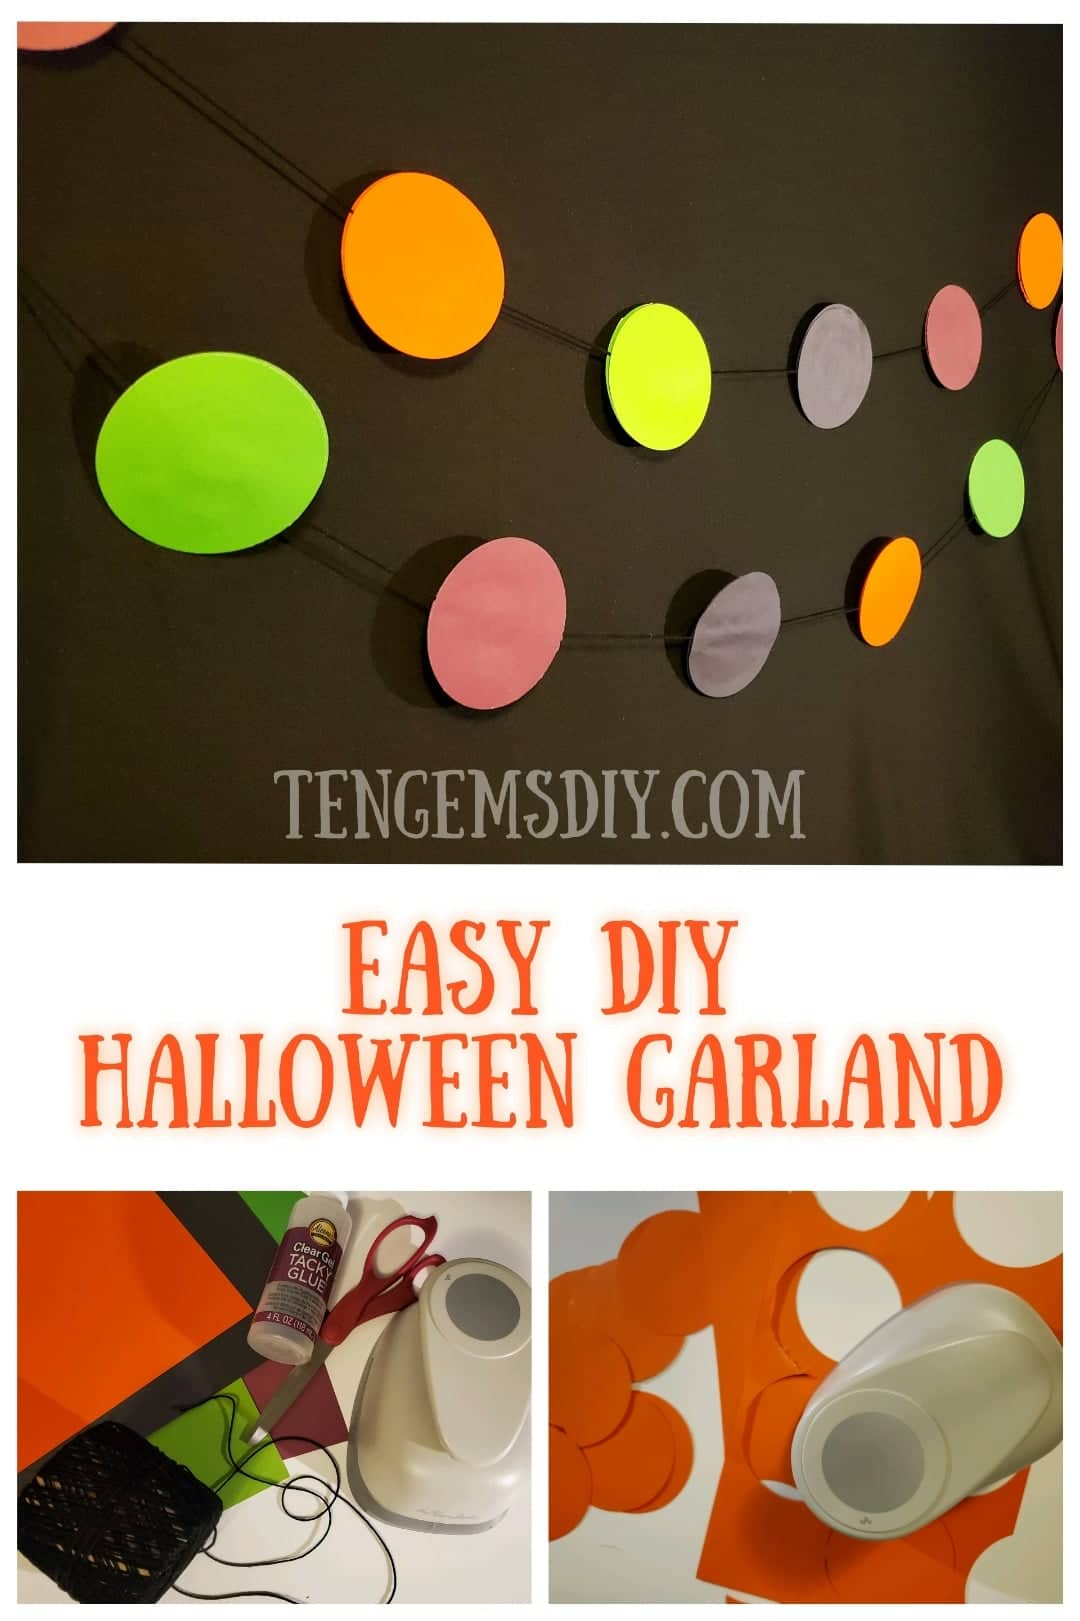
If you’re decorating for Halloween, come see how to make easy DIY Halloween garland! Fun and spooky decorations are the best, but they’re even better when they’re handmade and easy! All you need is a few supplies. One of them is a staple here in the craft room, and it’s an amazing paper punch from the paper studio. I use it for something almost every holiday! You can find it in the list of supplies I’ve added below. If you’re looking for other amazing Halloween decorations to make after you’ve made your easy DIY Halloween garland, try these tutorials!>>
How To Make Pool Noodle Halloween Candles: https://tengemsdiy.com/how-to-make-pool-noodle-halloween-candles/
How To Make A Black Snake Halloween Wreath: https://tengemsdiy.com/how-to-make-a-black-snake-halloween-wreath-diy/
TenGemsDIY is a DIY and craft blog. Some of our posts contain affiliate links for products we have tried and recommend. While clicking the links will not cost any money, we may receive a commission for items purchased, which helps keep our website up and running. Here is the privacy policy for more information: https://tengemsdiy.com/?page_id=3
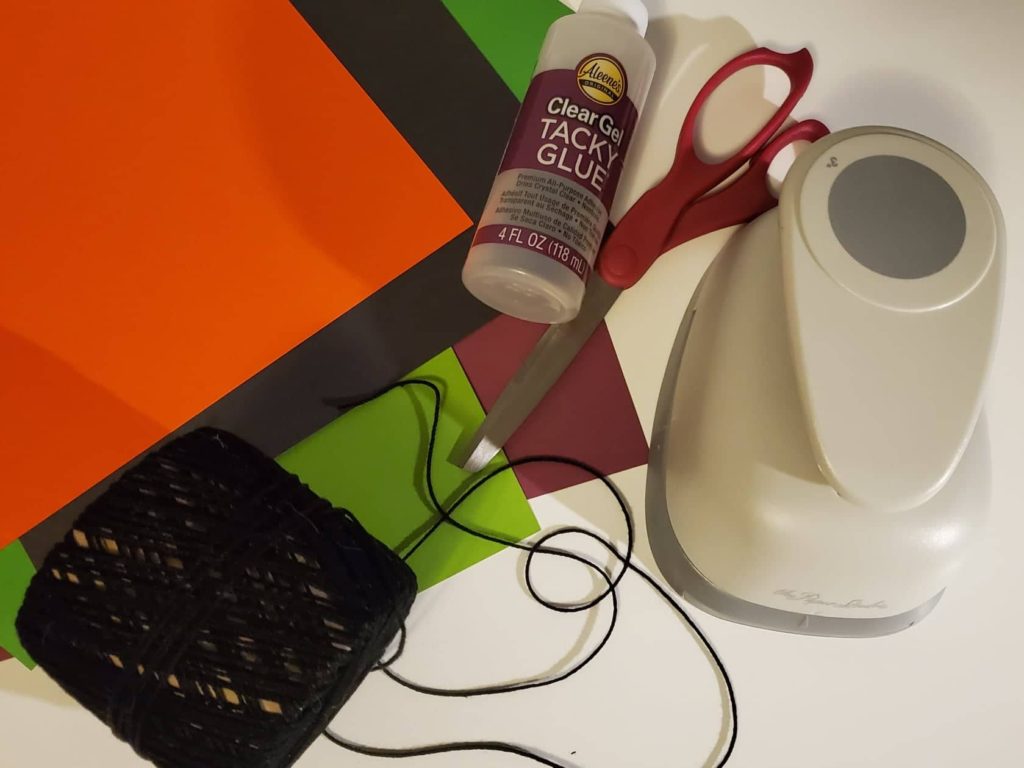
Supplies you’ll need for your easy DIY Halloween Garland, and where to find them:
- 3″ Paper punch – This one from The Paper Studio is my favorite because I’ve found it to be the easiest one to use – https://amzn.to/3z7WQ1F
- Colored card stock – I recommend card stock for most projects because it is sturdy and holds its color well! This is a set with all the best colors – https://amzn.to/3hr2JB4
- String – https://amzn.to/3C7mvcW
- Scissors – I love Fiskars scissors! – https://amzn.to/3C7mHZD
- Glue – I love my clear tacky glue! – https://amzn.to/3Egh7FY
Step one: How long will your garland be?
You might have a specific place in mind where you want your garland to hang. Cut your string to however long you want your garland to be. I like to make a few strands of garland that are four to five feet so I can easily adjust them or move them about. Set your string aside.
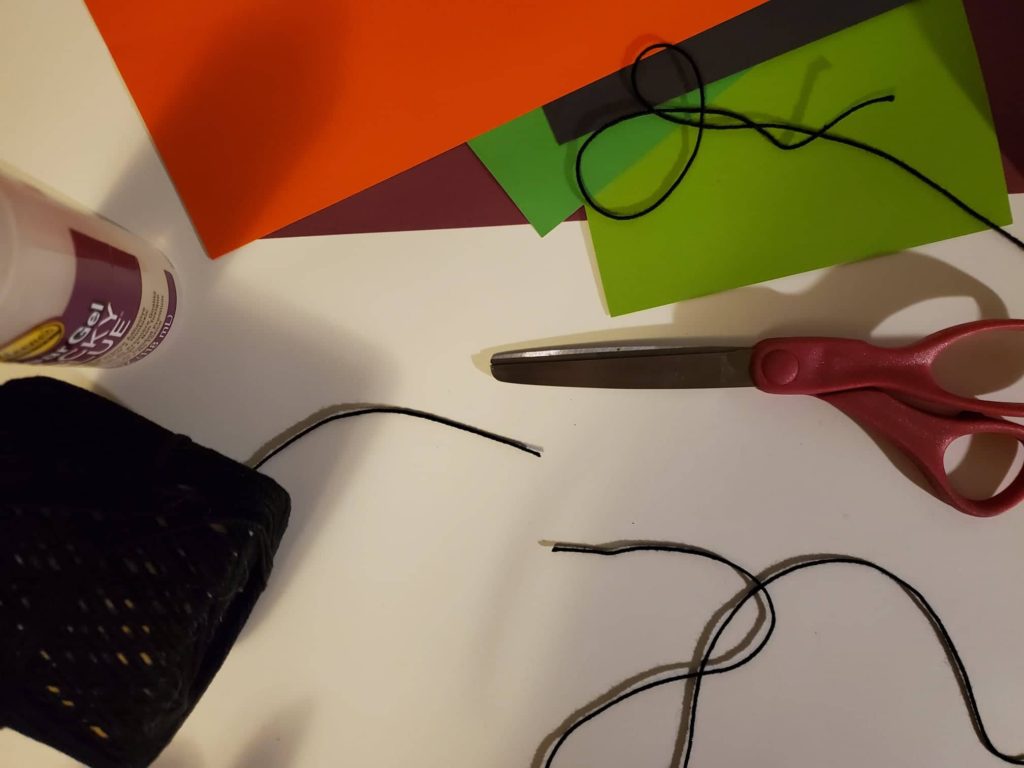
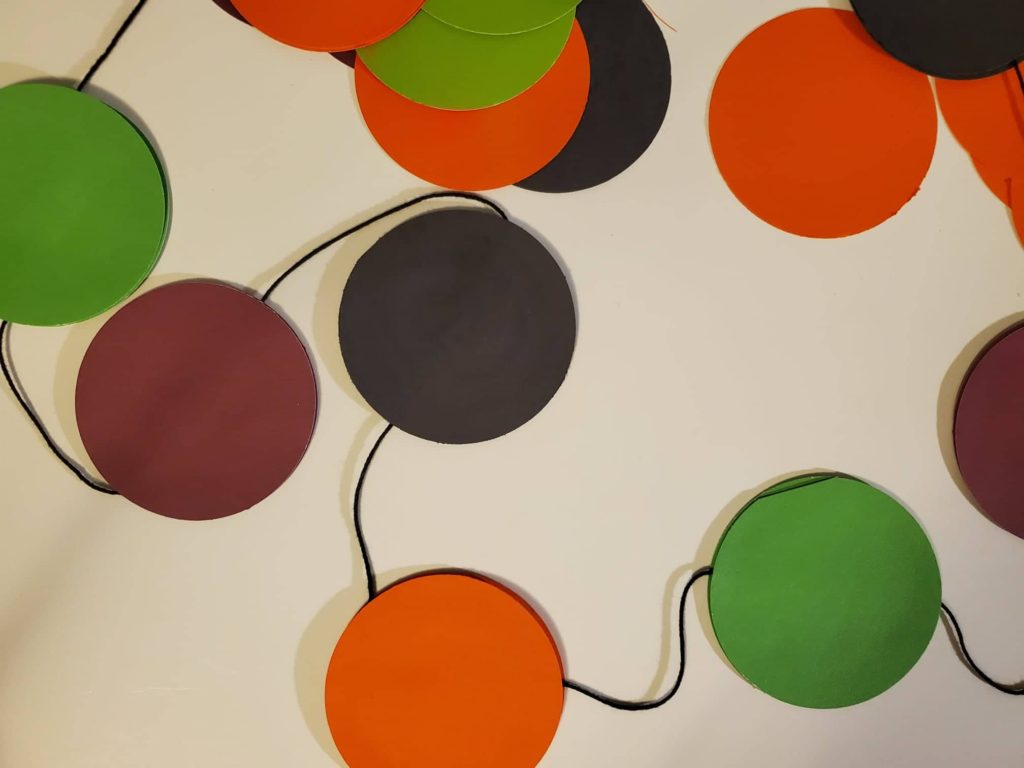
Step two: Choosing your colors
We love Halloween colors! You can use so many variations! Orange and black, red and black, or like I’ve shown here, green, purple, black, and orange! Choose colors that get you in the holiday spirit. I do recommend cardstock, as it is sturdy. Here is a Halloween cardstock set with the perfect colors: https://amzn.to/3hr2JB4
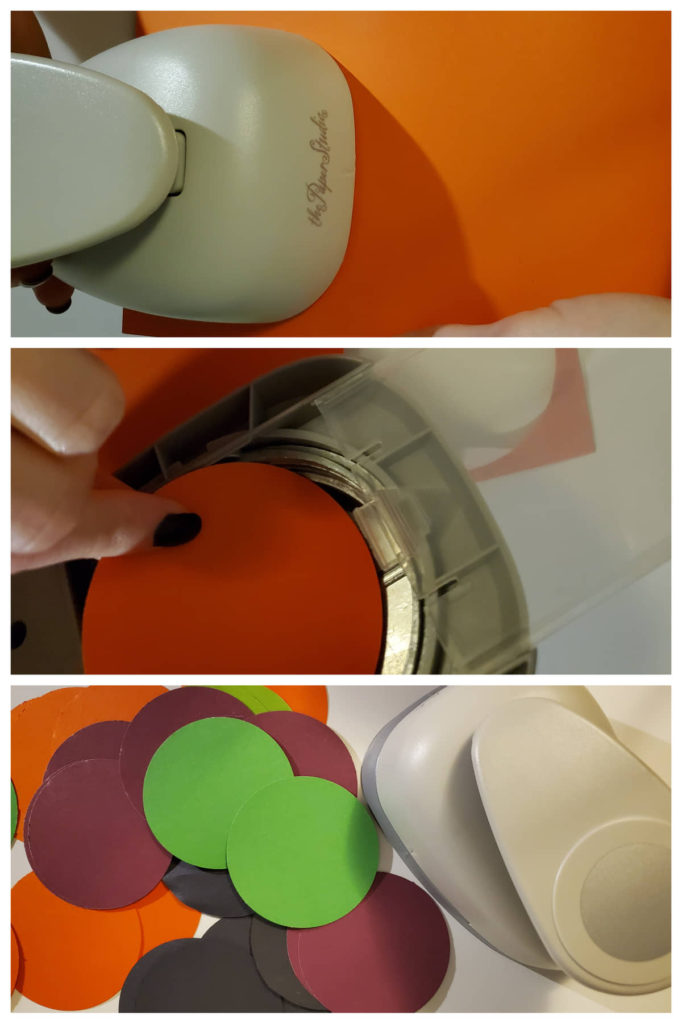
Step three: Cutting out the circles for your easy DIY Halloween garland
I want to show you guys this amazing paper puncher. I use it for a ton of stuff all the time. It’s coming in handy here with the garland. For each circle on the garland, you’ll want to cut out two pieces of paper. So I went ahead and cut out a bunch of circles of each color. This paper puncher has a handy compartment at the bottom too so your pieces don’t go everywhere. Find it here, you’ll love it!> https://amzn.to/3z7WQ1F
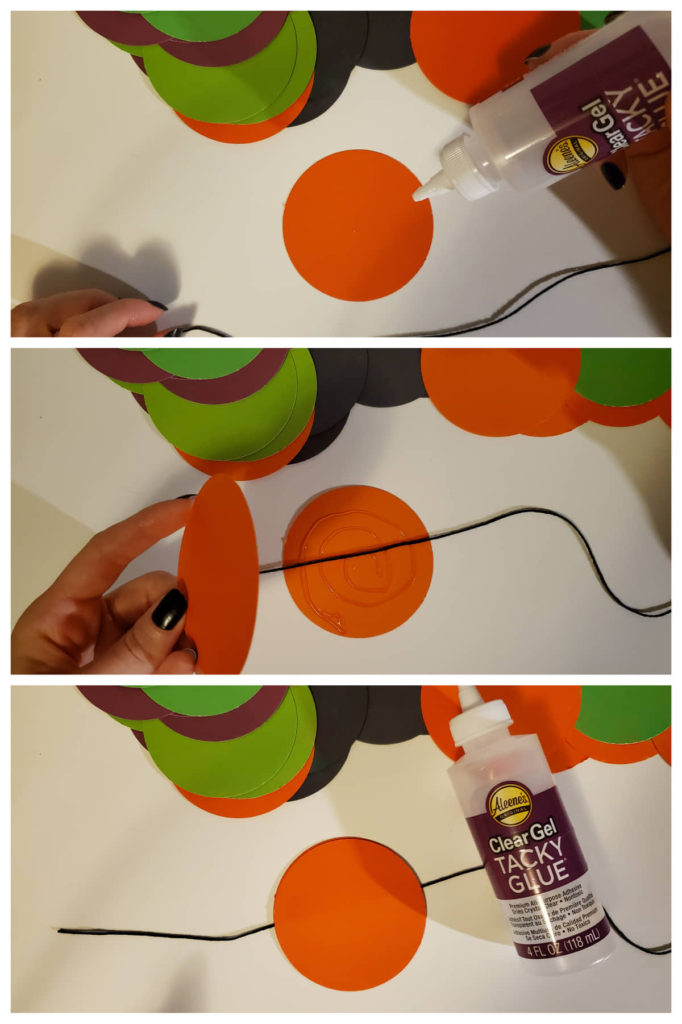
Step four: Getting sticky
After you’ve got all your circles cut out with your puncher, get your string and your glue ready. Start with one circle and give it plenty of glue all the way to the edges. Lay your string across the top of it so it is sitting in the glue as well. Take another circle of the same color and lay it on top of the first circle, sandwiching the string in between. Press them together firmly and move on to the next circle, repeating the steps. You can go inn any color order you like!
Step five: The hard part
The hardest part of any DIY project is letting the glue dry! It is an essential step though. If you use the clear tacky glue recommended above, it dries fairly quickly.
Hang your amazing Easy DIY Halloween Garland up for all the spooky trick-or-treaters to see! Let your creativity bring all the spooky vibes this Halloween season!
If you have little ones who love to create and you’d like to introduce creativity and motor skills through spooky artwork, see these super fun tutorials for kid approved projects:
Tissue Paper Pumpkin Crafts For Kids https://tengemsdiy.com/how-to-make-pumpkin-tissue-paper-crafts-for-kids/
Easy Yarn Spider Web Crafts For Kids https://tengemsdiy.com/how-to-make-yarn-spider-web-crafts-for-kids/
Easy Bat Silhouette Crafts For Kids https://tengemsdiy.com/how-to-make-silhouette-bat-crafts-for-kids/
We are a participant in the Amazon Services LLC Associates Program, and affiliate advertising program designed to provide a means for us to earn fees by linking to Amazon.com and affiliated sites.