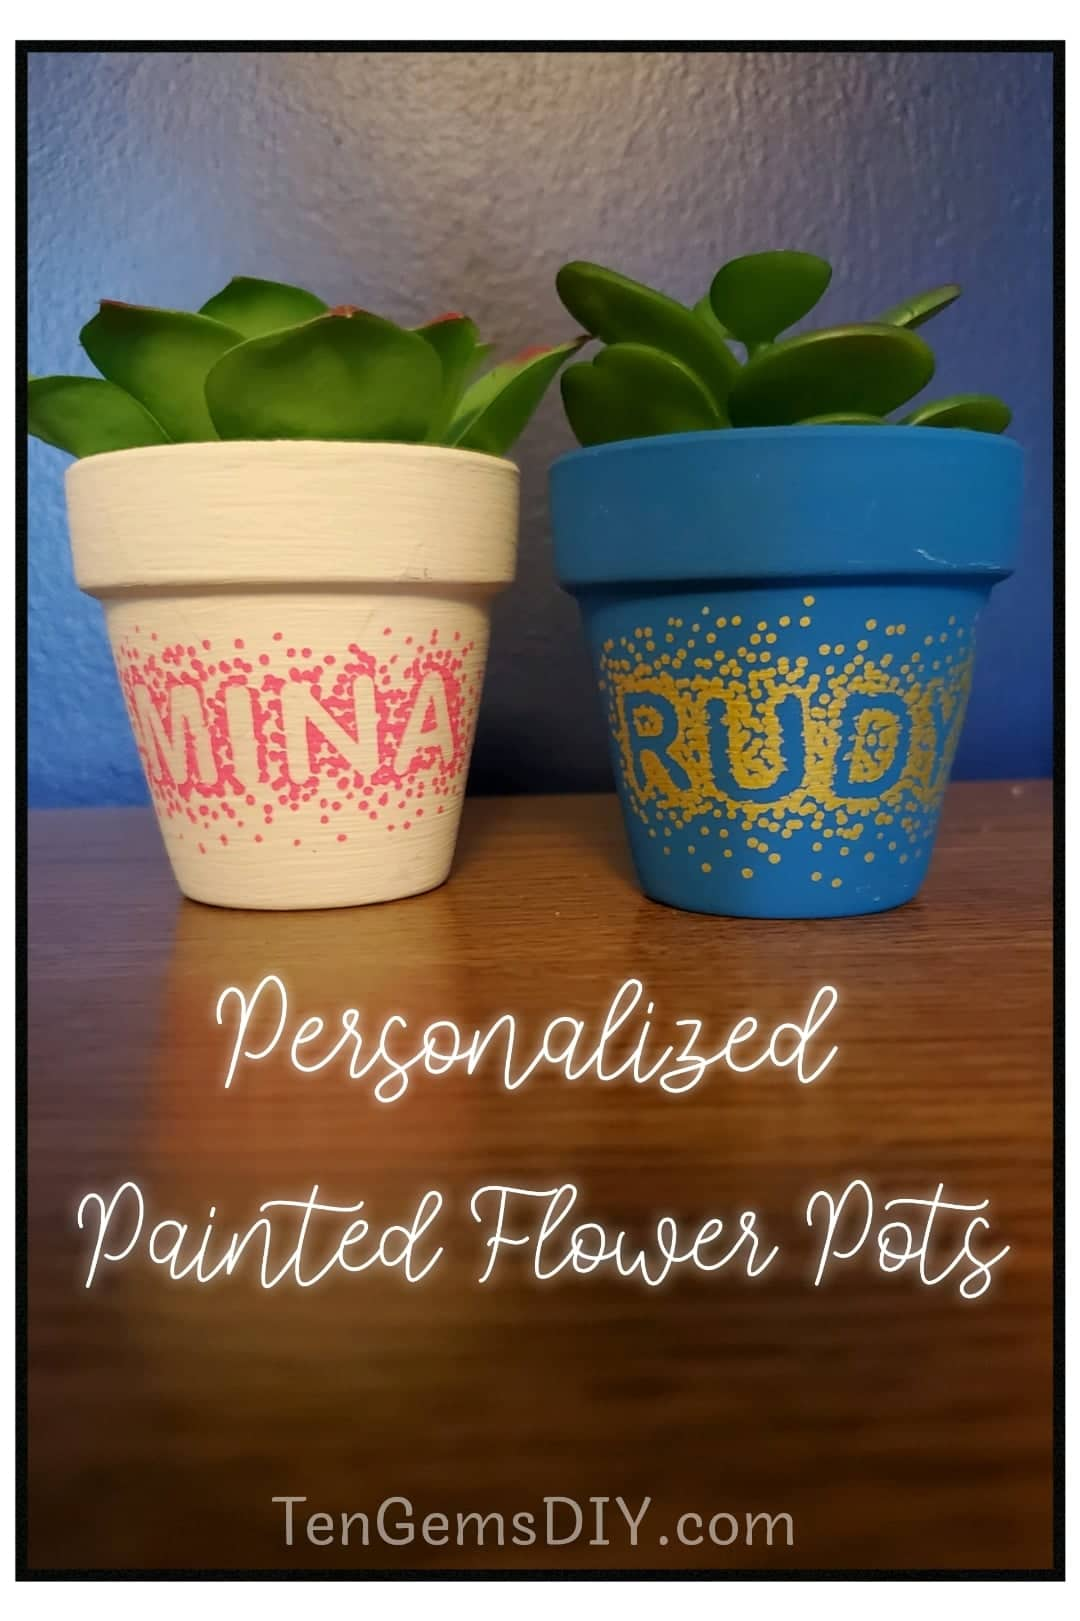
These personalized painted flower pots are great one of a kind additions to your plant display. I made one for my succulent with it’s name beautifully painted on the front. I believe my little plant is happier since I made it a customized pot. DIY painted flower pots are also a really great gift. Make one for your BFF with their name on it, or make one for yourself with your own nice name in any color you’d like.
For other great summertime DIYs, check these other tutorials out!
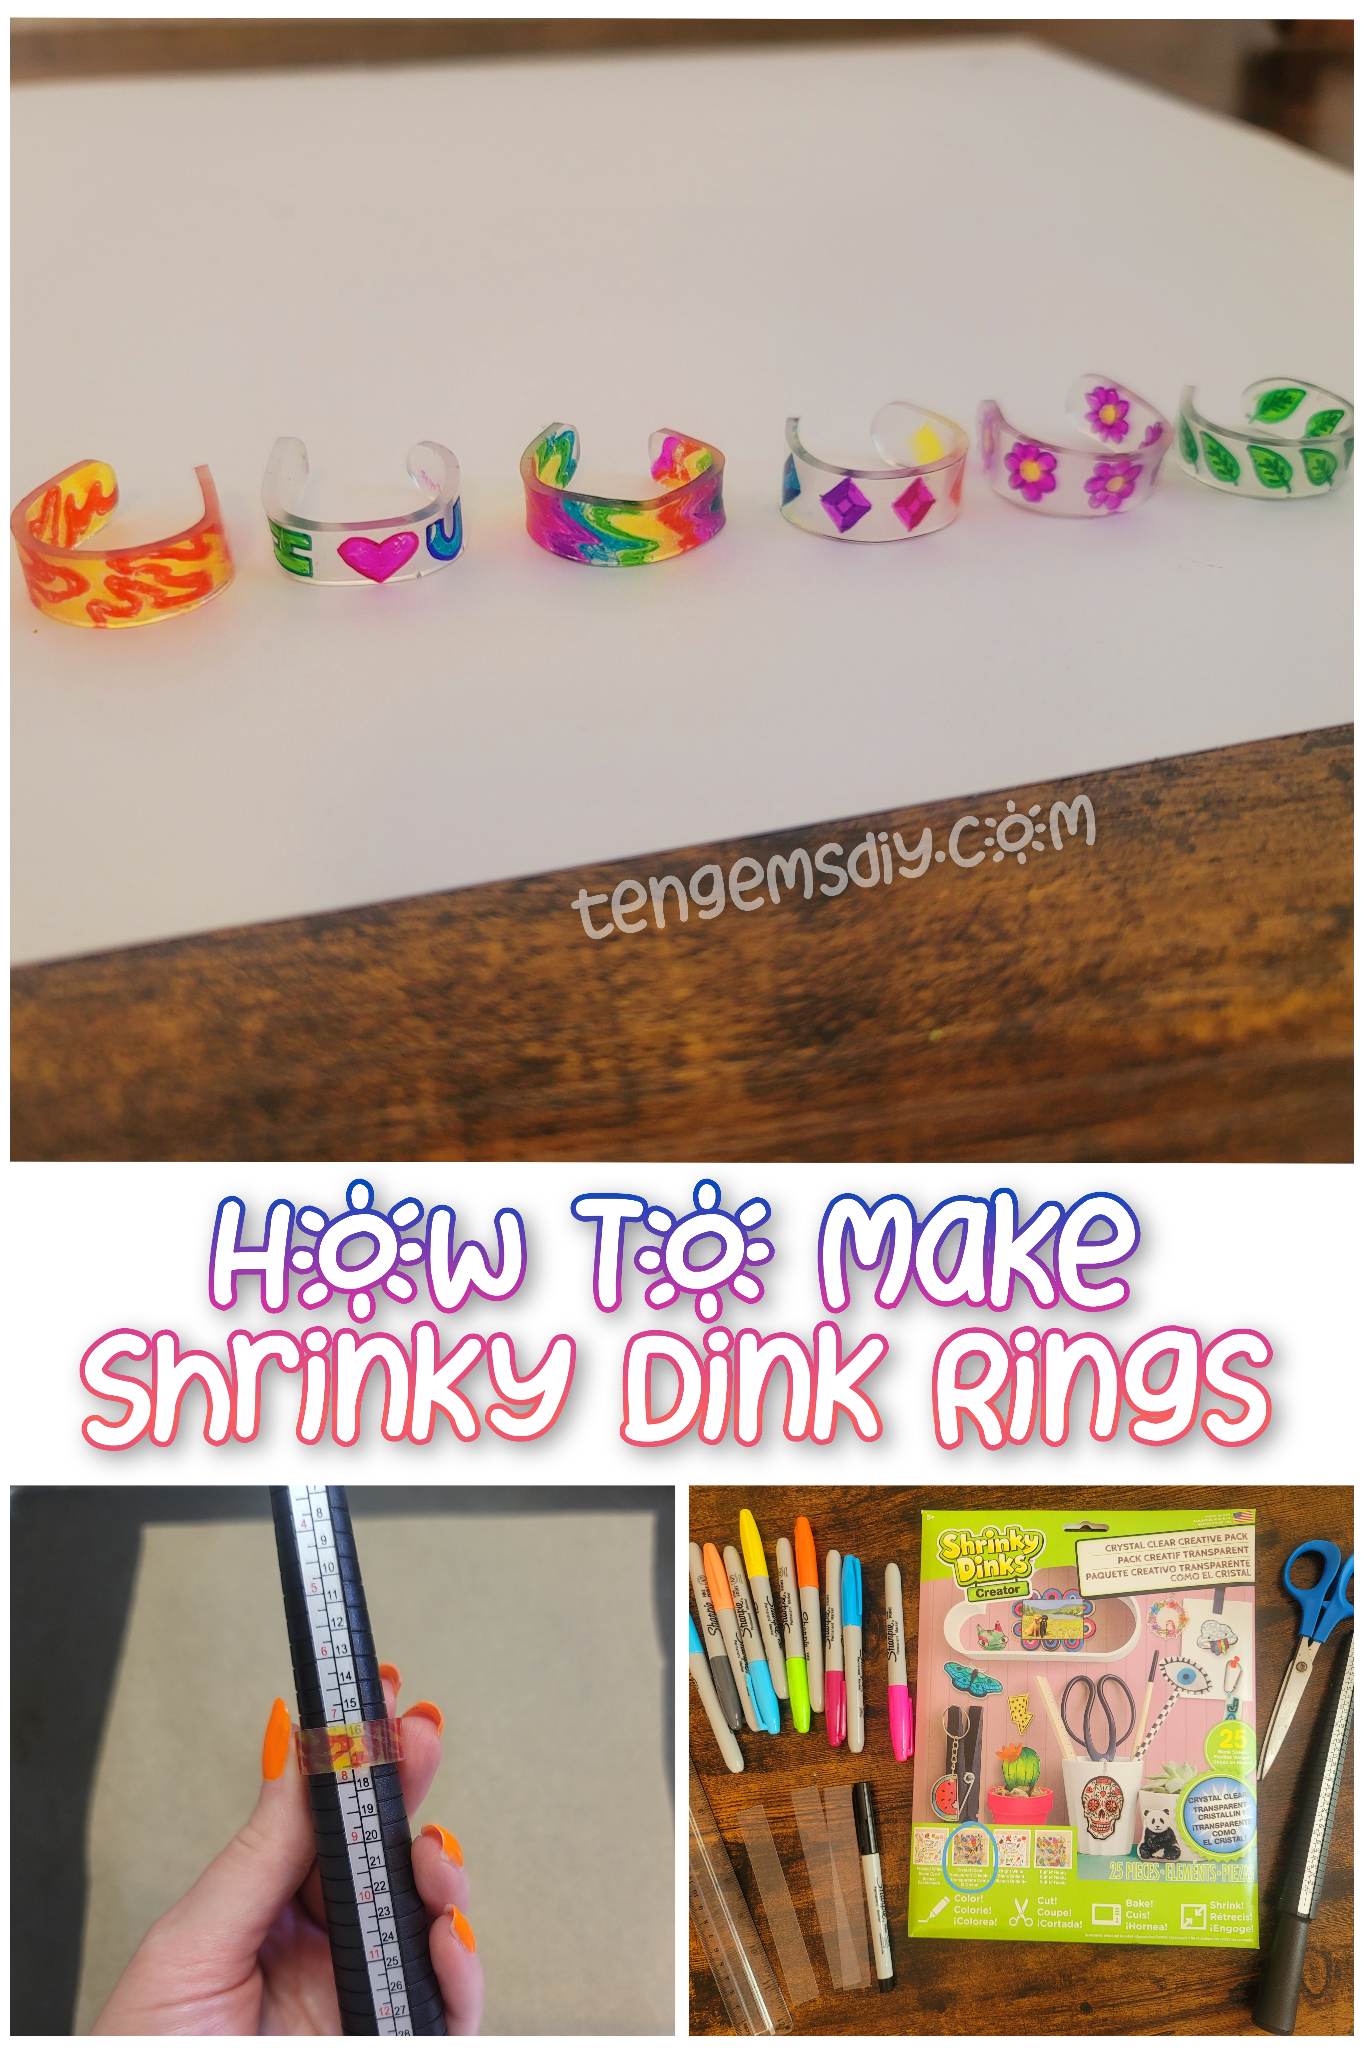
- How To Make Shrinky Dink Keychains – https://tengemsdiy.com/how-to-make-shrinky-dink-handprint-keychains/
- How to make Rainbow Pony Bead Keychains – https://tengemsdiy.com/how-to-make-rainbow-pony-bead-keychains/
- How to make colorful DIY painted flower pots! – https://tengemsdiy.com/colorful-diy-painted-flower-pots/
- How to make a summer wreath with cocktail umbrellas! – https://tengemsdiy.com/how-to-make-a-summer-wreath-with-cocktail-umbrellas/

TenGemsDIY is a DIY and craft blog. Some of our posts contain affiliate links for products we have tried and recommend. While clicking the links will not cost any money, we may receive a commission for items purchased, which helps keep our website up and running. Here is the privacy policy for more information: https://tengemsdiy.com/?page_id=3
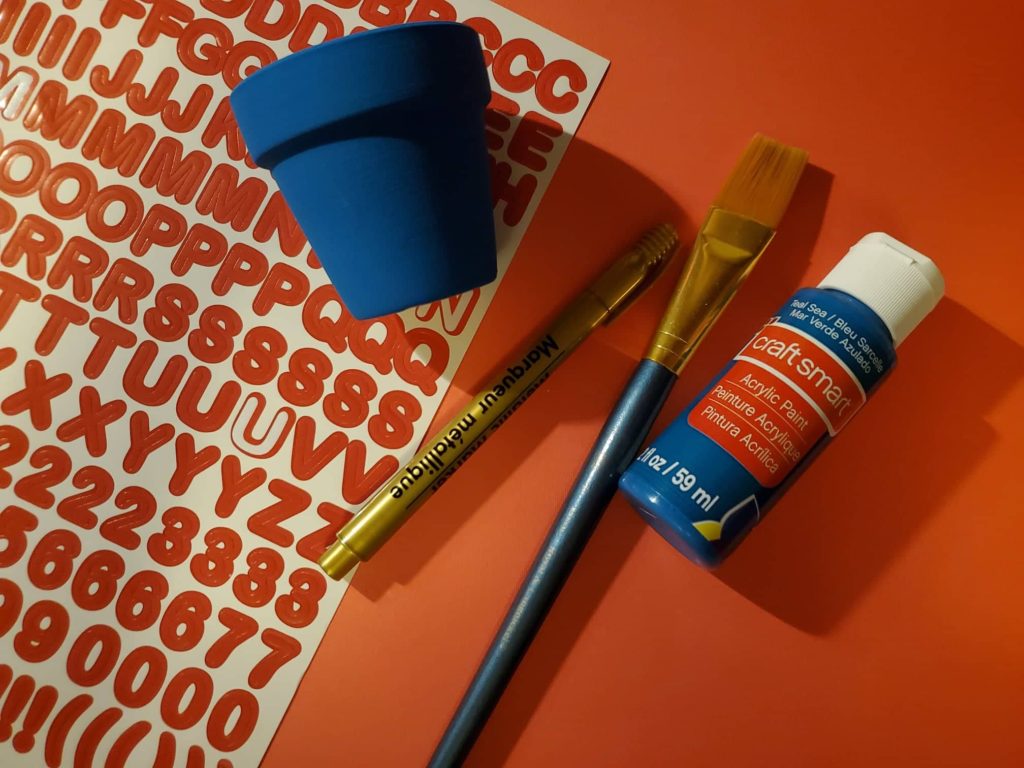
Supplies you’ll need for your personalized DIY painted flower pots, and where to find them:
- Terra cotta pots – For this craft, I used small pots – https://amzn.to/2UXY2q3
- Letter stickers – https://amzn.to/2UnBDmh
- Acrylic paints – Apple Barrel brand is multipurpose and really great – https://amzn.to/3wVkgGD
- Paint brushes – https://amzn.to/3zkFK12
- Paint pens – https://amzn.to/2UwHyFx
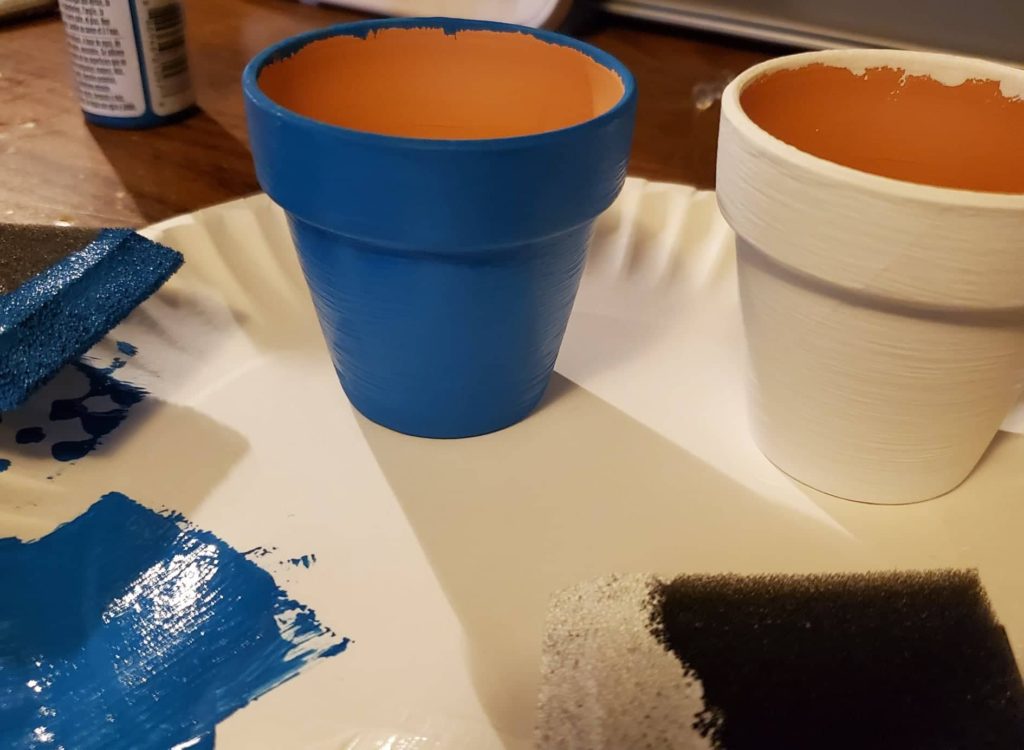
Step one: Picking your first color
The first step to making your personalized DIY painted flower pots is choosing what you want the main color to be. For Rudy’s pot, I chose a nice blue. He looks good in blue. Paint the outside of the pot. Its not necessary to paint the whole inside of the pot. The hardest part of any painting project is waiting for the paint to dry. Luckily acrylic paints dry pretty quickly.
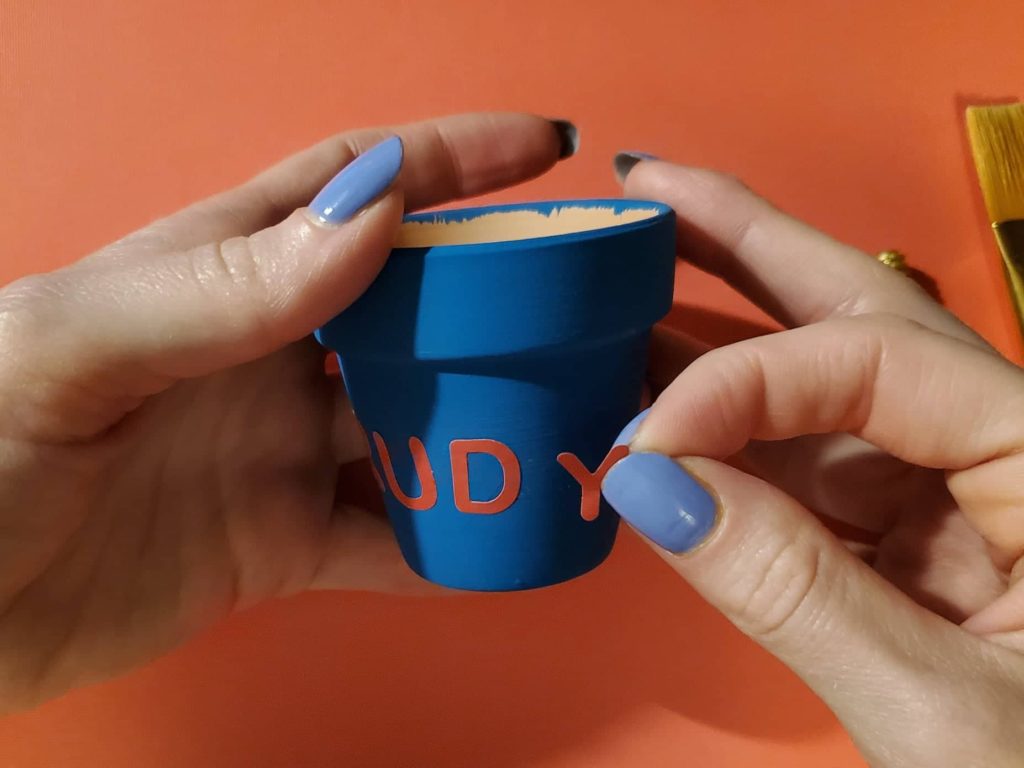
Step two: What’s the word?
What name or word are you going to put on your DIY painted flower pot? It can be a name or a short phrase or a word that makes you happy! Use your letter stickers to spell out the word or words you have chosen. Make sure to press the stickers firmly to the pot.
Step three: Using your second color
What color would you like the dots around your letters? The best tool for the job here is a paint pen as it will help keep its vibrant colors over your first layer of paint. The link for the paint pens are up at the top in the list of supplies you’ll need.
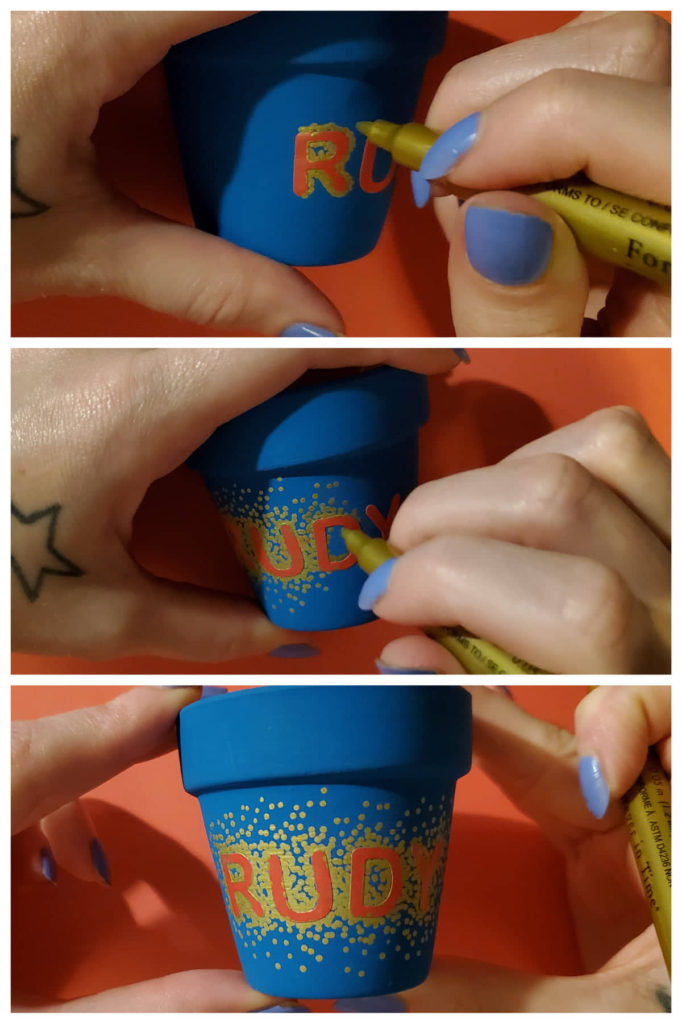
Start creating dots around your letters. You want to cover the outside edge of your letter stickers completely so you can clearly see the letter. Create less dots as you get farther from your letters, making sure they’re more dispersed the farther away you get.
Step four: Completing your personalized DIY painted flower pots
Give the paint from your paint pen time to dry. This will help prevent smudging as you’re taking your letters off. After it’s all dry and had some time to rest, carefully peel off your letter stickers to reveal your beautiful painted flower pot!

The most fun part of this whole project is giving a little plant baby a nice, one-of-a-kind home. Display it for everyone to see and for your plants to be admired!
We are a participant in the Amazon Services LLC Associates Program, and affiliate advertising program designed to provide a means for us to earn fees by linking to Amazon.com and affiliated sites.