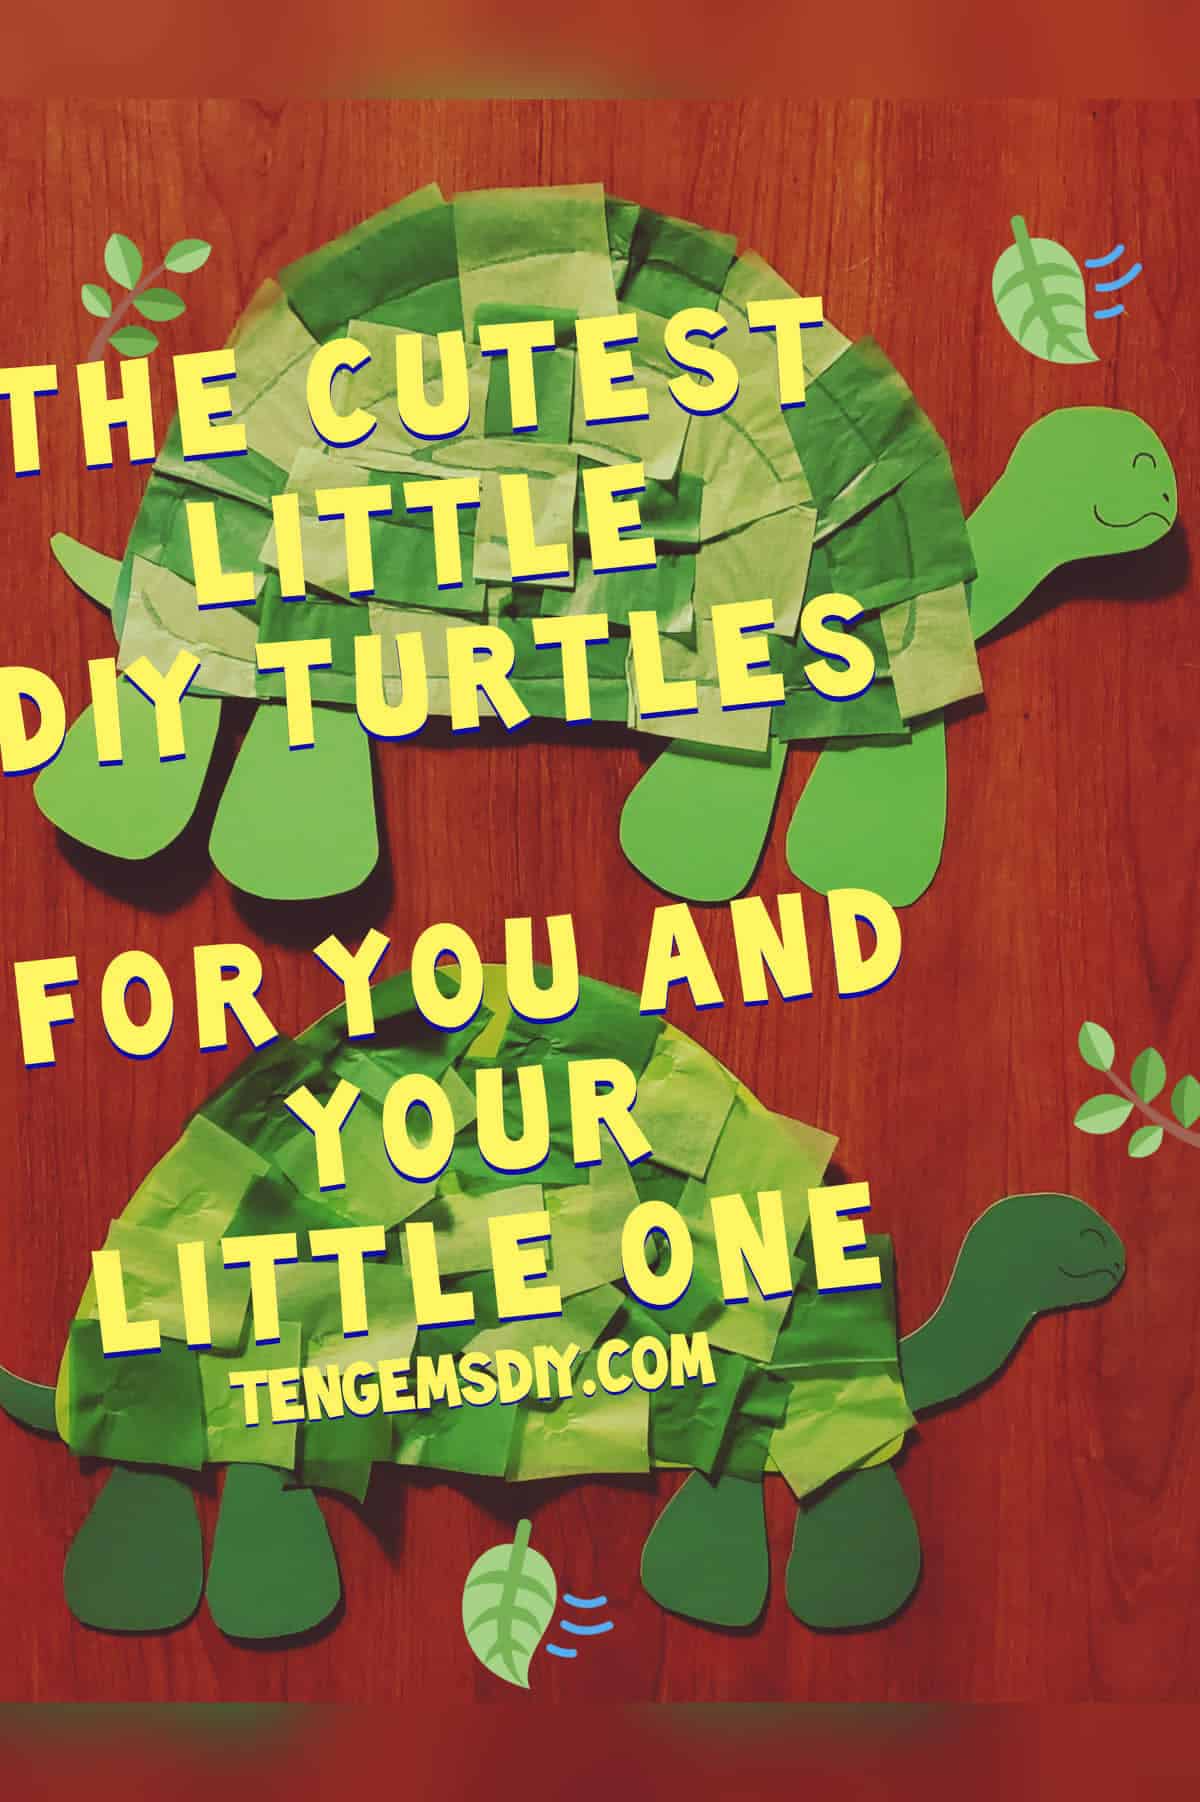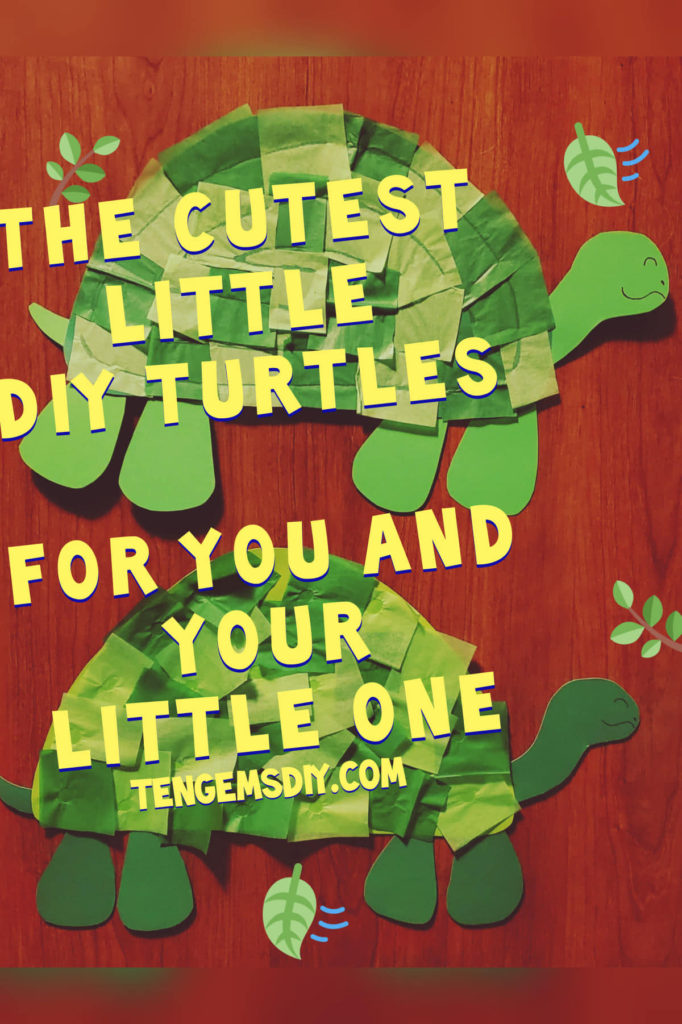
Everyone loves turtles! Each one has so much personality. Some are soft spoken and slow. Some are kinda cranky and quick to bite. Here’s how to make your own happy tissue paper turtle! ![]() TenGemsDIY has quite a few tissue paper crafts. Our favorites are the ones that are easy!
TenGemsDIY has quite a few tissue paper crafts. Our favorites are the ones that are easy!
This is a super sweet DIY Faux Stained Glass with tissue paper! https://tengemsdiy.com/?p=154
For another adorable animal craft for kids, check out this tutorial for easy clean up lamb crafts for kids! https://tengemsdiy.com/how-to-make-adorable-lamb-crafts-for-kids/
What you’ll need for your Tissue Paper Turtles:
- Sturdy green Paper – I recommend cardstock – https://amzn.to/3kFCKZi
- Green tissue paper – Here is a great assortment of greens – https://amzn.to/3zkRPDo
- Scissors – https://amzn.to/3wYolJT
- Glue – https://amzn.to/3zjWdCJ
- Marker – https://amzn.to/2UoiWyT

Step one: How big is your turtle going to be?
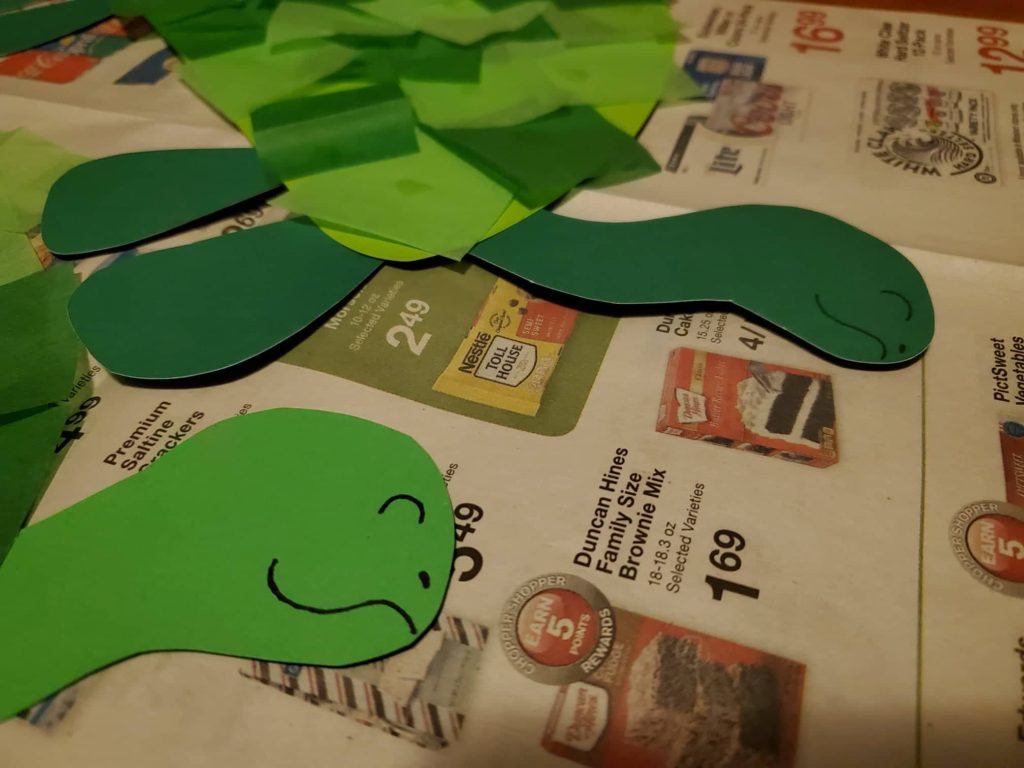
My daughter and I decided we wanted our turtles to be big! We first cut out a half circle for the shell, followed by four stubby legs, a head and a little tail. You can use any colors in green that you’d like. You could even get wild with it and use any other colors. Pink and purple turtles? Yes please. It’s your turtle! At this point, before you start gluing, you could set down some scrap paper just to help keep your work surface clean.

Step two:
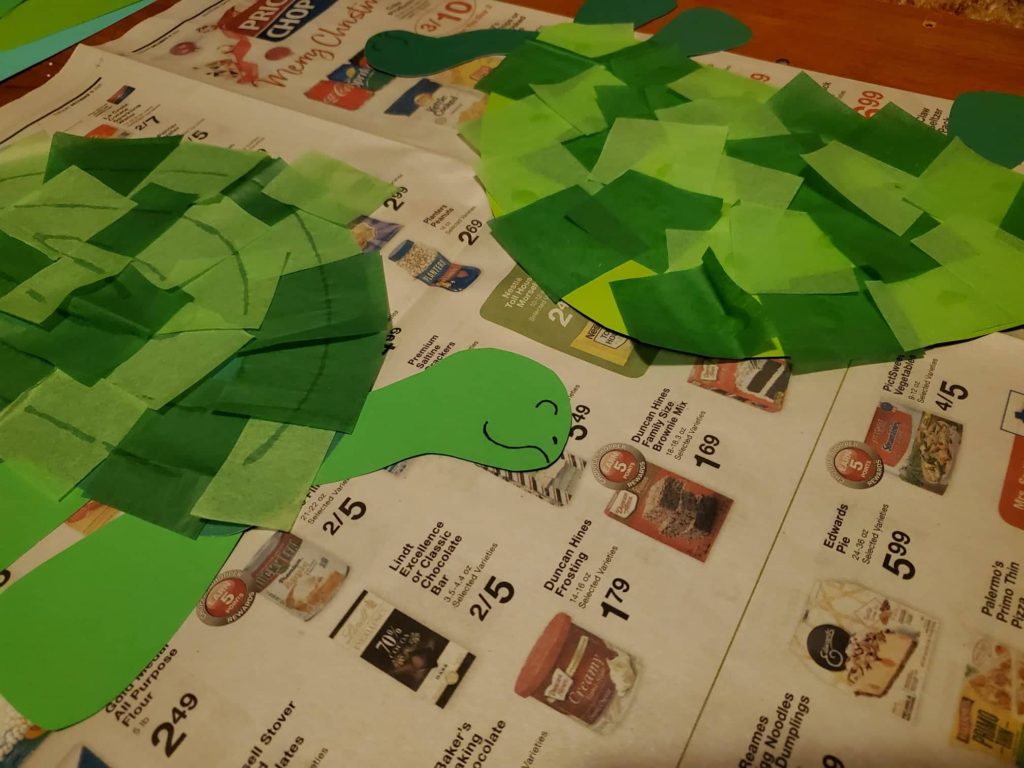
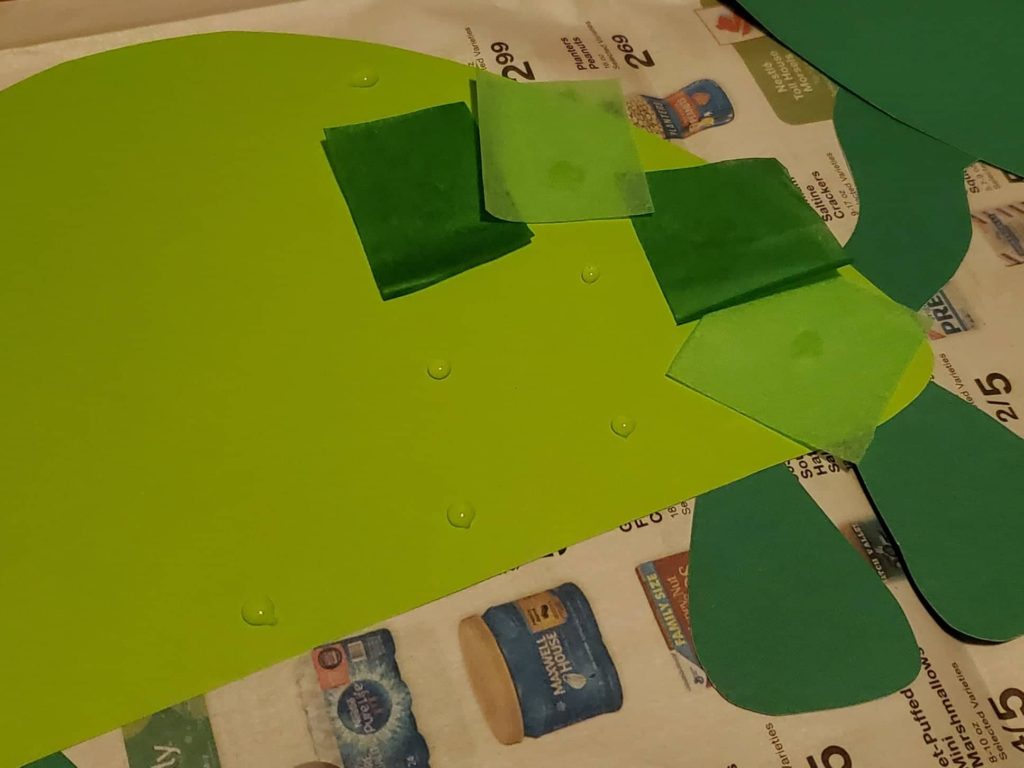
Next we’ll glue the little legs, tail and the turtle’s head to the back of the shell. Let the glue dry for a bit. You could use this time to complete step three!
Step three: Here’s where the tissue paper comes in
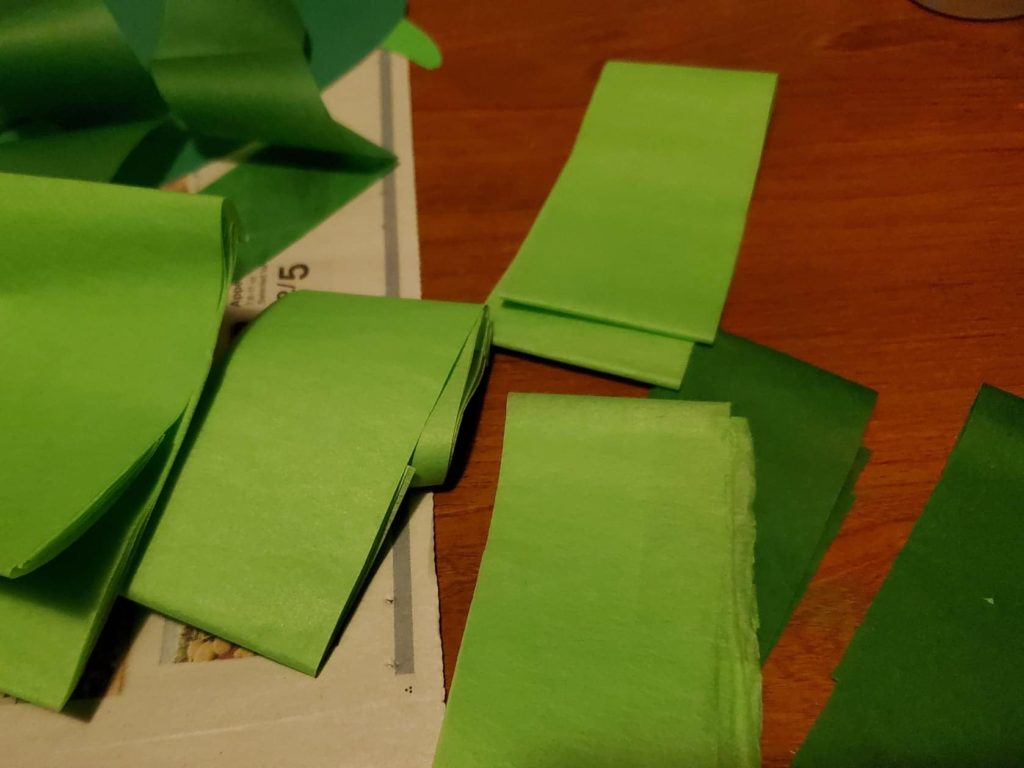
For step three you’ll grab the tissue paper you’ve chosen for this project. I picked up a pack of green tissue paper from the dollar store. Here you’ll do some cutting. We kept the tissue paper folded up, and cut it so we would have strips. Then we cut those strips in to rough squares and rectangles.

Step four: Decorate your little turtle’s shell!
Take your little naked turtle and get him or her all gluey. Start covering your tissue paper turtle’s shell with your cut up tissue paper. You can make patterns and designs. You can make it any way you like. When you finish covering your lovely little tissue paper turtles, let them dry.
Step five:
This isn’t a necessary step, but is a fun one. Give your new pet a sweet smile!
