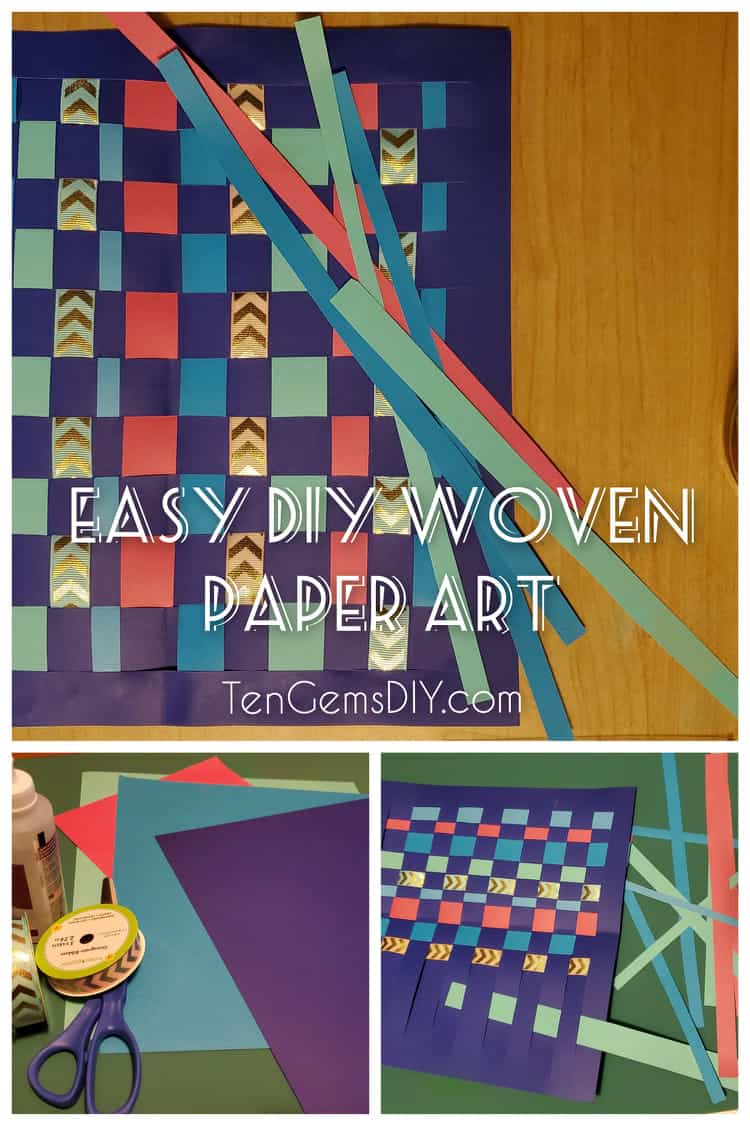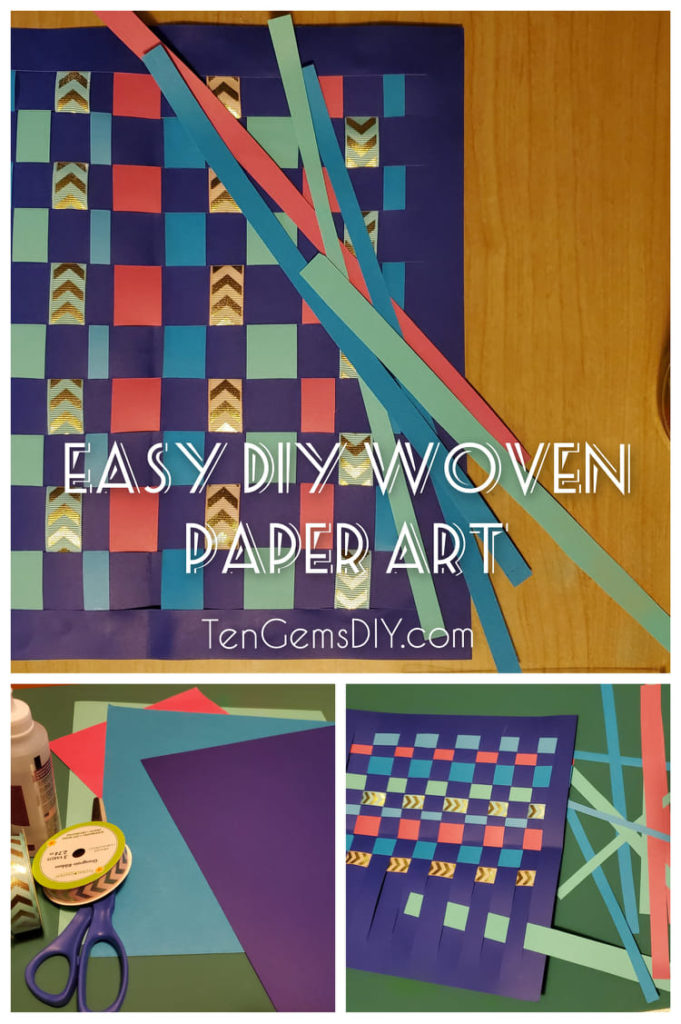
I remember doing this Paper Weaving Craft For Kids art project in grade school. I looked up to my art teacher a lot. She was tall, with neatly done up, gray hair. She loved to wear long denim and plaid dresses. And she allowed us to be ourselves. Art has always been my happy place, and it’s little projects like this that are our own masterpieces.
If you’re looking for other ways to use up that scrap paper you have laying around, check these out!
How to make unique and colorful paper mosaics https://tengemsdiy.com/?p=50
How to make DIY Starburst Wreath https://tengemsdiy.com/?p=127
TenGemsDIY is a DIY and craft blog. Some of our posts contain affiliate links for products we have tried and recommend. While clicking the links will not cost any money, we may receive a commission for items purchased, which helps keep our website up and running. Here is the privacy policy for more information: https://tengemsdiy.com/?page_id=3
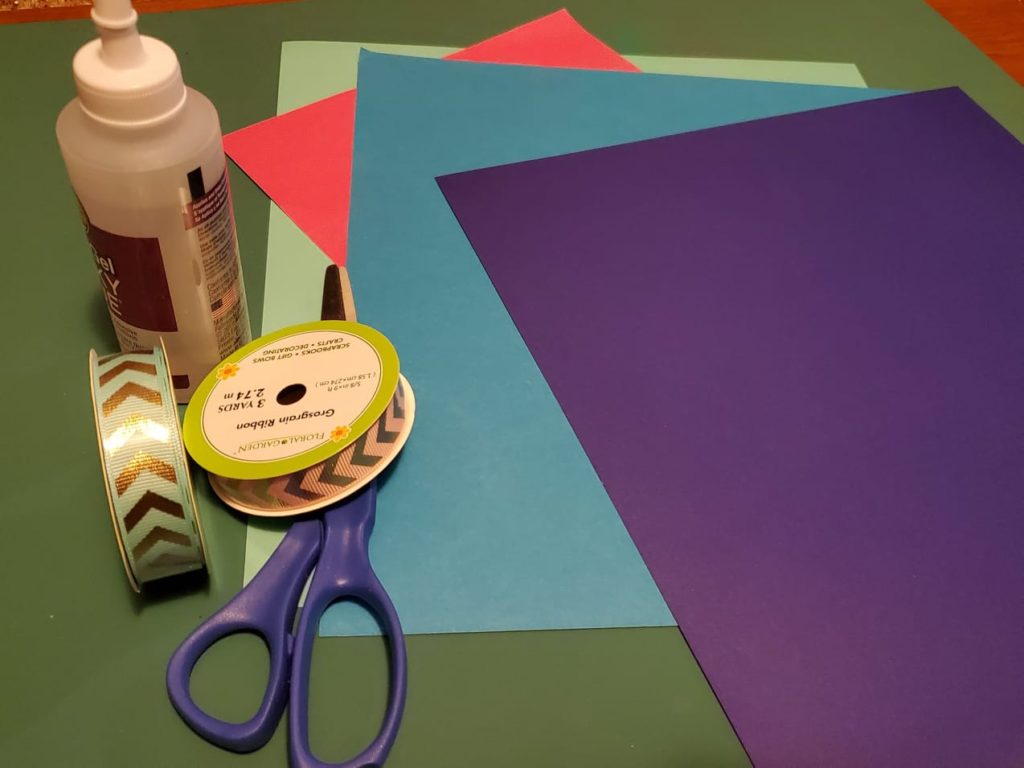
What you’ll need for your Paper Weaving Craft For Kids:
- Sturdy paper for your background. I used 12″x12″ cardstock – https://amzn.to/379lxCH
- Paper in your choice of colors to weave with
- Optional: I’ve also used ribbon in this example for extra zazz – https://amzn.to/3pGZt91
- Glue – https://amzn.to/3Mt7Q1r
- Scissors – https://amzn.to/3HOKnV8
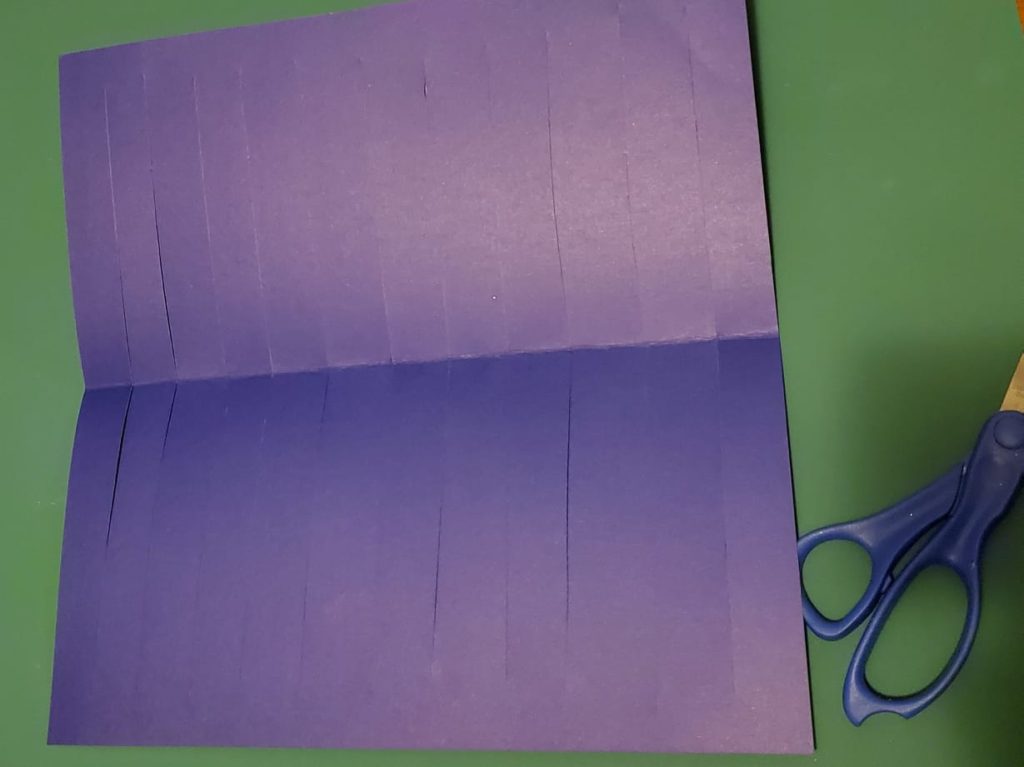
Step one: Creating your base
Firstly, fold your paper in half. If you have a rectangular paper, fold your paper in half, hamburger style, or so the short ends meet.
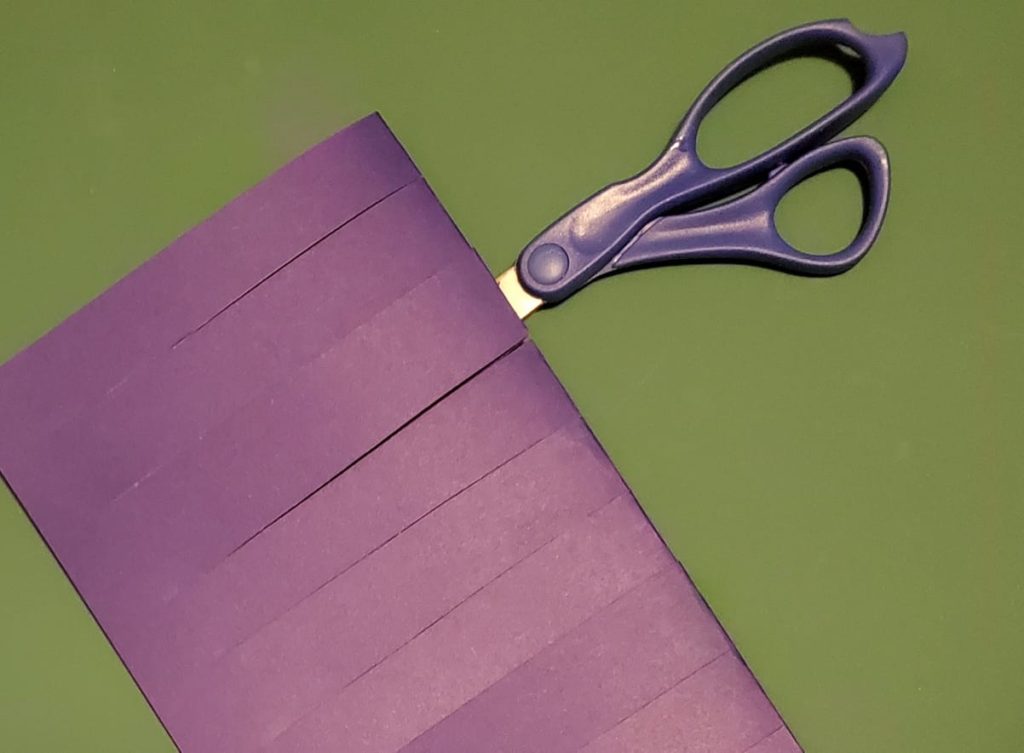
Step two: Carefully cut your base to weave
After you’ve folded your paper, carefully cut strips (while it’s still folded), starting about one inch from the edge of your paper. Do not cut all the way across. You will have to stop your cut about an inch from the edge of the paper. This assures your background paper stays in one piece, and you will be able to weave in to it. I have cut my strips to one inch.
Step three: Cutting the strips to weave your Paper Weaving Craft For Kids
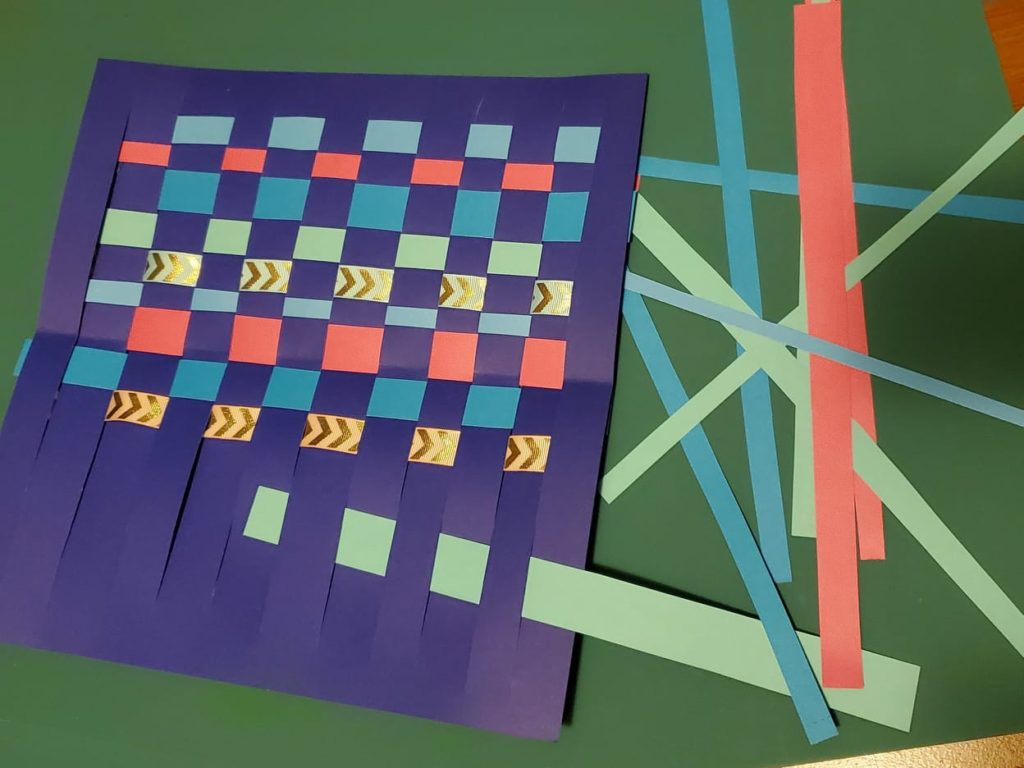
Here we start to cut our weaving strips! You can make them any width. My daughter and I used some thin and some thicker paper strips and wove them. We have also added some ribbon! The ribbon adds a different texture and a little bit of shine.
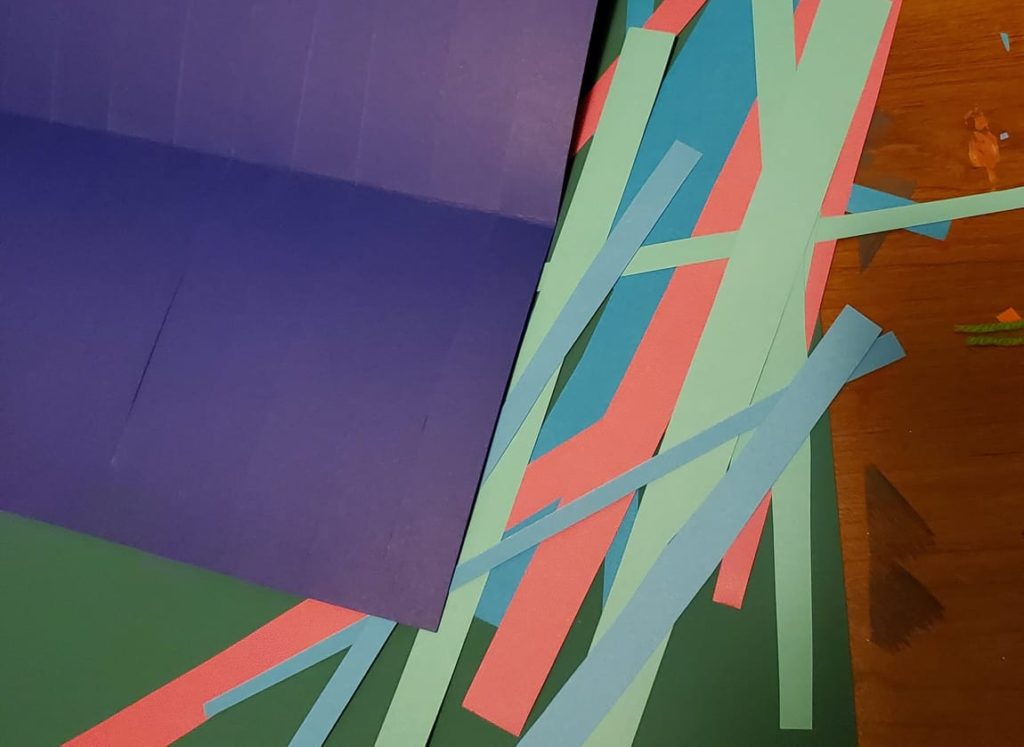
The only thing that must me done with step three, is that your strips must be wide enough to reach from one end of your background to the other. You don’t want your strip of weaving paper to be too short, and it only make it half way across.
Step four: Cleaning up the edges
I did make sure to tuck the end of my weaving strips behind the outside strip of my background. You can see in the picture, the border is solid all the way around. When you’ve completely filled your DIY Woven Paper masterpiece, flip it over and glue the ends down behind the outside border. If there is overhang from your strips, cut it off after the glue dries.
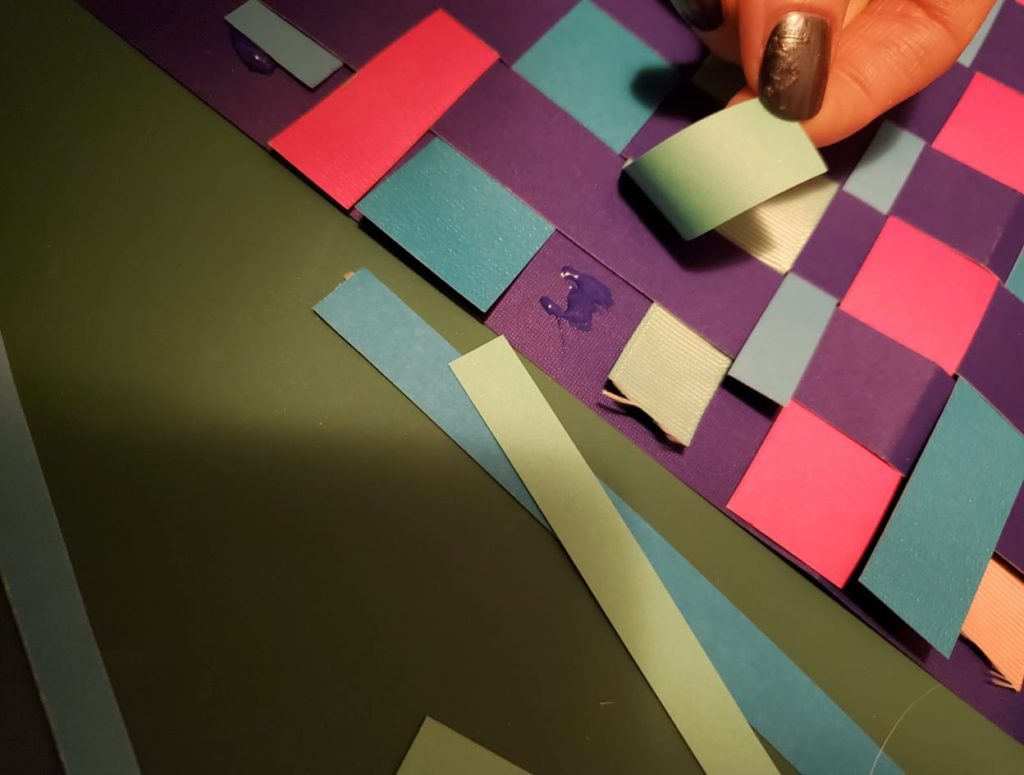
Your Paper Weaving Craft For Kids turned out amazing!
That’s it, and that’s all! It doesn’t have to be intricate to be beautiful! Art is for enjoyment. The time spent doing it, and the finished product. You have created a one-of-a-kind masterpiece and it deserves to be admired!
We are a participant in the Amazon Services LLC Associates Program, and affiliate advertising program designed to provide a means for us to earn fees by linking to Amazon.com and affiliated sites.
