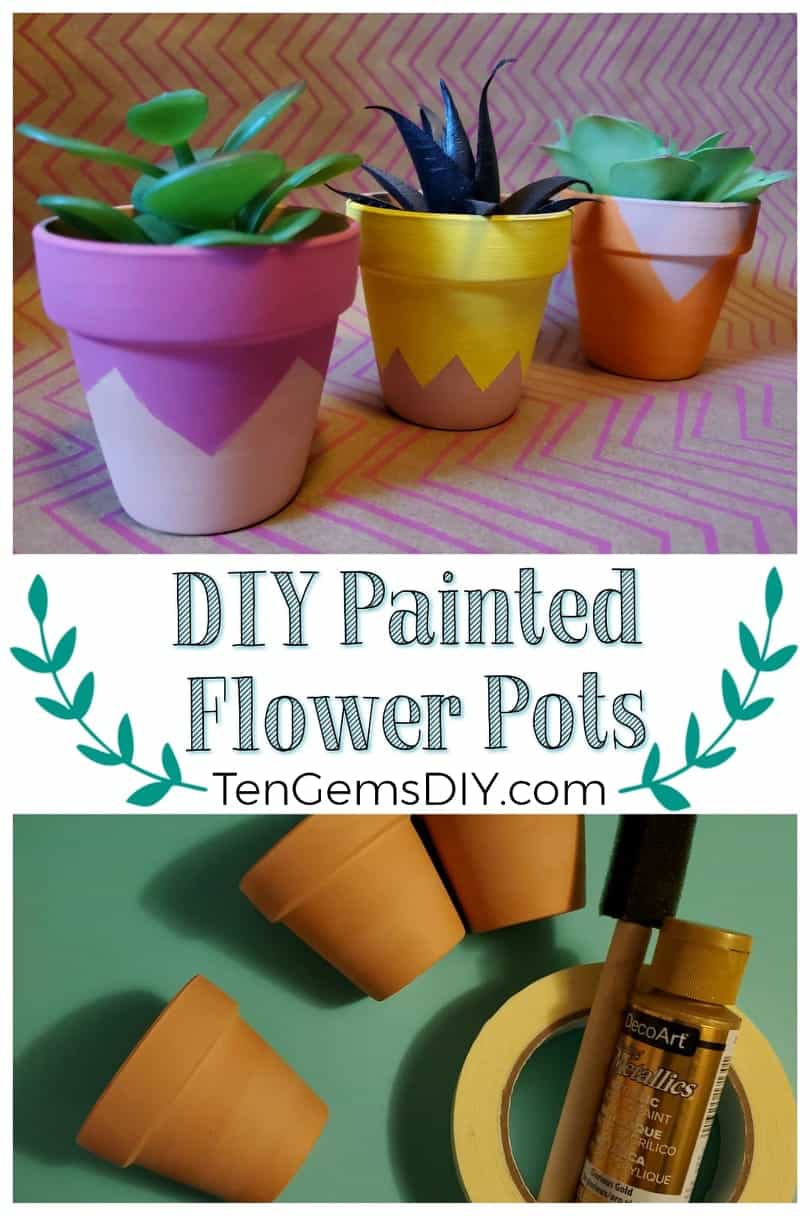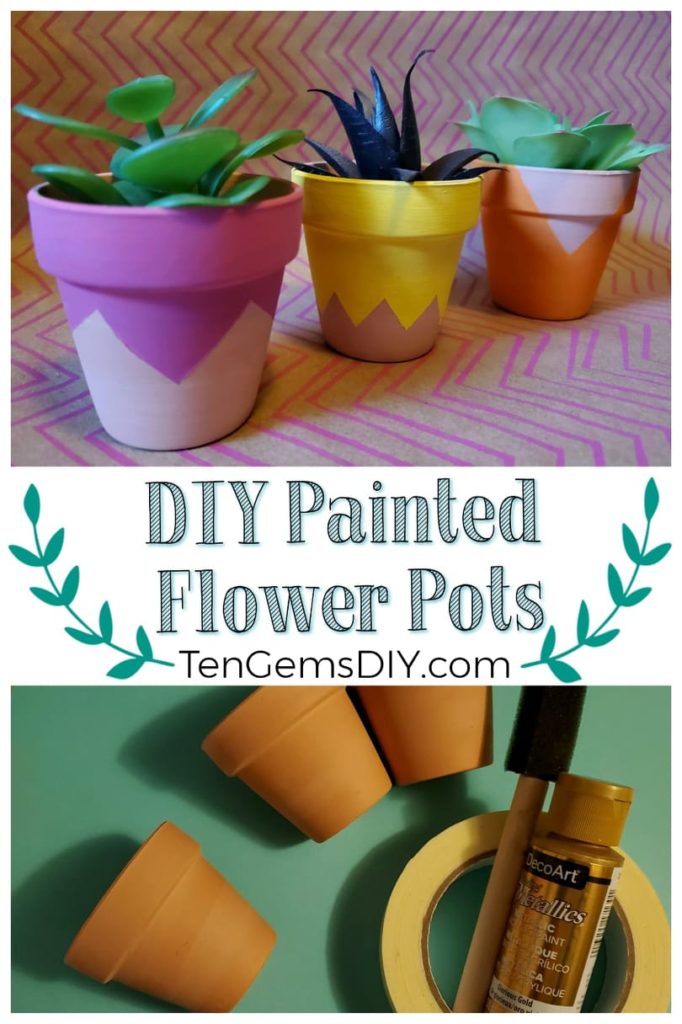
Welcome the growing season with colorful DIY Painted Flower Pots! This project is perfect for the warm season or really even anytime of the year if you want to be prepared and ready when the warmth does finally get here. We all love cute flower pots and these little terra cotta pots are adorable. Dress them up with paint colors and designs of your choice and then grow some sweet little plant babies in them. This tutorial will show you how to easily make your own DIY Painted Flower Pots! For another creative painting idea, look here: https://tengemsdiy.com/?p=166!
Or for a tutorial on unique personalized DIY Flower Pots, click here!> https://tengemsdiy.com/how-to-make-personalized-diy-painted-flower-pots/
Disclosure: TenGemsDIY is a DIY and craft blog. Some of our posts contain affiliate links for products we have tried and recommend. While clicking the links will not cost any money, we may receive a commission for items purchased, which helps keep our website ad free. Here is the privacy policy for more information: https://tengemsdiy.com/?page_id=3
What you’ll need: And their easy access links
- Clay pots – https://amzn.to/3eCY1PT
- Paint in a few different colors of your choice – https://amzn.to/3o782aQ
- Masking tape or painters tape – https://amzn.to/3eB2rXh
- Paint brushes – https://amzn.to/33BPxSs
Step one: Tape up your design
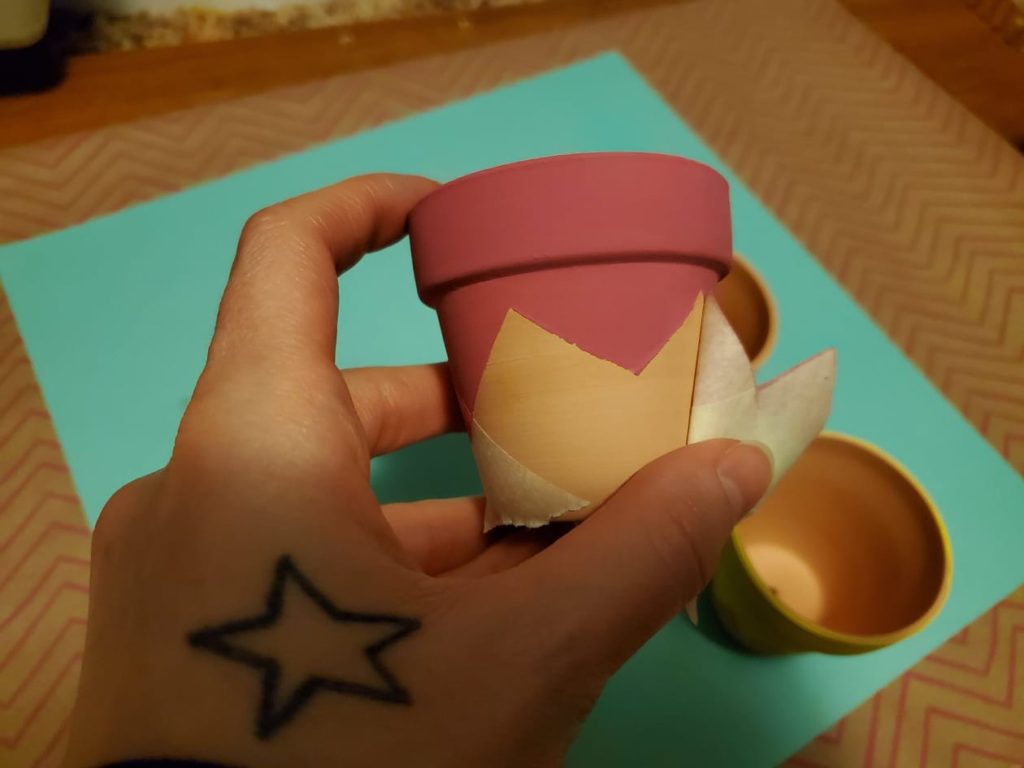
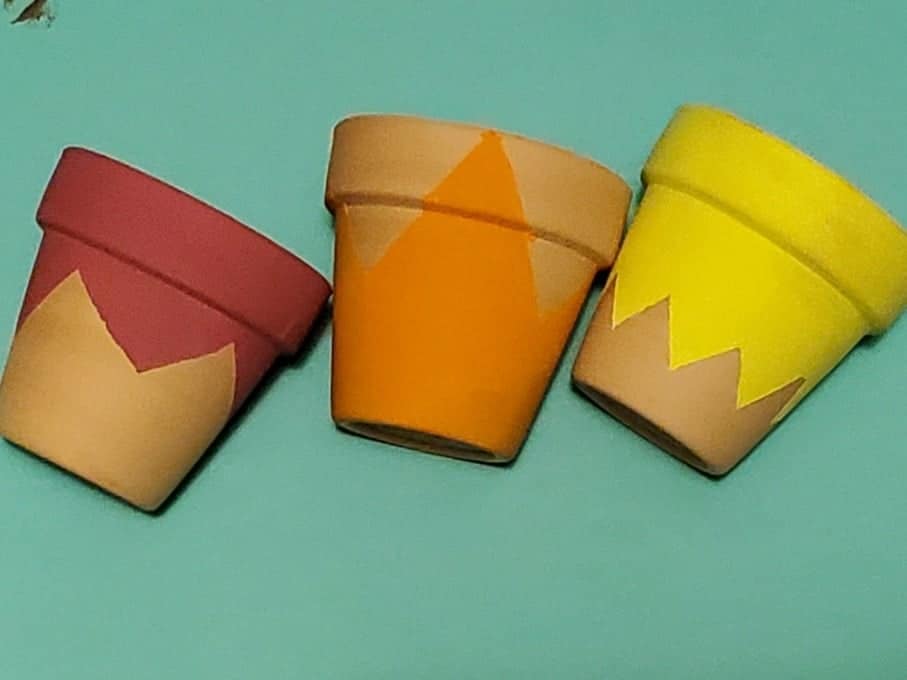
Here you’ll use your masking tape to create designs on your pots. I’ve made large zigzags and small zigzags. The large zigzags are easy; stick one piece of tape down at an angle, then make a point by matching both ends of the two tape pieces.
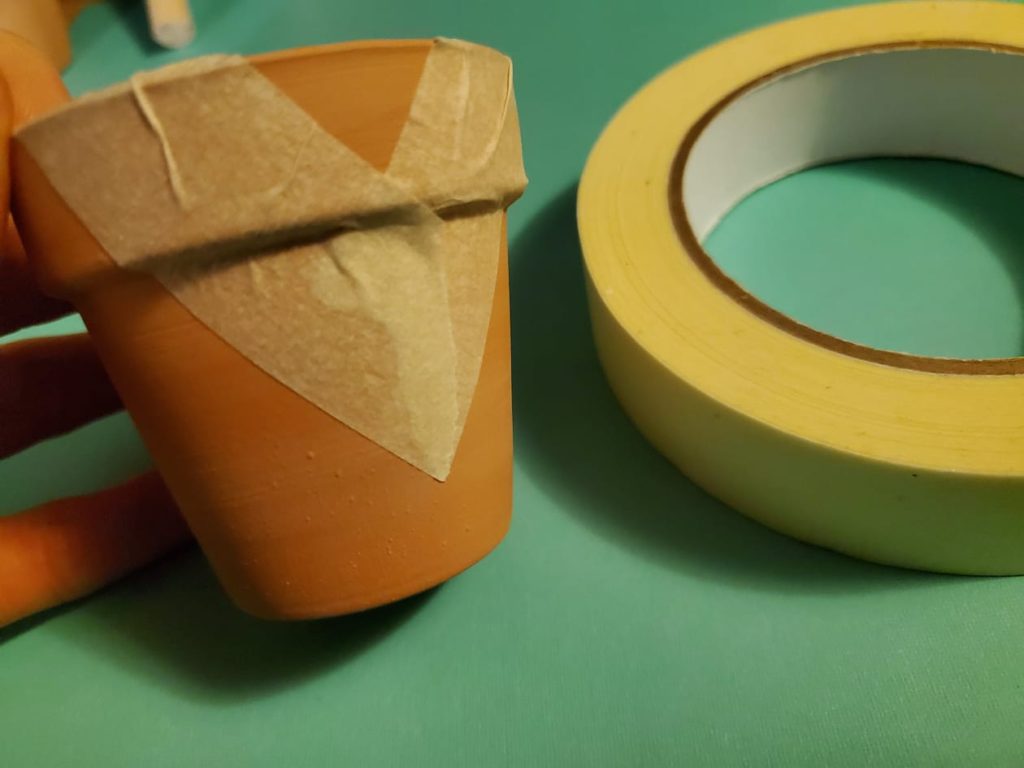
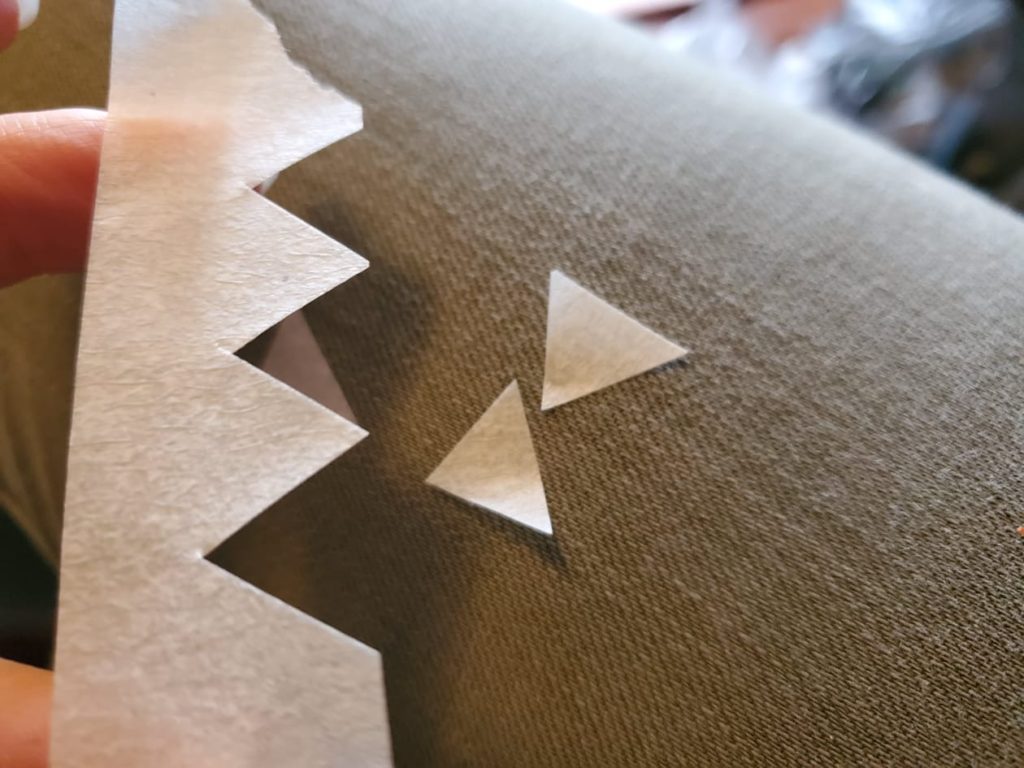
With the little zigzags, you can cut triangles from your tape. Then carefully lay the tape around your pot. Make sure to press the tape down well to help make for cleaner lines when you pull up the tape later.
Step two: Paint those little pots!
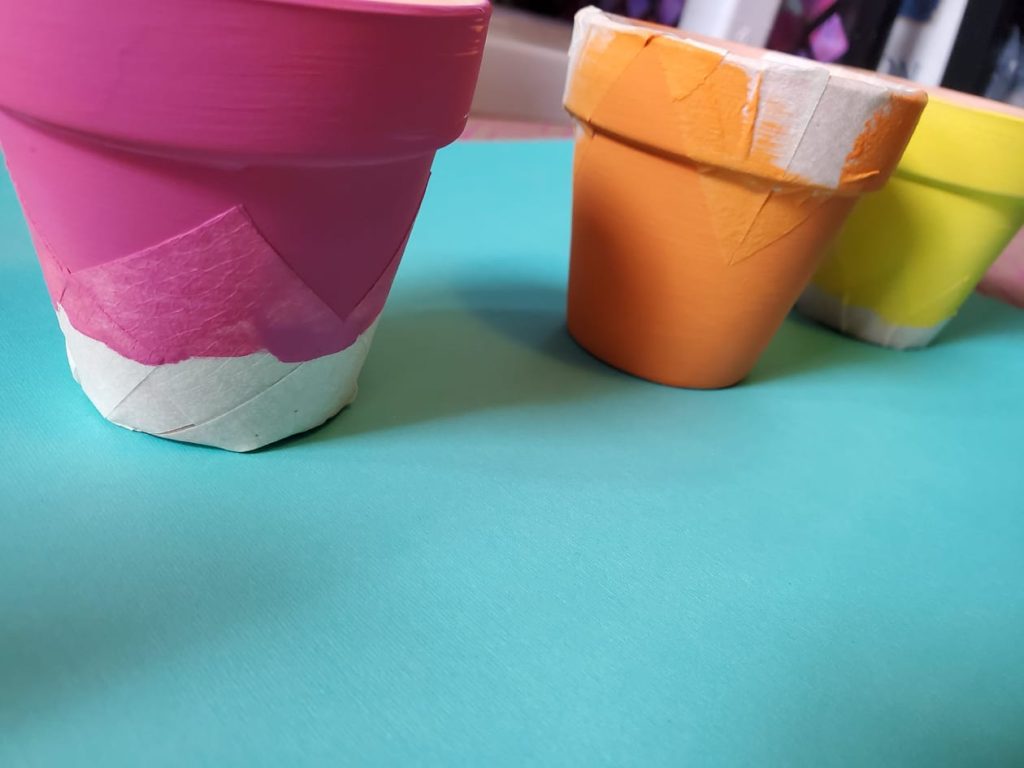
Get your nice colors and grab your paint brushes. Don’t forget to set down some scrap paper before you start painting your colorful DIY painted flower pots. It always helps with clean up and keeps paint off of surfaces. Set out some paint on a paper plate or paint tray and start to paint those pots! Be sure to paint all the way on to the tape to help get your lines. A few coats might be needed for best results. Let them sit out for a little bit so the paint can dry.
Step three: The satisfying part
Carefully peel the tape off. This part is always satisfying because you peel up that tape and reveal those nice lines on your planters and you can see the pretty contrast of your colors and the original color of the pot. The colors you chose are going to look so great with your little plant babies!
Step four: Choose the little plants you’ll plant in your Colorful DIY Painted Flower Pots
Whichever plants you choose, be nice to them! They’ll be happy in your little pot with plenty of love and sunlight!
WE ARE A PARTICIPANT IN THE AMAZON SERVICES LLC ASSOCIATES PROGRAM, AN AFFILIATE ADVERTISING PROGRAM DESIGNED TO PROVIDE A MEANS FOR US TO EARN FEES BY LINKING TO AMAZON.COM AND AFFILIATED SITES.
