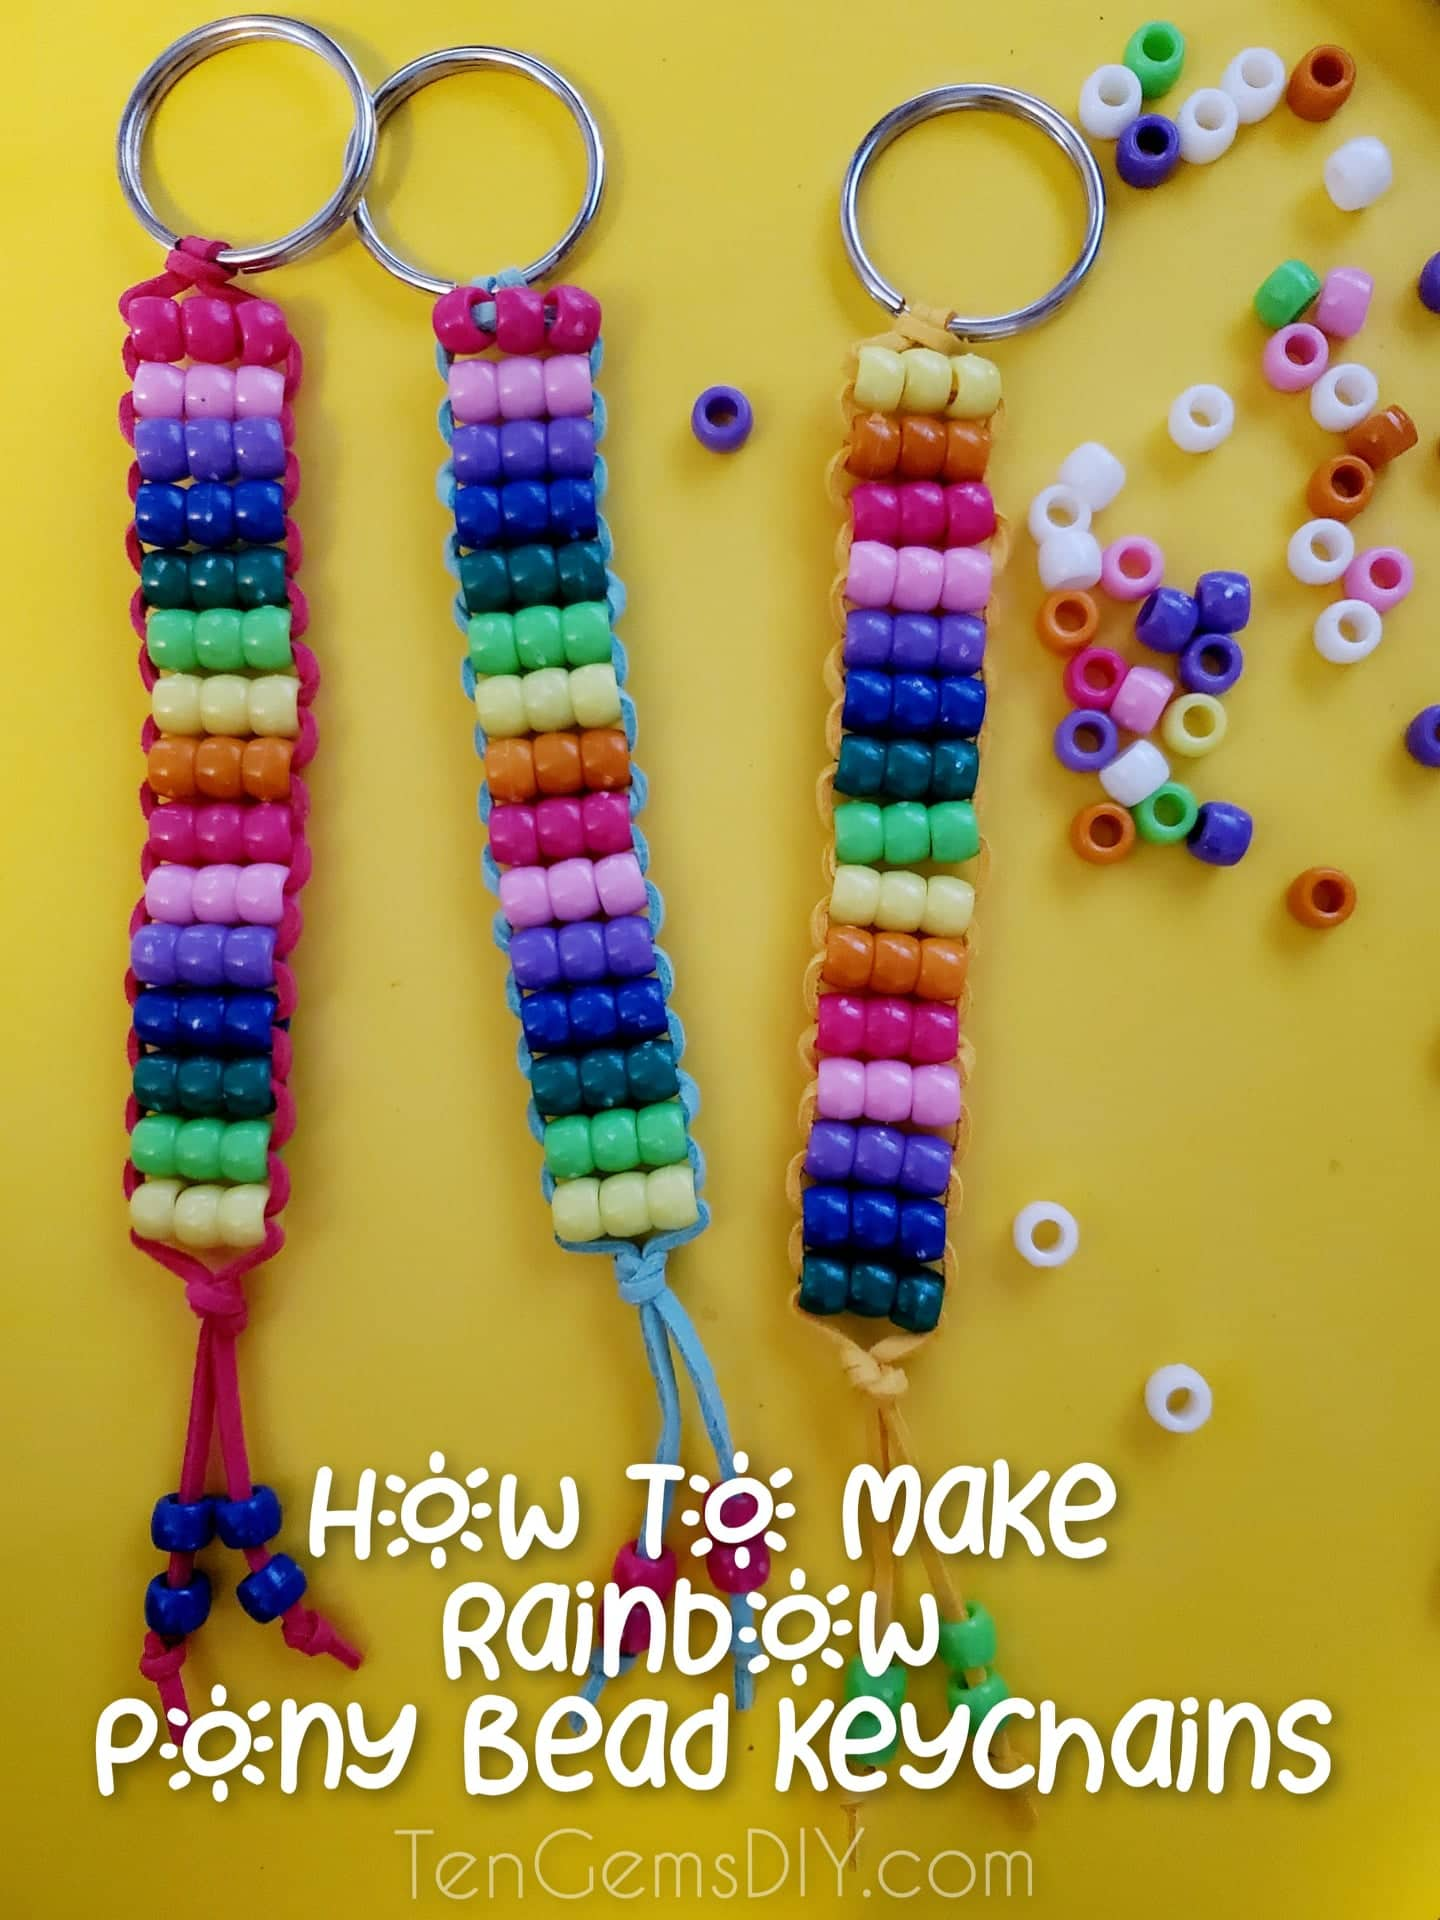
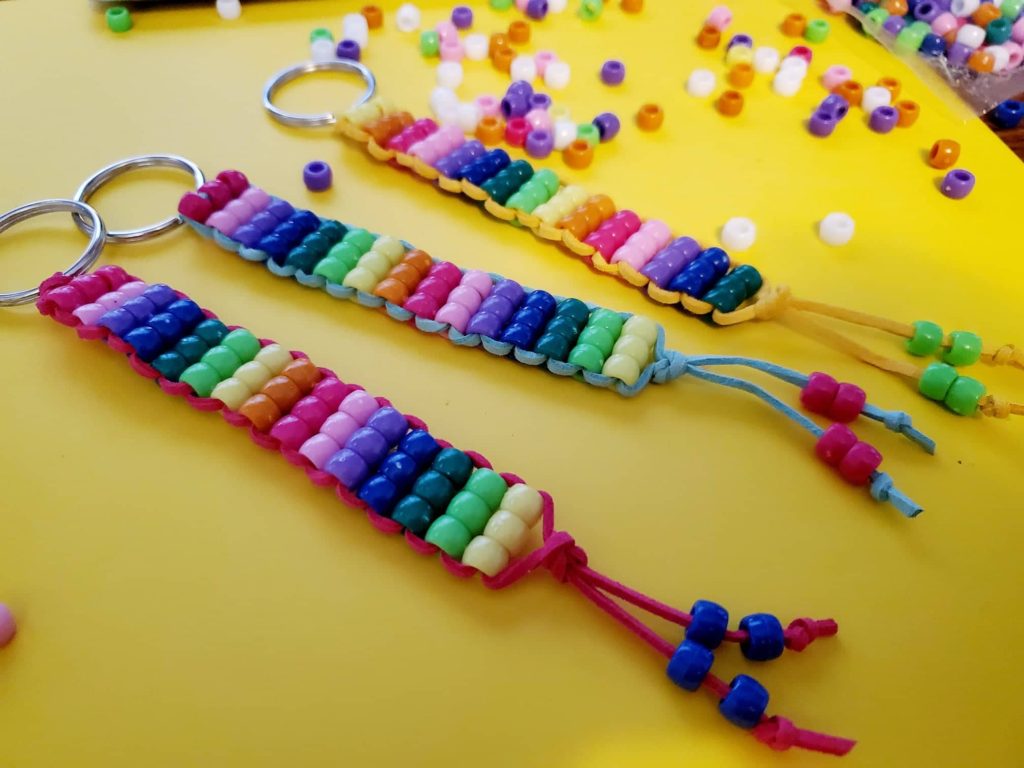
This super fun tutorial is all about how to make rainbow pony bead keychains! Some of us used to make pony bead keychains all the time when we were young, so there is a little bit of nostalgia with this tutorial. Whether you’re coming here for a refresher, or you’re learning how to make your first pony bead keychains, WELCOME! Pony beads are great for tons of things and are a staple for every craft space. Also, everybody loves rainbows.
If you’re looking for other super cool and colorful craft ideas, check these out when you’re done with this tutorial!
- How To Make Shrinky Dink Keychains – https://tengemsdiy.com/how-to-make-shrinky-dink-handprint-keychains/
- How To Make A Neon Sign Painting – https://tengemsdiy.com/how-to-make-a-neon-sign-painting/
- How To Make Reverse Tie Dye With Bleach – https://tengemsdiy.com/how-to-make-reverse-tie-dye-with-bleach/
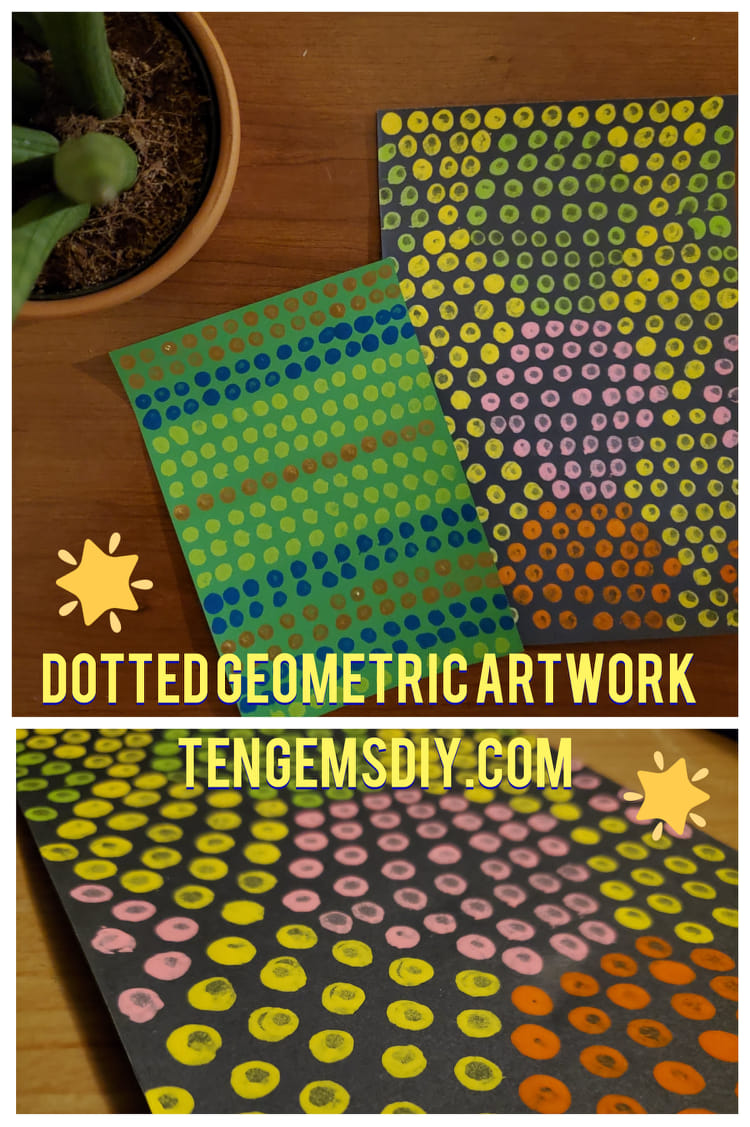
- How To Make Geometric Wall Art – https://tengemsdiy.com/how-to-make-geometric-wall-art/
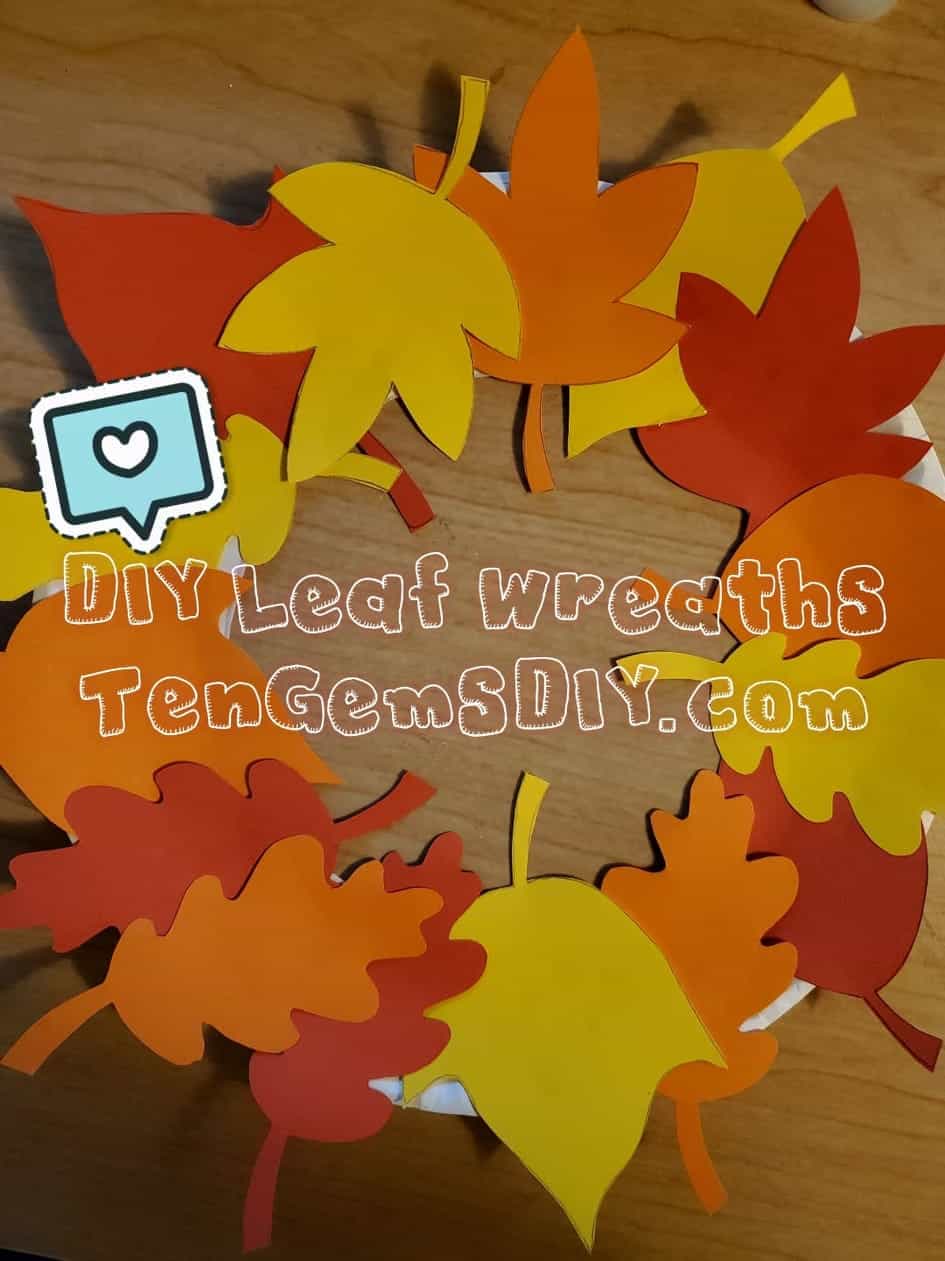
- How To Make Colorful Paper Wreaths – https://tengemsdiy.com/?p=127
TenGemsDIY is a DIY and craft blog. Some of our posts contain affiliate links for products we have tried and recommend. While clicking the links will not cost any money, we may receive a commission for items purchased, which helps keep our website up and running. Here is the privacy policy for more information: https://tengemsdiy.com/?page_id=3
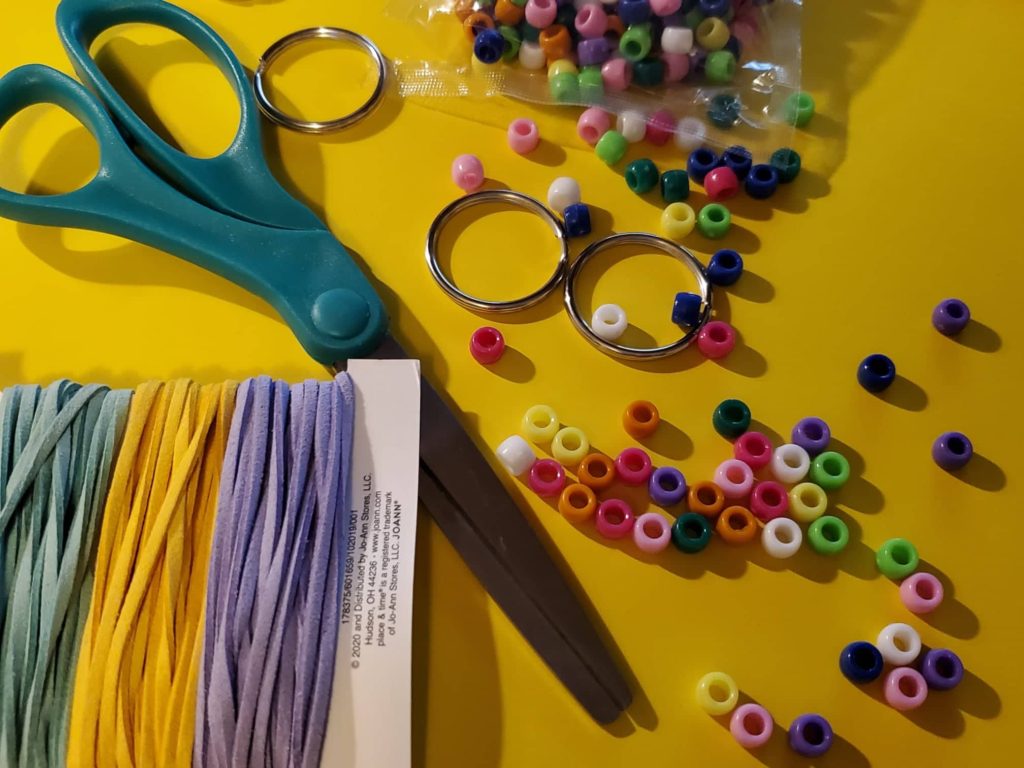
What you’ll need for your rainbow pony bead keychains and where to get them:
- Pony beads – https://amzn.to/3hZIz0s
- Leather cord – https://amzn.to/3e1TNRa
- Scissors – https://amzn.to/2UBUOsi
- Key rings – https://amzn.to/3yGgZw7
Step one: Getting your leather cord ready
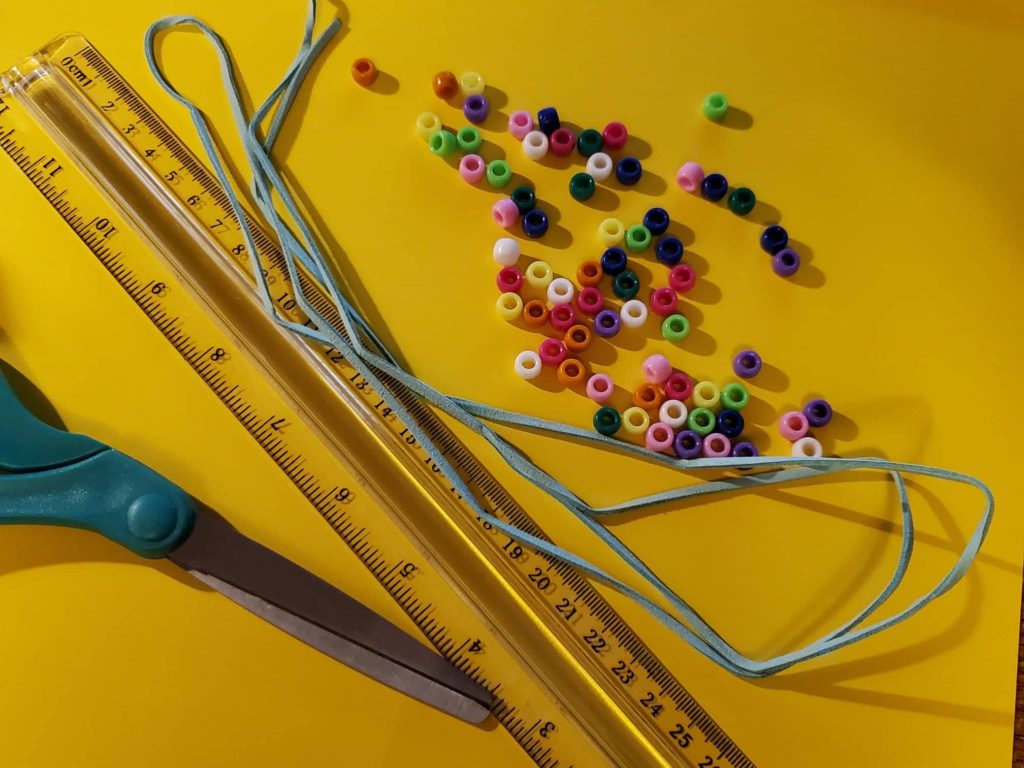
Get your first few supplies ready. You’ll pick a color cord that you like. I chose a few different leather cords here that are colorful and will look great with the rainbow pony beads. The reason you want to use leather cord, or some other thick cord, is so that you have something sturdy and strong to hold on to your pony beads. If you use a flimsy string, your keychain will be flimsy as well. Cut the leather cord to about 42 inches and find the center by folding it in half.
Step two: Attaching the leather cord to your key ring
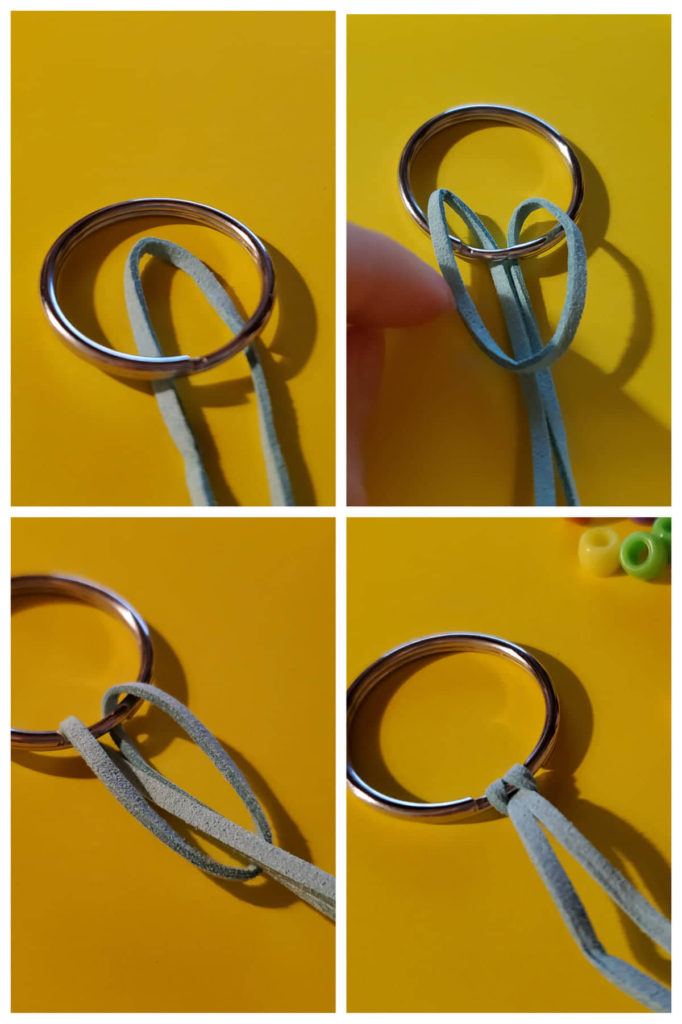
After you’ve found the middle of your cord, you’ll get your key ring and make a “cow hitch” or a “lark’s head” knot. I actually had to research the name of these. I’ve been making these knots for forever and ever, but never actually knew the name! Below is a step-by-step photo of how to make your cow hitch. Use the fold in the middle of the cord to fold over the key ring. Pull the loose ends of the leather cord through the loop and pull the knot tight to secure it!
Step three: Start your rainbow!
Which color would you like to start your rainbow with? here I started with my red. Put three pony beads on to one of your cords. Hold on to your three beads and thread the second loose cord through the beads going the opposite direction as the first cord. So one cord should be going one way through the beads, and the other cord should be going the opposite direction. Pull the cords snug to secure your pony beads.
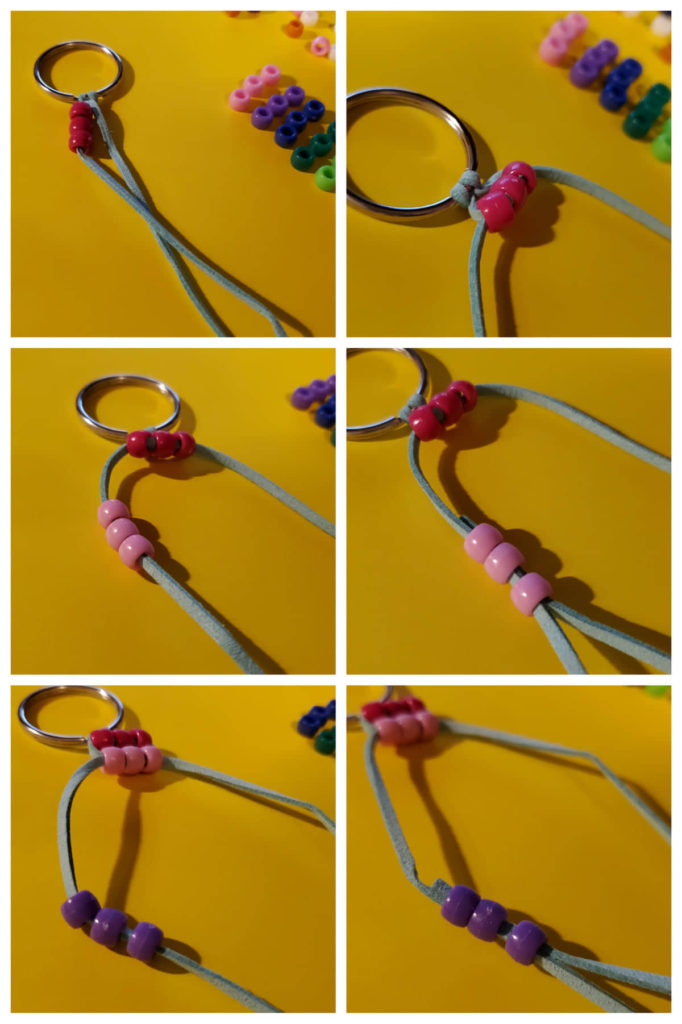
Move to your next color and do the same steps. Secure those three beads. Keep going! Making Progress!
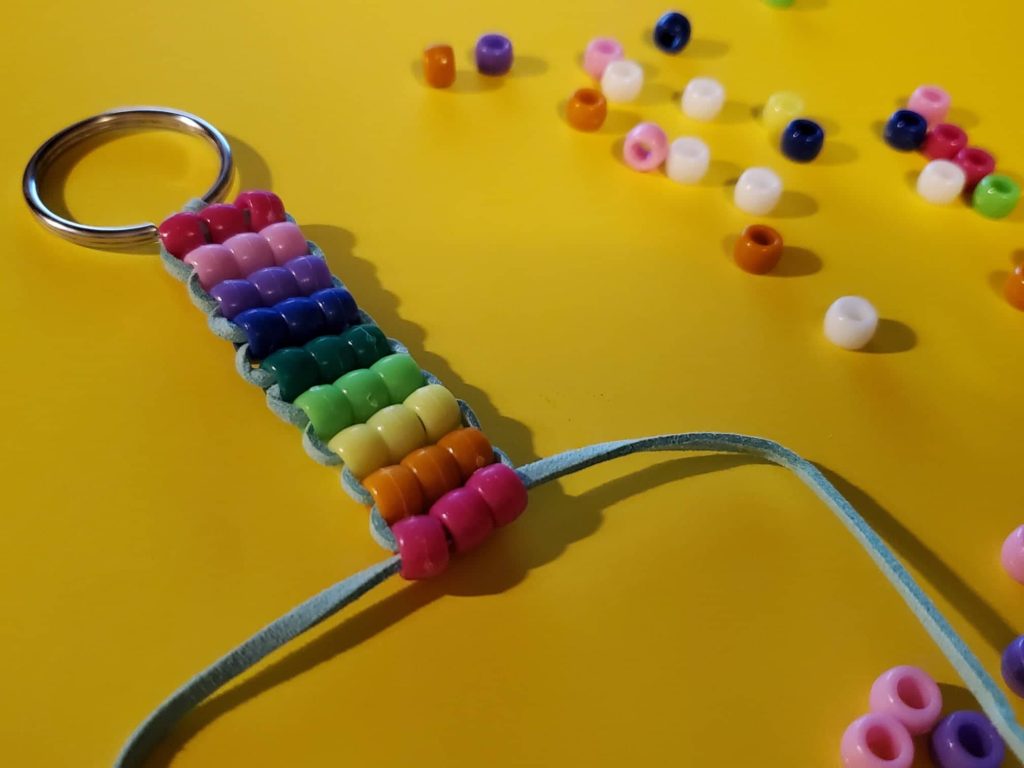
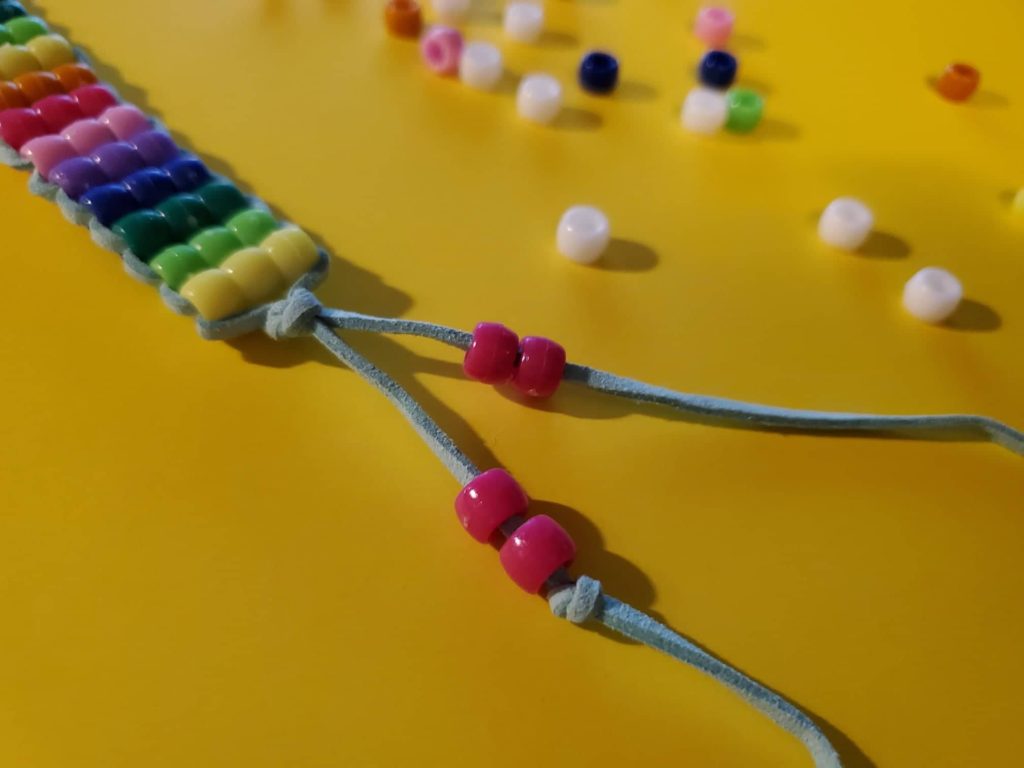
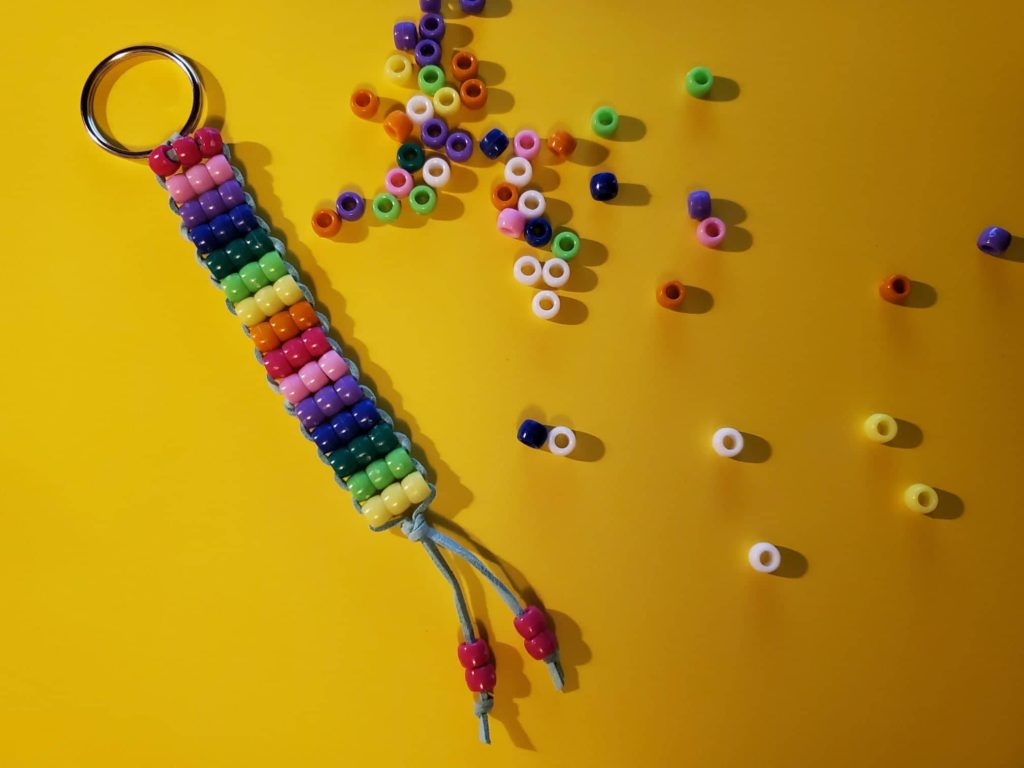
I ended mine at about 5 inches. After you make your last row, tie a knot in the end.
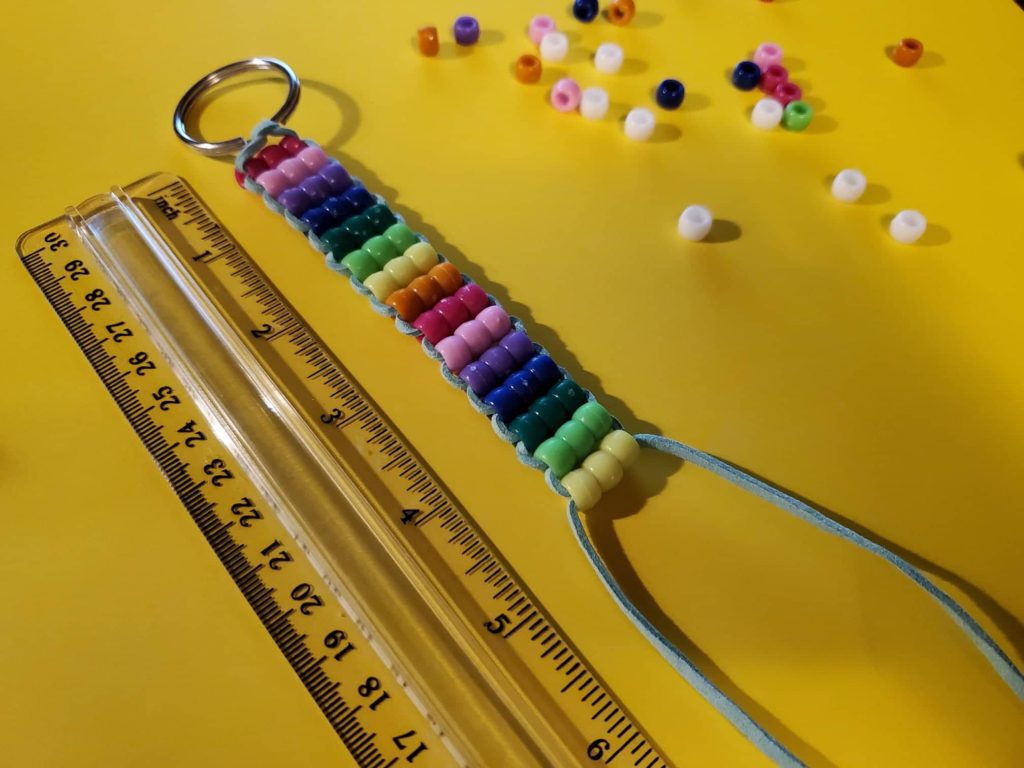
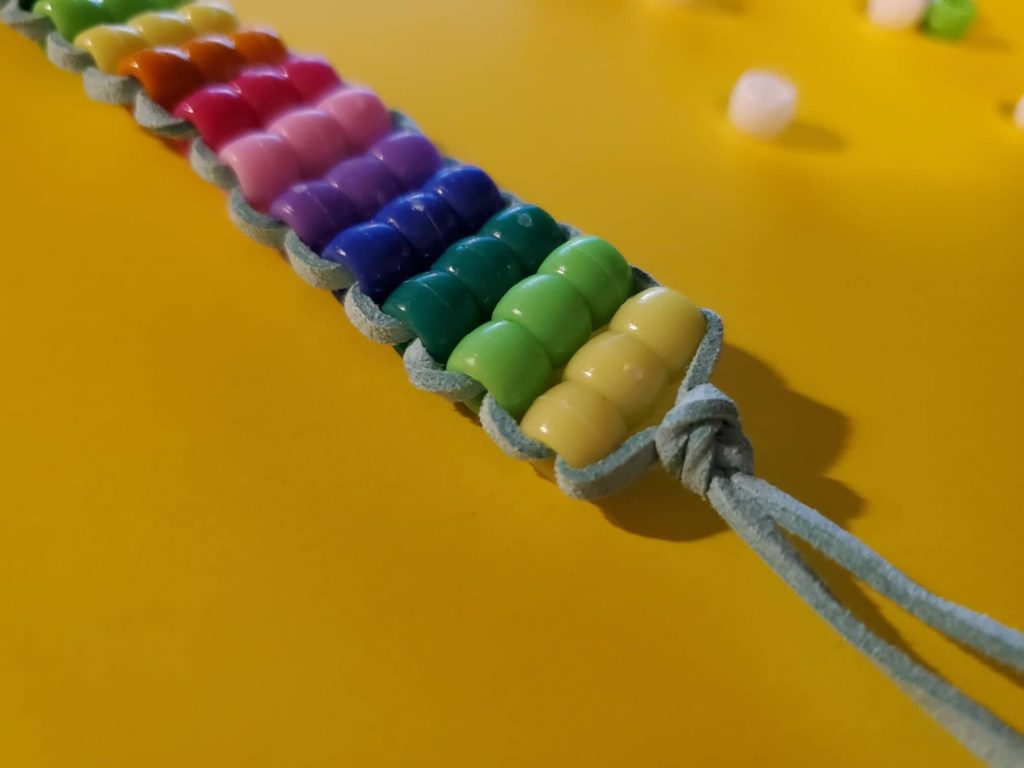
Step four: Finishing your rainbow pony bead keychains!
To add a finishing touch to the keychains, I made the beaded tails at the end that were common in retro pony bead crafts. After you tie your finishing knot, you’ll have your two leather cords. Add a bead or two of any color to your cord and make a knot at the end. You can make it however long you like! Cut off the extra cord and look at that beautiful rainbow pony bead keychain!
If you have leftover pony beads, this tutorial for Rainbow Pony Bead Keychains is super great too! https://tengemsdiy.com/how-to-make-pony-bead-corn-crafts-for-kids/
We are a participant in the Amazon Services LLC Associates Program, and affiliate advertising program designed to provide a means for us to earn fees by linking to Amazon.com and affiliated sites.
