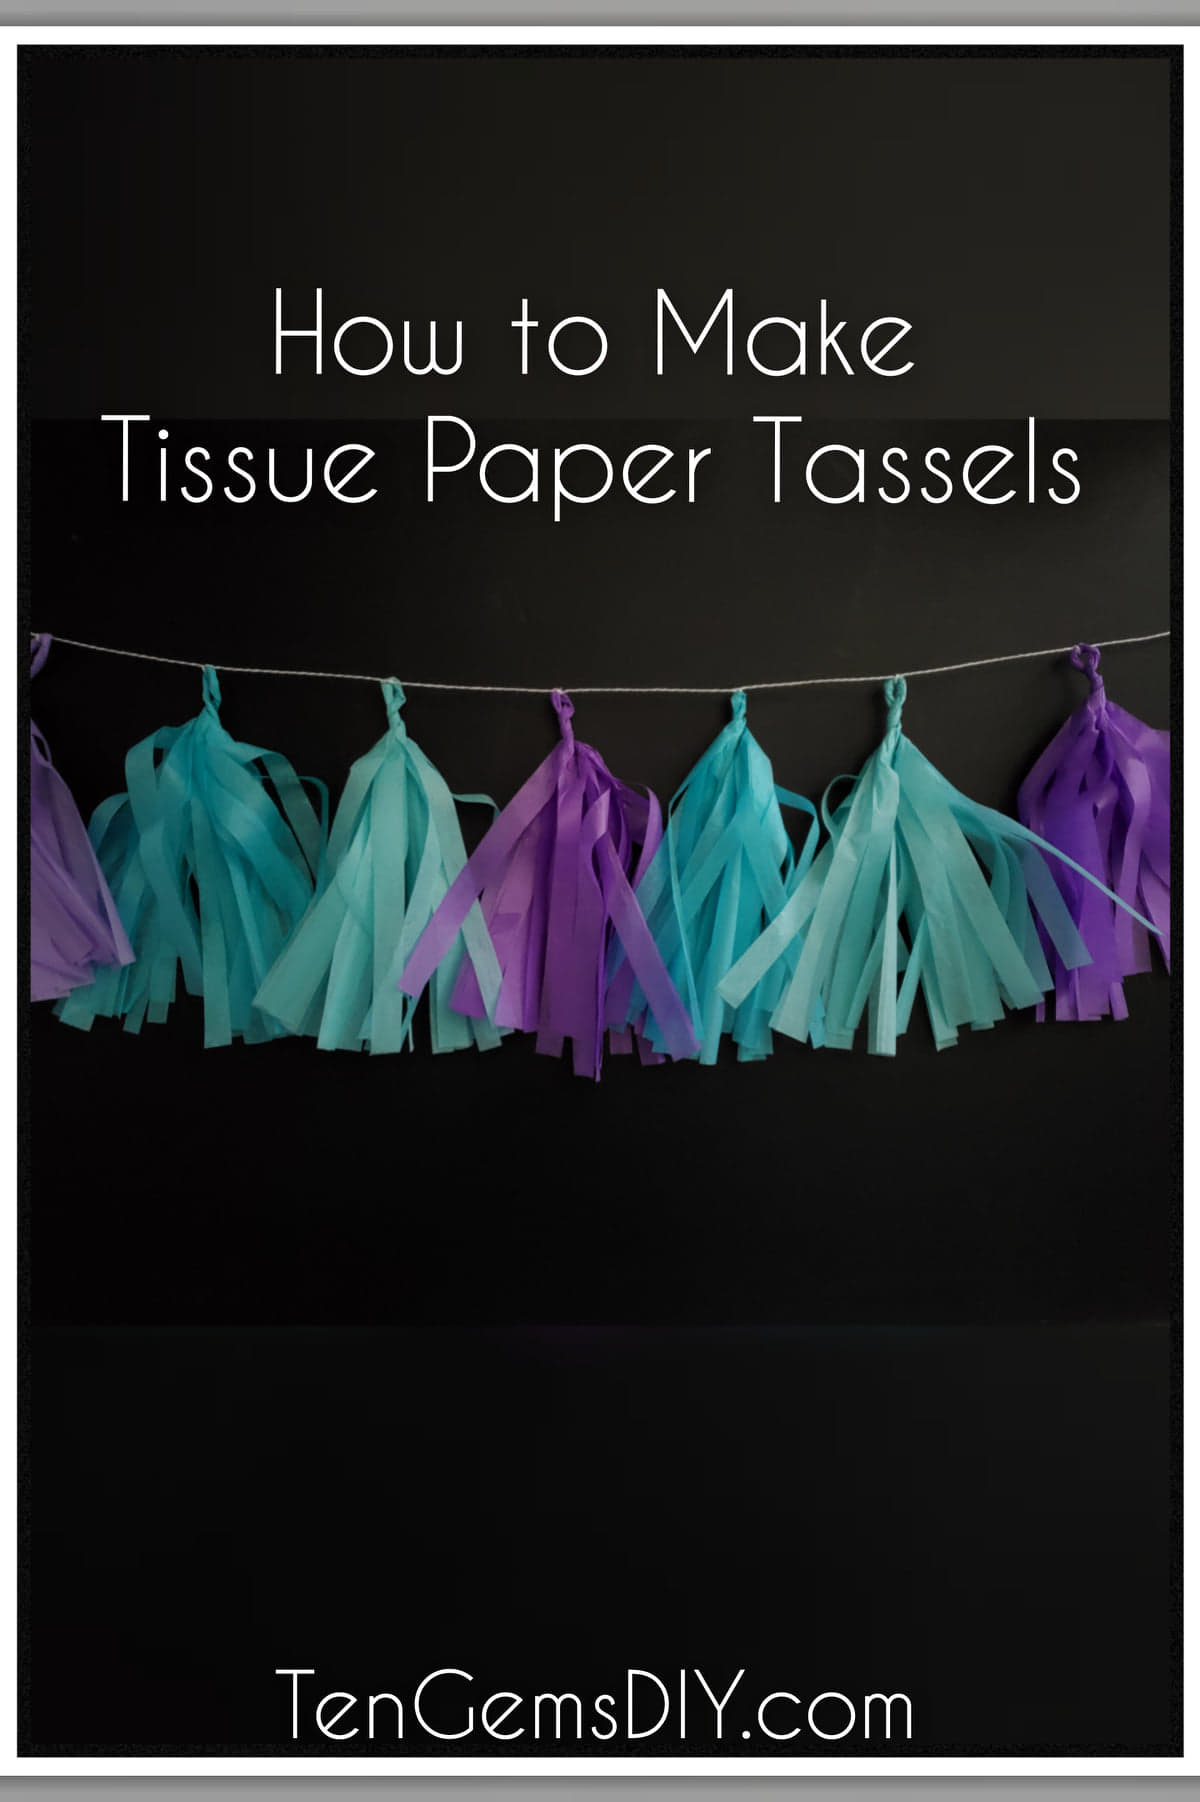
Easy DIY Tissue Paper Tassels are one of the cutest party DIY’s out there! Whenever a celebration is put together by hand, it feels that much more special. Do it yourself party decorations don’t have to be difficult. This how-to only cost a few dollars and requires a few supplies. And you can make the tissue paper tassel garland in any color that would match your party or event!
Disclosure: TenGemsDIY is a DIY and craft blog. Some of our posts contain affiliate links for products we have tried and recommend. While clicking the links will not cost any money, we may receive a commission for items purchased, which helps keep our website ad free. Here is the privacy policy for more information: https://tengemsdiy.com/?page_id=3
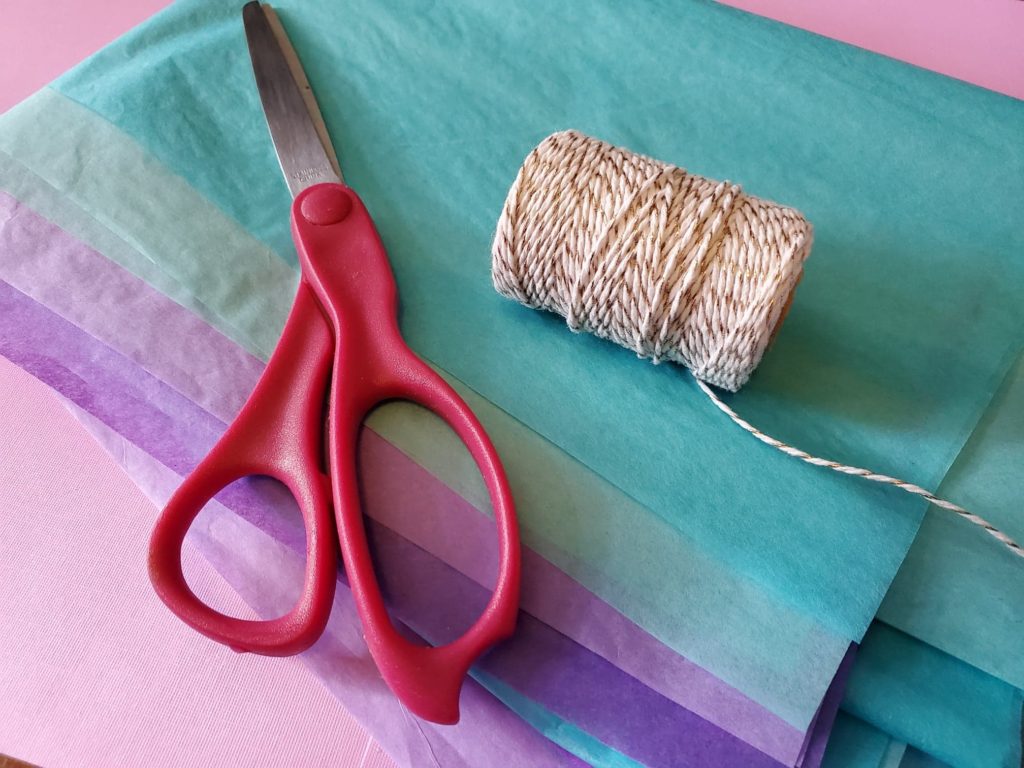
Supplies you’ll need for your Easy DIY Tissue Paper Tassels, and where to pick them up:
- Tissue paper in any color – https://amzn.to/3vUUYZe
- Scissors – If you ever need to upgrade, this will always be my favorite brand – https://amzn.to/3pglHwX
- String – I used this nice gold string – https://amzn.to/3vMx2HM
Step one: Getting your tissue paper ready
This step is for getting the tissue paper ready to make in to a tassel.
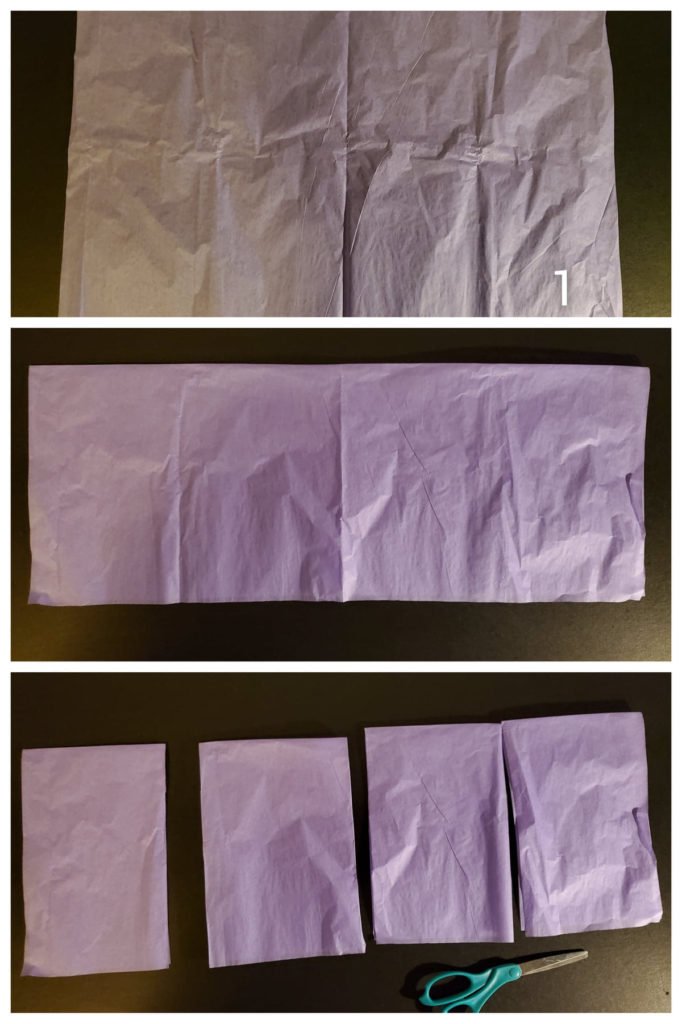
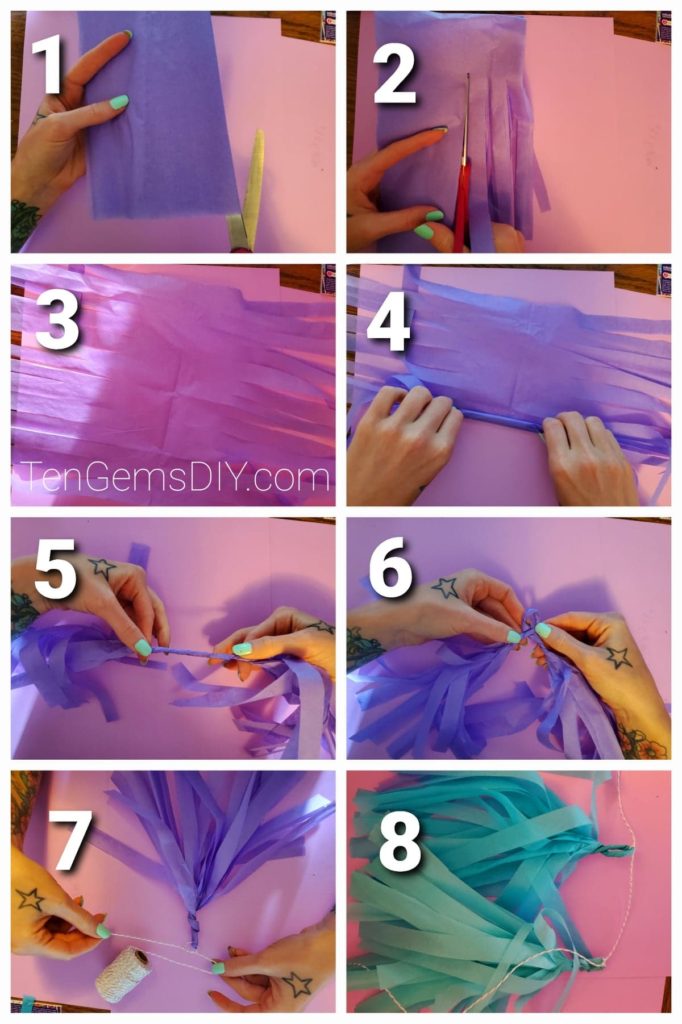
You will start with your paper open and laid out flat.
Fold the paper in half long ways.
Cut in to four fairly equal parts. They don’t have to be perfect.
You will have four folded pieces of tissue paper.
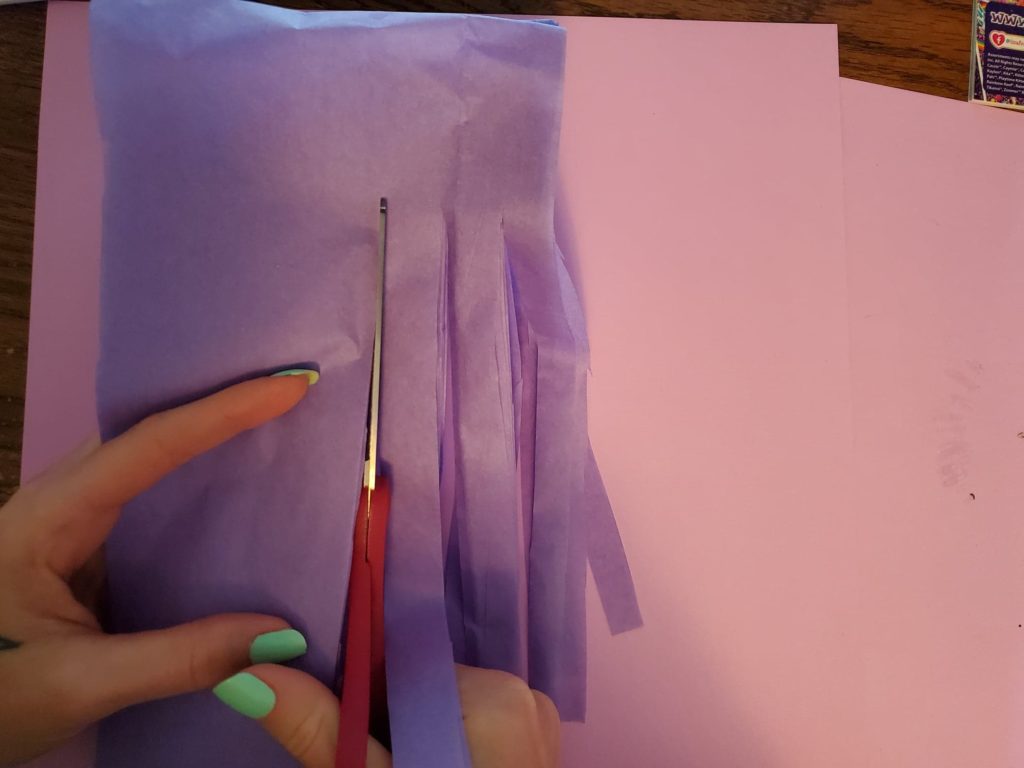
Step two: Putting your scissors to use
Starting at the non-folded end, cut strips about 1/2 inch wide, *stopping your cut about two inches from the fold.* This will give you space later to make your loop so you can hang your tassel.
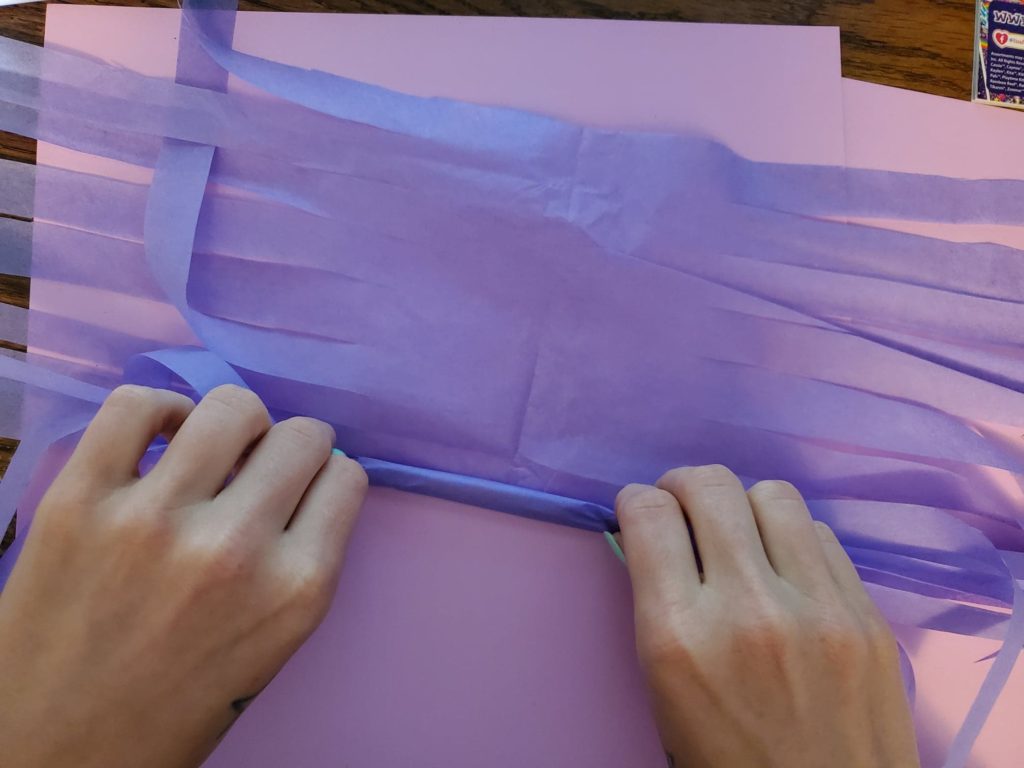
Step three: Twisting the tassel
Open your folded and cut tissue paper and lay it out flat. Start at the end closest to you and begin rolling the tissue paper up. You’re not twisting it yet. Just roll it fairly tightly until it is all the way rolled up.
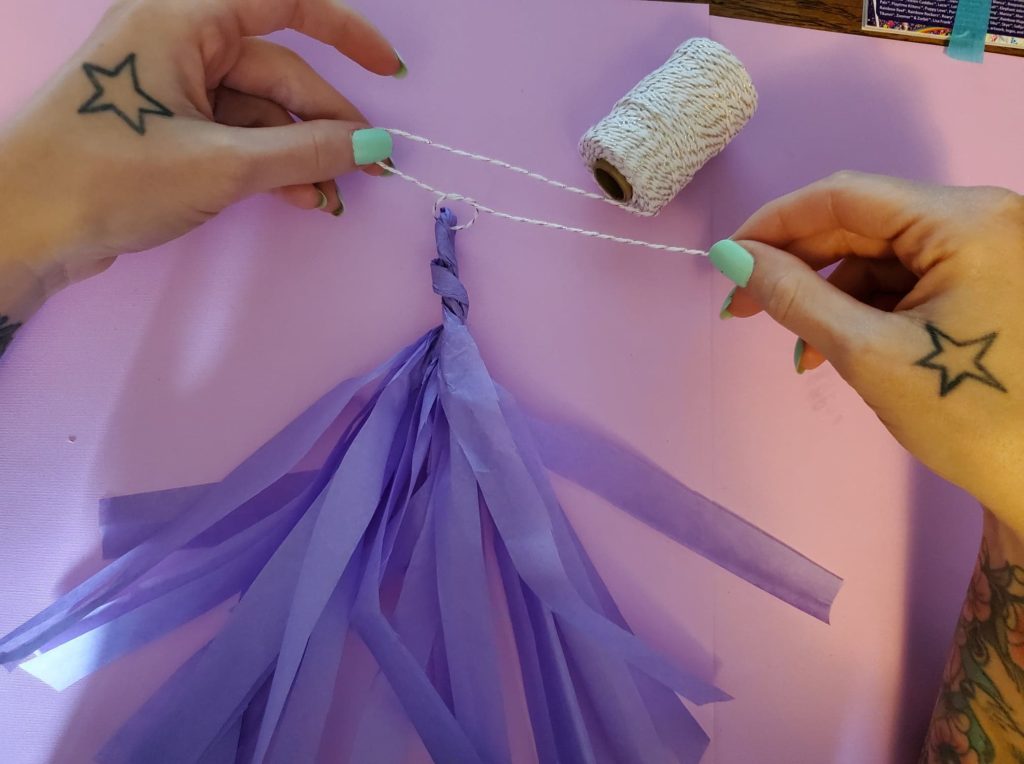
Now you will twist the middle of the tassel where it isn’t cut. Twist it pretty tight, but not too tight that you could rip it.

Step four: Make the loop to secure your Easy DIY Tissue Paper Tassels
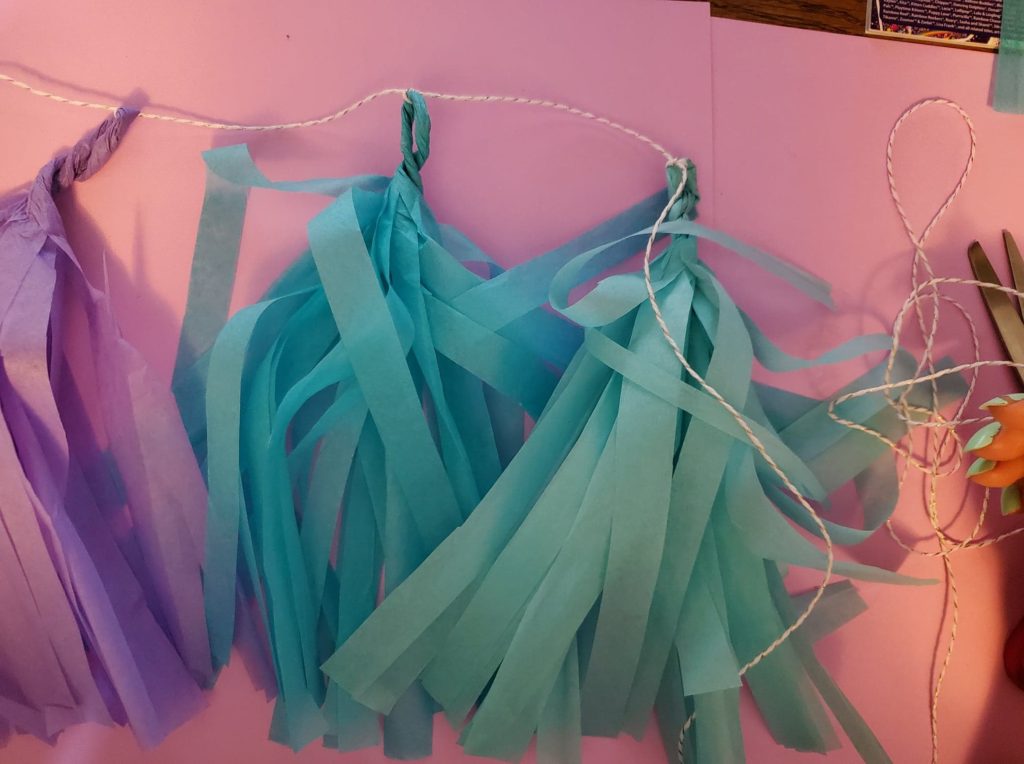
Loop the twisted part and secure it with another twist around itself. After you’ve made the loop, you can tie as many of them up as you want! I secured each of my tassels with a simple knot so they wouldn’t slide around.

We are a participant in the Amazon Services LLC Associates Program, and affiliate advertising program designed to provide a means for us to earn fees by linking to Amazon.com and affiliated sites.
