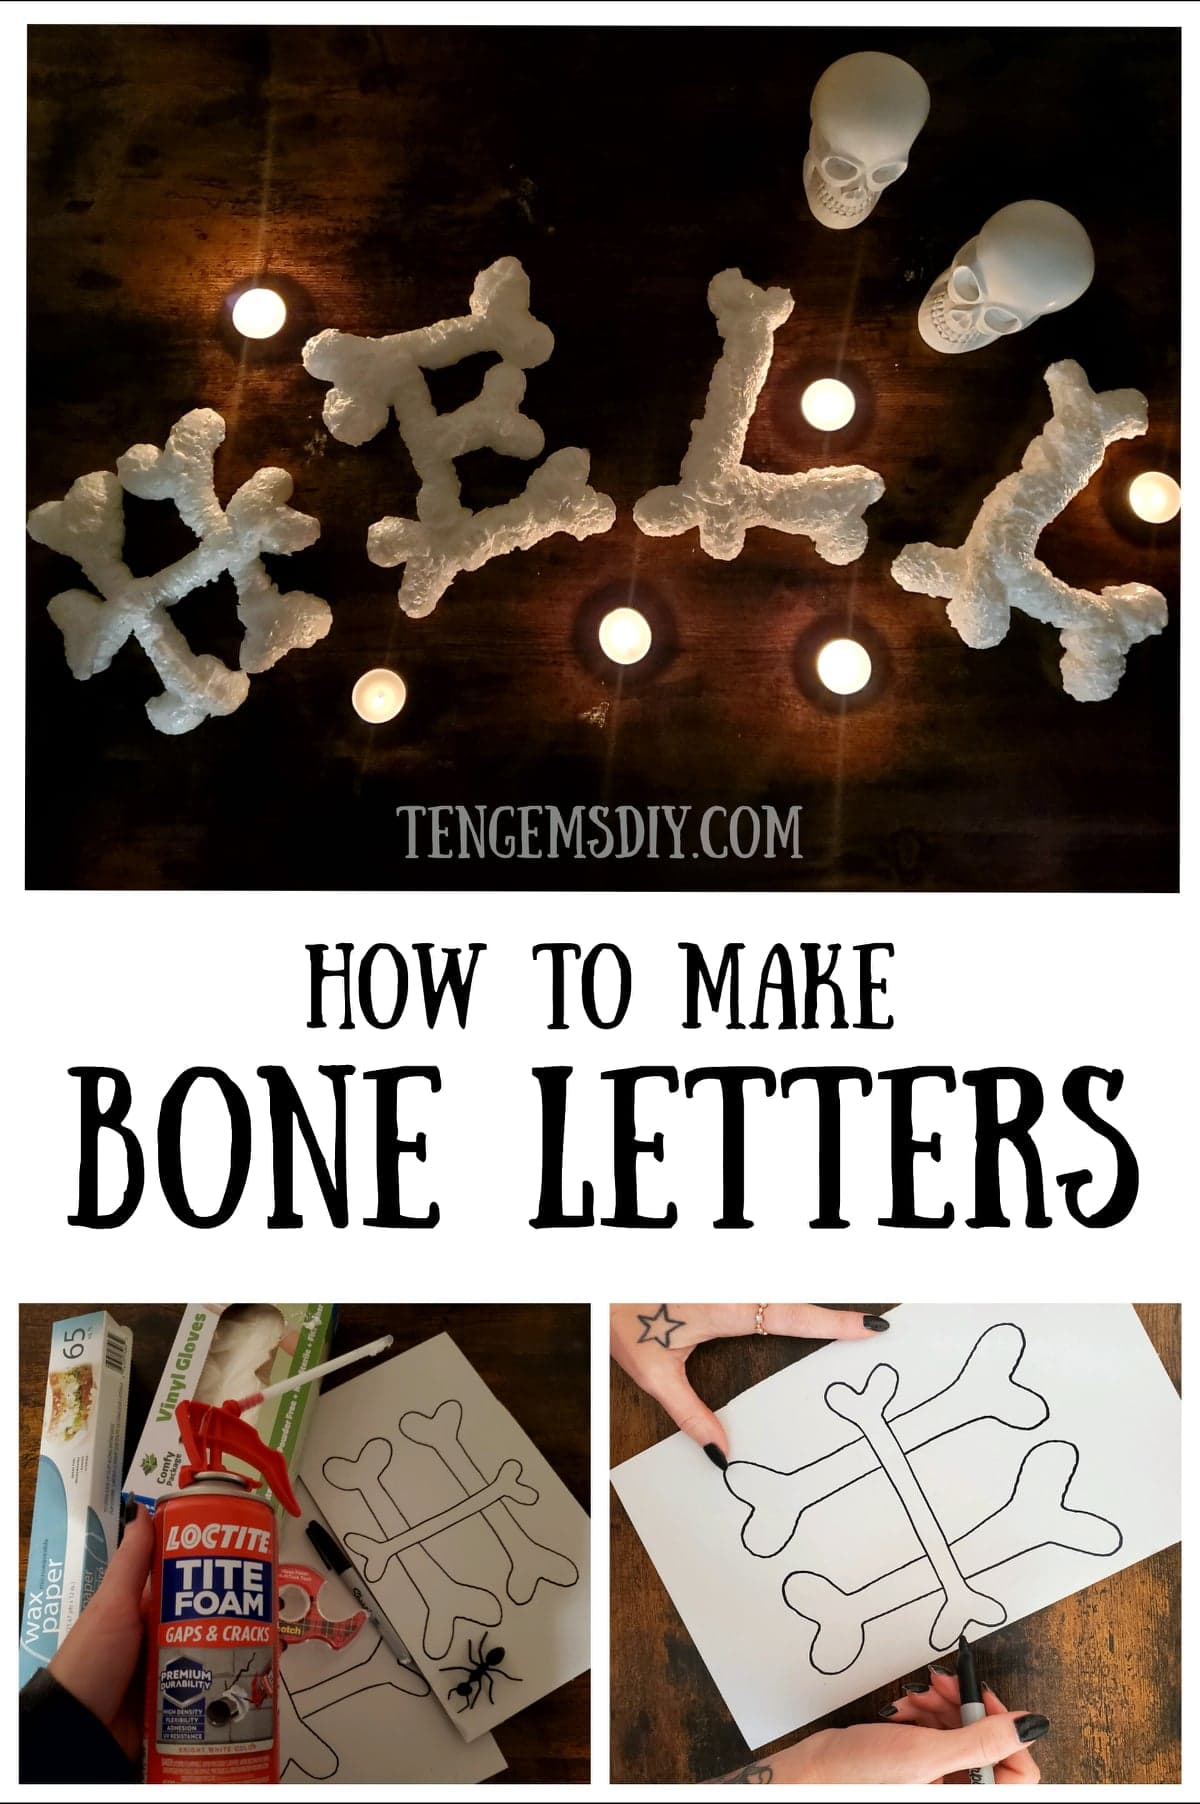
Top off your excellent collection of Halloween DIYs with this super spooky tutorial for How To Make Foam Bone Letters! Whether you’re adding to your haunted house or making a uniquely terrifying display, make it one of a kind. Only a few things are required; everything is listed in the convenient supply list below. Whatever you do decide to spell out, it’ll rattle all the other ghouls with fright this season.
TenGemsDIY is a DIY and craft blog. Some of our posts contain affiliate links for products we have tried and recommend. While clicking the links will not cost any money, we may receive a commission for items purchased, which helps keep our website up and running. Here is the privacy policy for more information: https://tengemsdiy.com/?page_id=3
If you’re looking for other hauntingly easy Halloween tutorials to try, peek at these after you learn how to make your foam bone letters:
- How to make your own skeleton flamingos – https://tengemsdiy.com/how-to-make-your-own-skeleton-flamingos/
- Black snake Halloween wreath – https://tengemsdiy.com/how-to-make-a-black-snake-halloween-wreath-diy/
- How to make pool noodle Halloween candles – https://tengemsdiy.com/how-to-make-pool-noodle-halloween-candles/
- How to make faux gilded insect taxidermy – https://tengemsdiy.com/how-to-make-faux-gilded-insect-taxidermy/
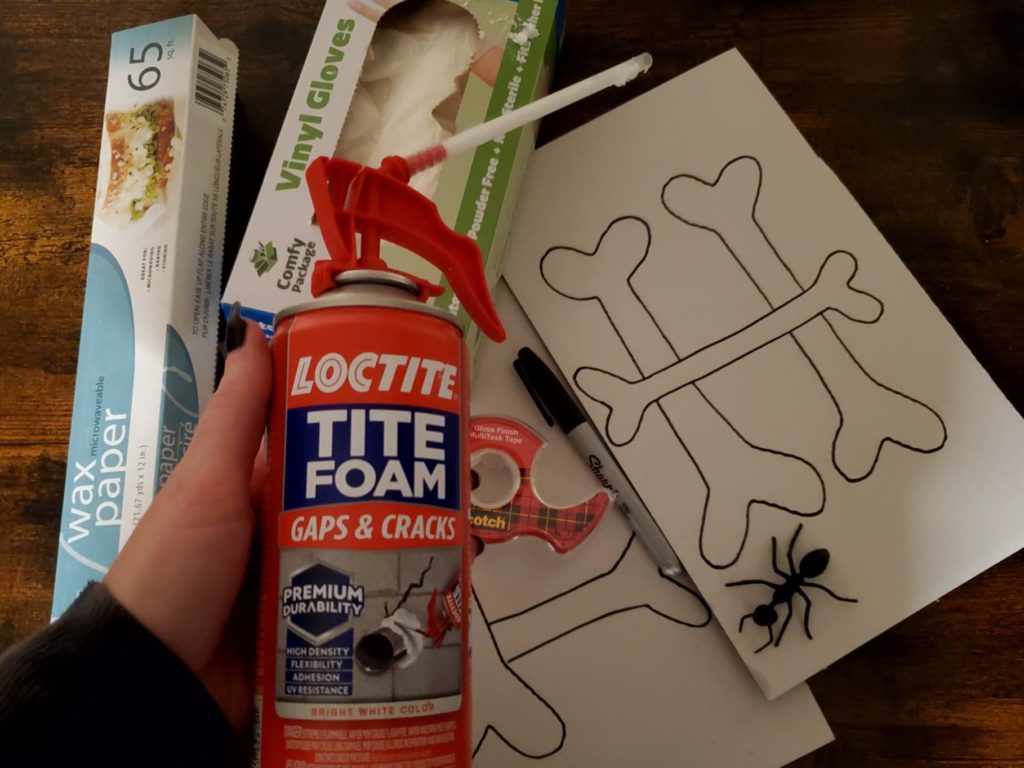
All the spooky supplies you’ll need for when you learn how to make bone letters and where to easily find them:
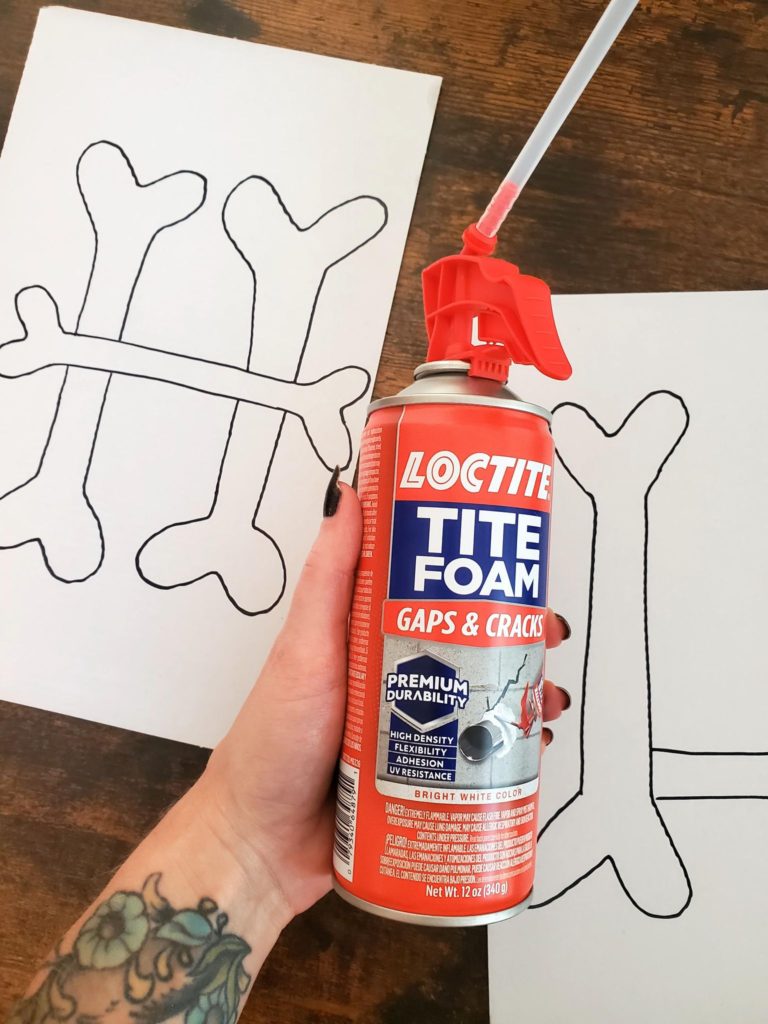
- Loctite foam – https://amzn.to/3ClTRrW
- Wax paper – https://amzn.to/3QRyaUk
- White paper – https://amzn.to/3wlsfPF
- Vinyl gloves – https://amzn.to/3whgrOz
- Marker – https://amzn.to/3T19pHj
- Tape – https://amzn.to/3QJJrqs
- Double sided mounting tape – https://amzn.to/3T489U0
Step one: Decide what you’re going to spell out
One can of the expanding foam will make quite a few letters, but more letters might mean a second can is needed. You’ll have to make your letters big enough that the foam will still be readable after it expands. These letters here are all around eight inches tall, but you can make them bigger if your personal preference desires! I would not recommend making your letters smaller than eight inches. Gather your supplies and find a barrier to protect your work space like a plastic table cloth or newspaper.
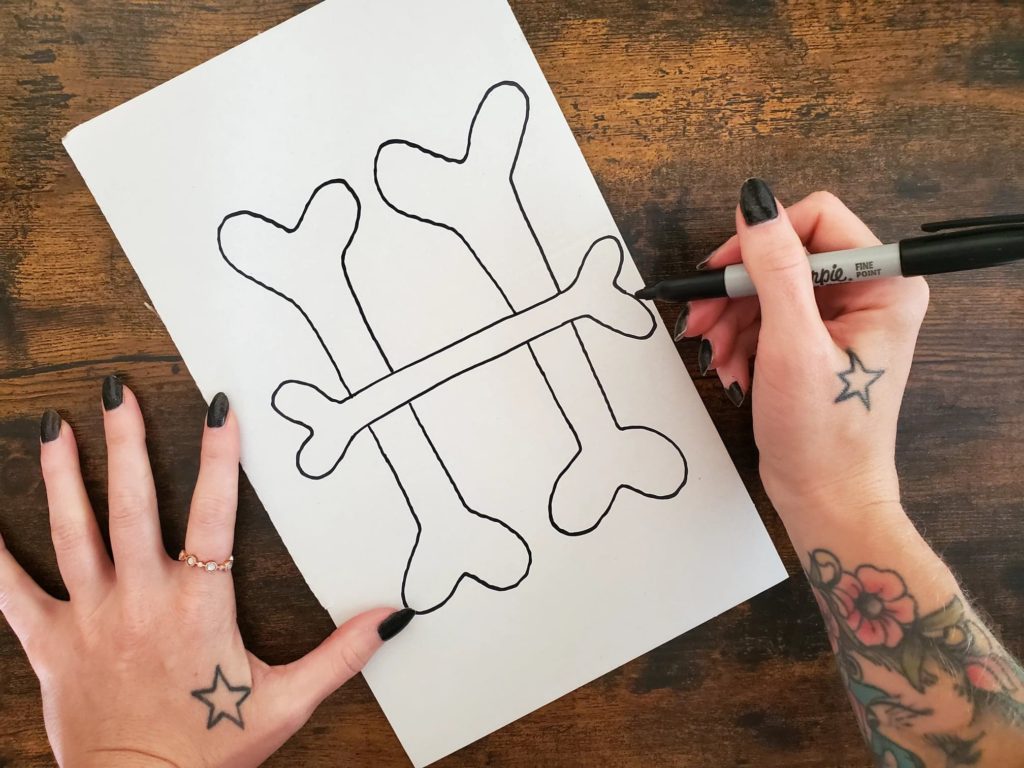
Step two: Draw out all of your foam bone letters!
This part is fun because it gets you in a spooky mood. Drawing bones is sure to get you in the holiday spirit. Use your marker to draw a letter on each piece of white paper. It might take a few tries to get it just right.
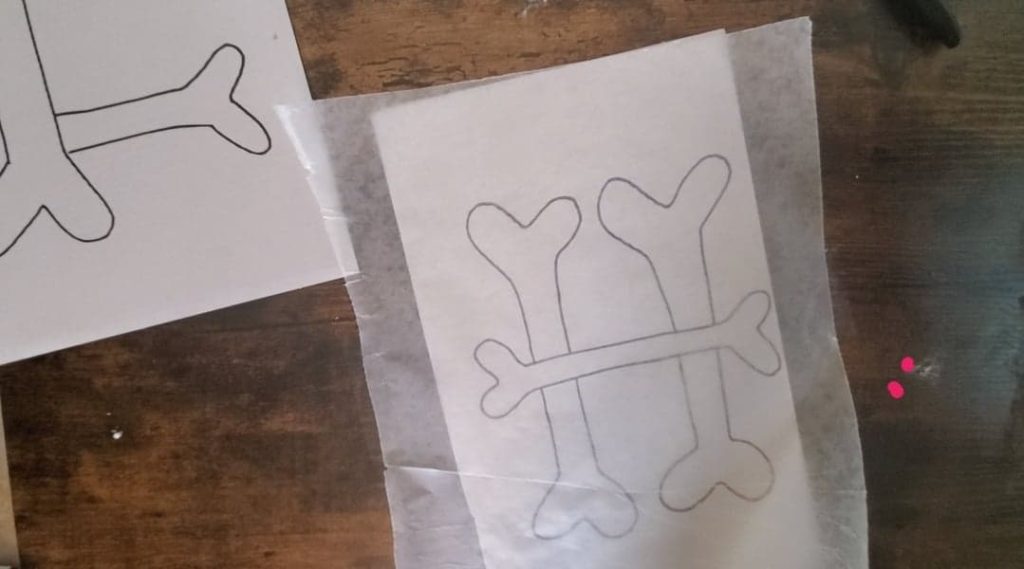
Step three: Let’s keep them from sticking
Wax paper is one of my favorite things in the world, because almost nothing will stick to it. Cut a sheet of wax paper to fit over each of your letters and tape them down like shown in the picture. Taping them down will help keep the paper from sliding around while you’re working with the foam.
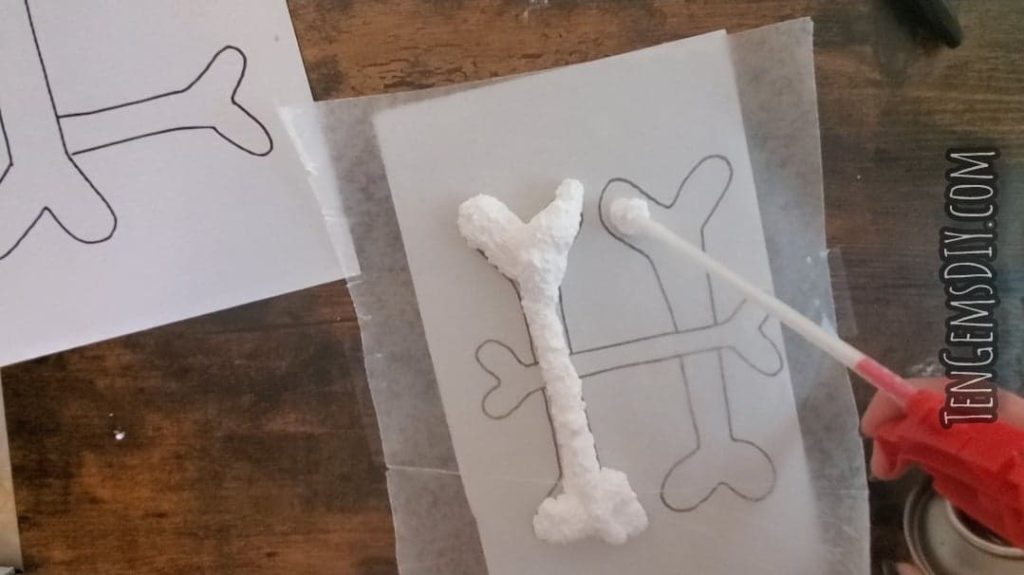
Step four: Creating the bone letters
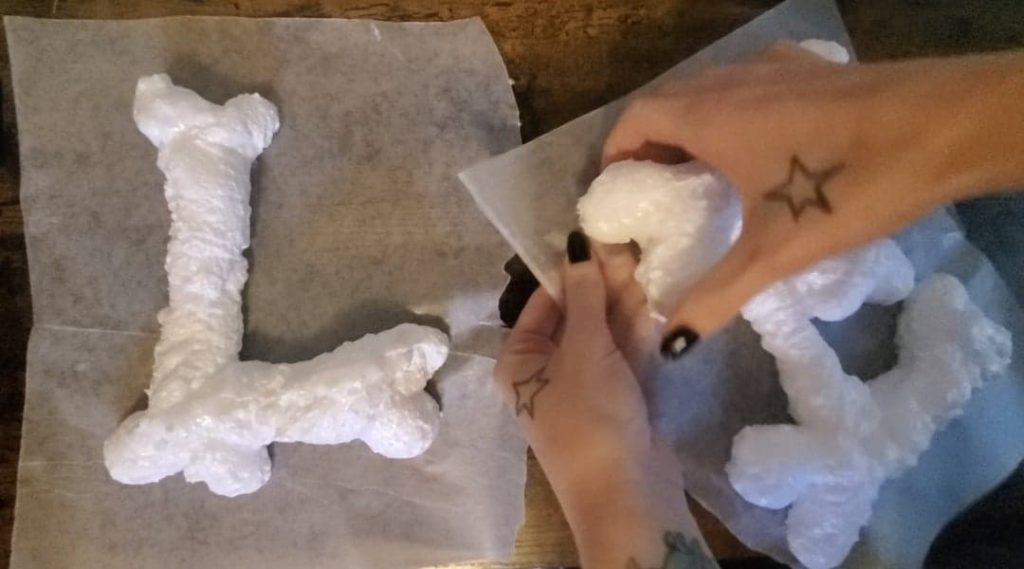
After you have your letters drawn out and your wax paper is taped down over them so it won’t slip around, put your gloves on and get your loctite foam. The foam should have the straw on the end to make it easier.
Very lightly start spraying the foam, filling in your pre-drawn bone letters. Start at one end of the letter and work your way to the other end. It might take a practice run or two to get the method down. I promise, you do not need a ton of foam. Go easy on it.
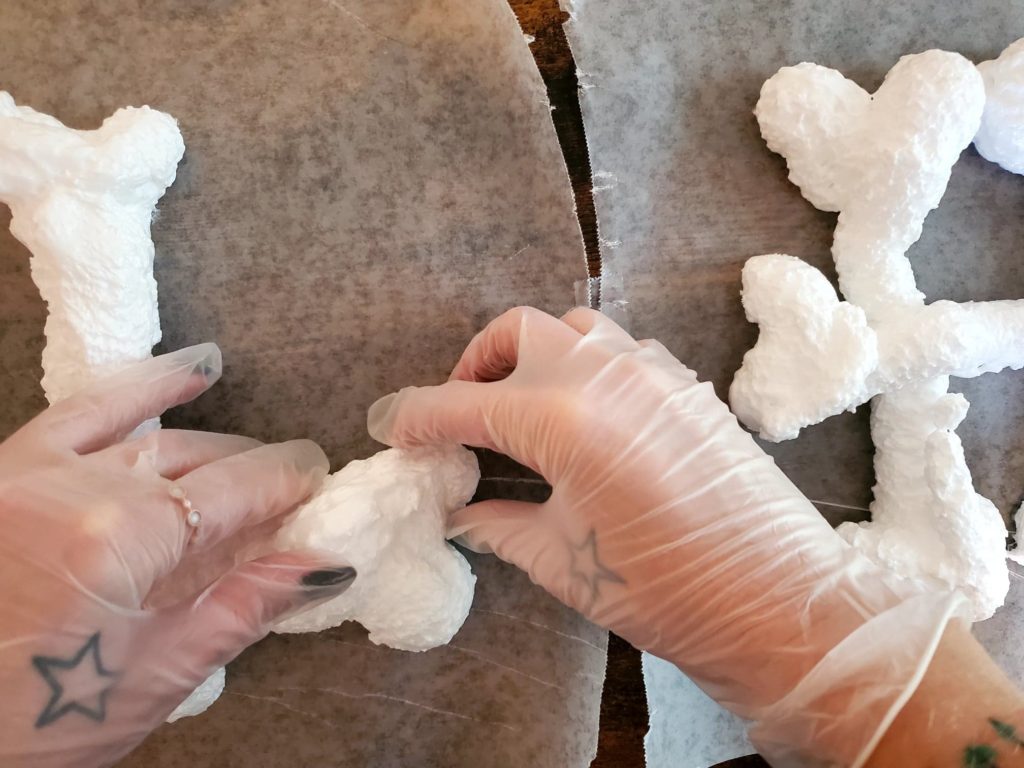
After you have drawn all your letters with the loctite, you’ll have to set a timer to let the foam rest. Set a time for ten minutes. The reason we’re letting the foam rest is because it is so so sticky right after it comes out of the can. If you give it ten minutes, it will firm up enough that you can shape it. After the ten minutes is up, put a new pair of gloves on, and gently smooth and shape your bone letters so they look a little neater.
Step five: Your foam bone letters look so good, they’re scary!
Give your letters some time to harden the rest of the way after you have smoothed them out. After they’re hardened, peel the wax paper off of the back.
When I hung these beautiful DIY Halloween bone letters up in my haunted house, I just used good ol’ double sided foam mounting tape.
There you have it, my friend! How to make bone letters! Good for any Halloween party or any spooky event! Keep this unique DIY in your toolbox for unique and creepy Halloween how-to’s!
If you’re looking for wickedly creative things for kids to make this season, peek at these other DIY Halloween tutorials:
- Easy Clean Up Yarn Pumpkins – https://tengemsdiy.com/how-to-make-yarn-pumpkin-crafts-for-kids/ Colorful Tissue Paper Pumpkins – https://tengemsdiy.com/how-to-make-pumpkin-tissue-paper-crafts-for-kids/
- How To Make Silhouette Bat Crafts For Kids – https://tengemsdiy.com/how-to-make-silhouette-bat-crafts-for-kids/
We are a participant in the Amazon Services LLC Associates Program, and affiliate advertising program designed to provide a means for us to earn fees by linking to Amazon.com and affiliated sites.