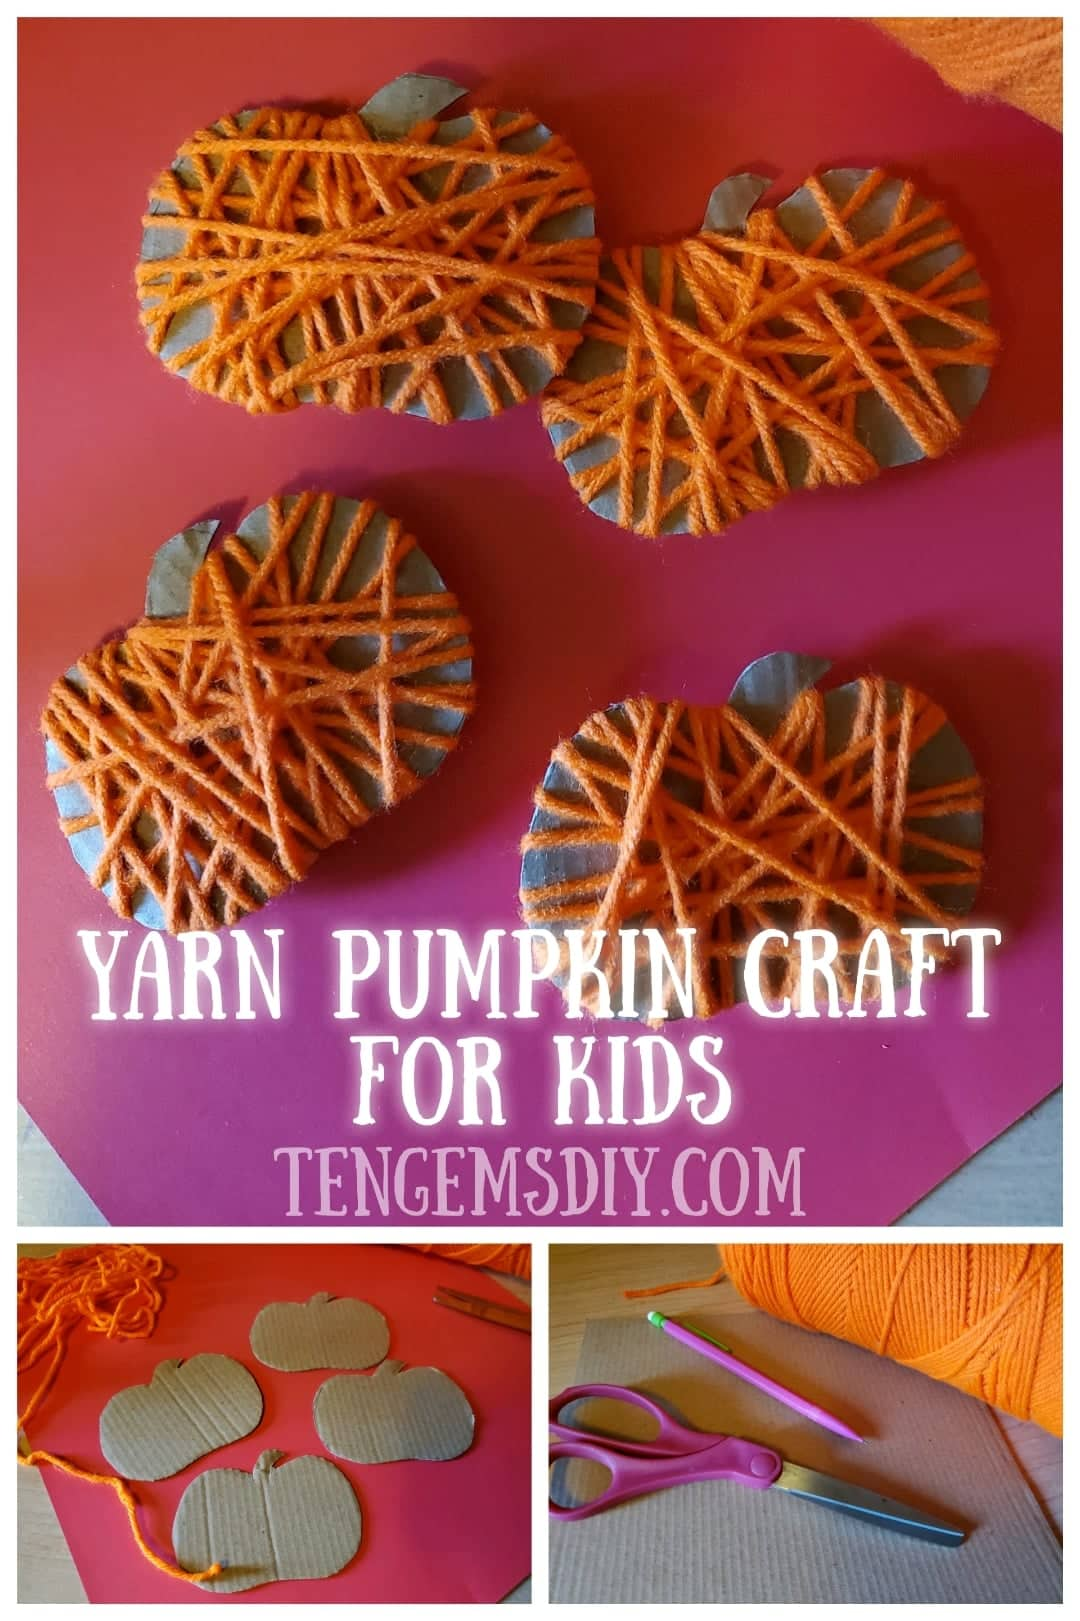
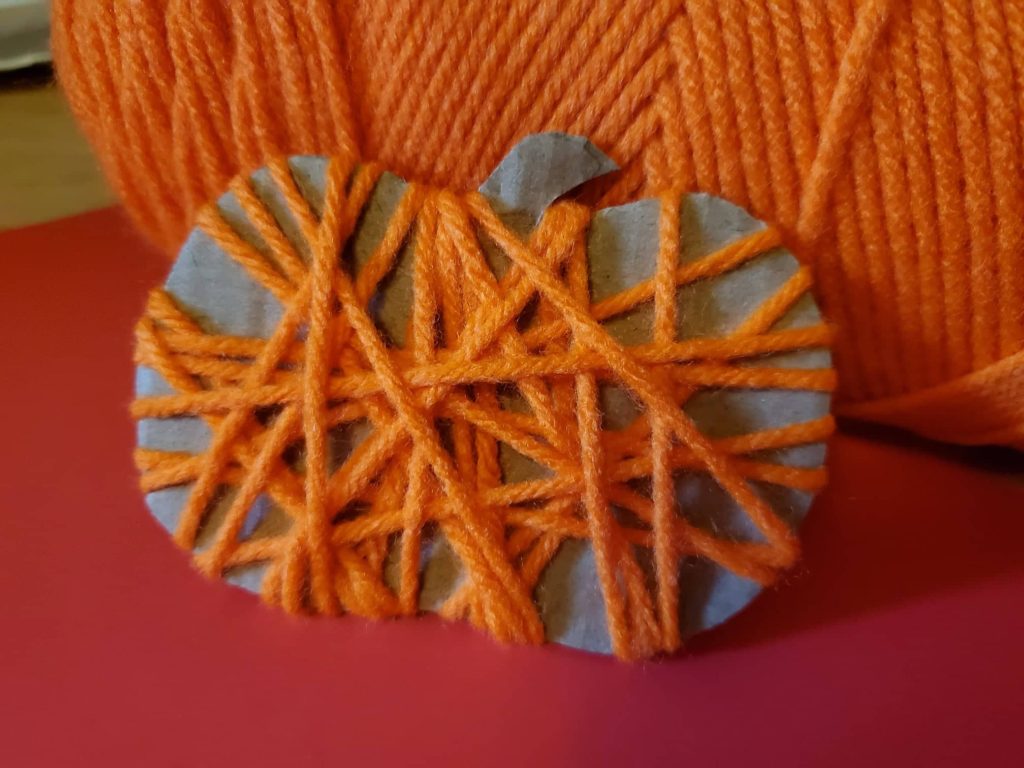
This tutorial is all about how to make yarn pumpkin crafts for kids! Fall is coming up quickly and it’s one of the best seasons for creativity as the seasons change and the colors come and go. The season of harvest reminds us of bountiful pumpkins and corn mazes, hay bales and beautiful orange trees. As kids take in the change, let them do crafts to welcome fall! These yarn pumpkins are and easy and simple and create little mess to clean up, which is arguably the best part! If you’re looking for another easy pumpkin craft for the little ones, check out these tissue paper pumpkins!>> https://tengemsdiy.com/how-to-make-pumpkin-tissue-paper-crafts-for-kids/ Or another great yarn project> https://tengemsdiy.com/how-to-make-yarn-spider-web-crafts-for-kids/ And the newest Halloween post about Silhouette Bat Crafts For Kids! https://tengemsdiy.com/how-to-make-silhouette-bat-crafts-for-kids/
TenGemsDIY is a DIY and craft blog. Some of our posts contain affiliate links for products we have tried and recommend. While clicking the links will not cost any money, we may receive a commission for items purchased, which helps keep our website up and running. Here is the privacy policy for more information: https://tengemsdiy.com/?page_id=3
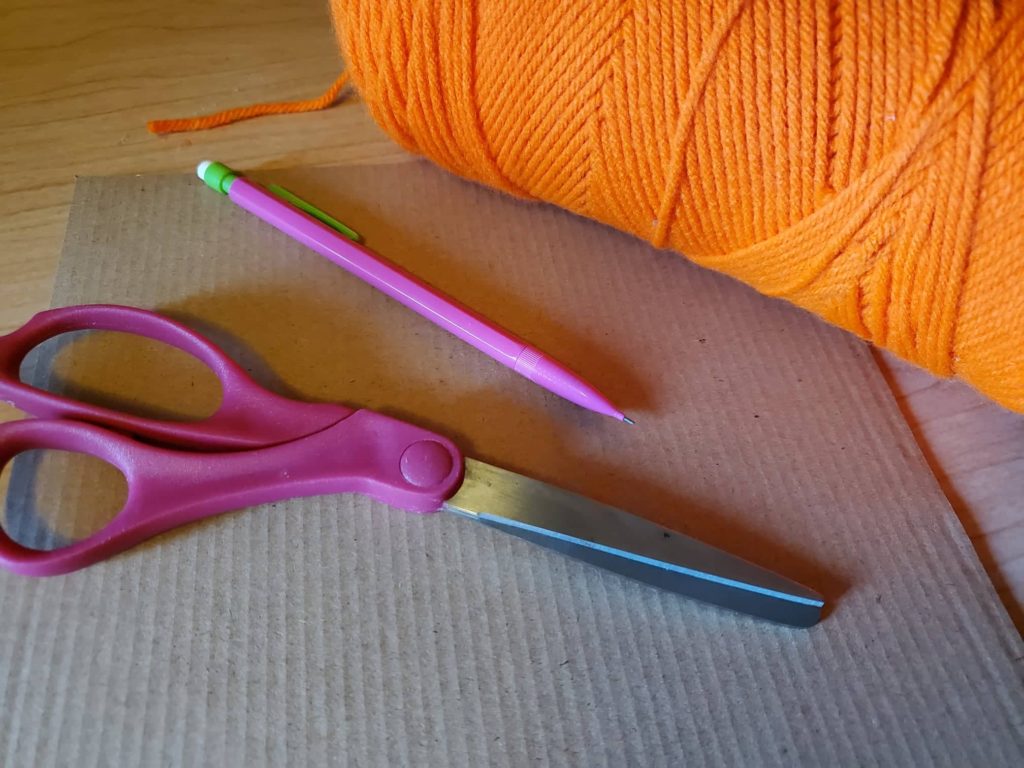
Supplies you’ll need for your yarn pumpkin crafts for kids and where to find them:
- Orange yarn – Red Heart yarn is really great – https://amzn.to/3kDRDv2
- Cardboard – If you don’t have some sitting around, here is a great link – https://amzn.to/3kVfTcn
- Sharp scissors – https://amzn.to/3BsUw7J
- Tape – https://amzn.to/3BsDkiP
- Pencil
Step one: Drawing your pumpkins
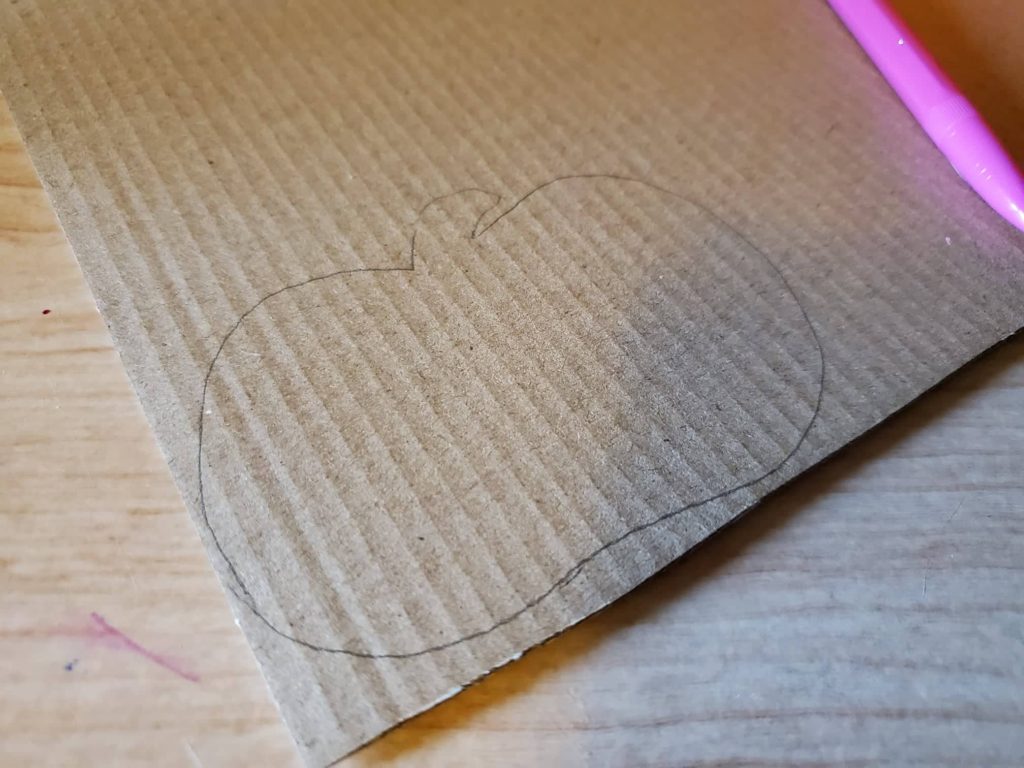
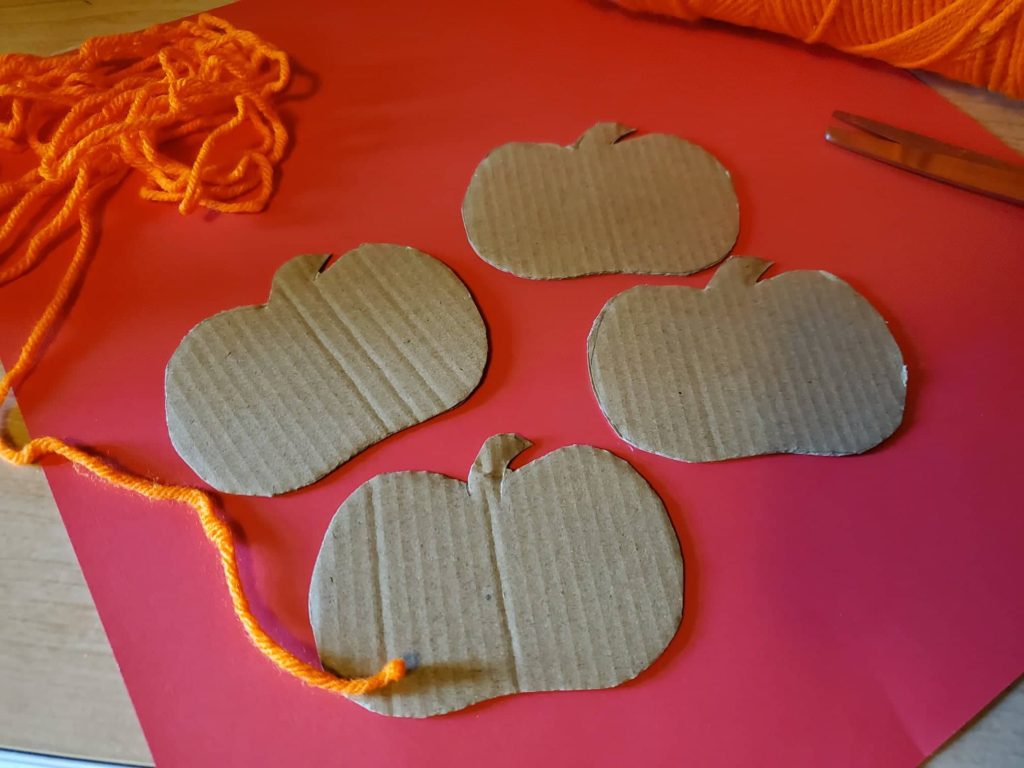
Luckily this craft is pretty simple, and the steps are pretty easy! For this first step, use your pencil to draw a pumpkin on your cardboard. The ones shown here are about four inches wide.
Step two: Cut out your pumpkins
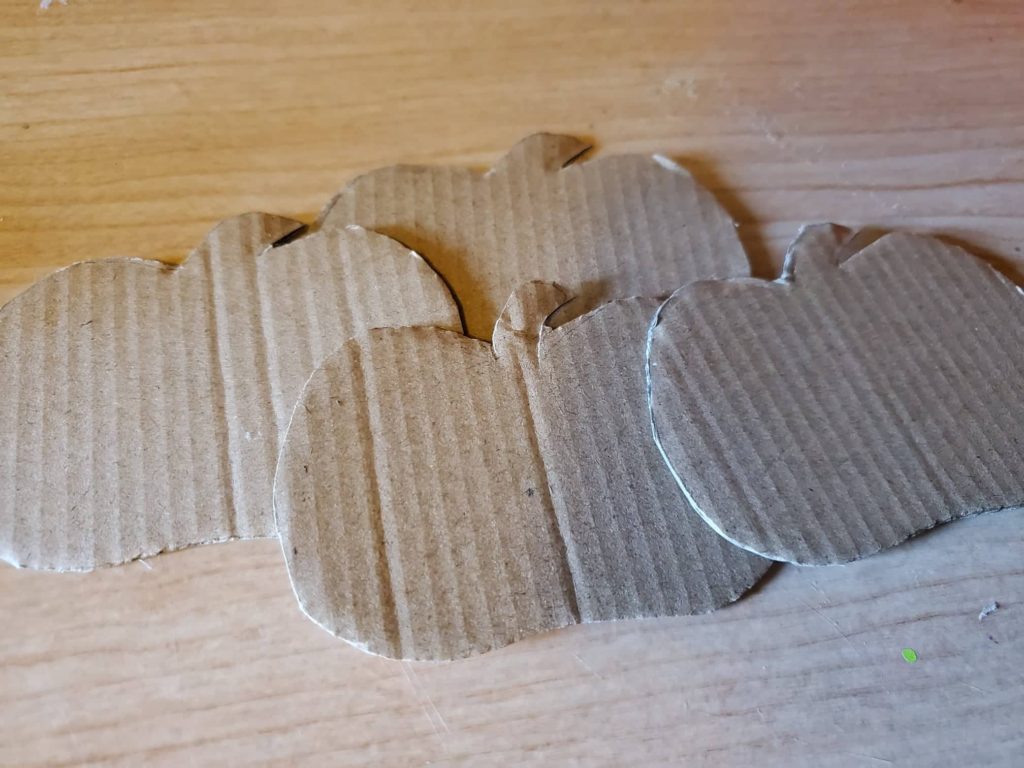
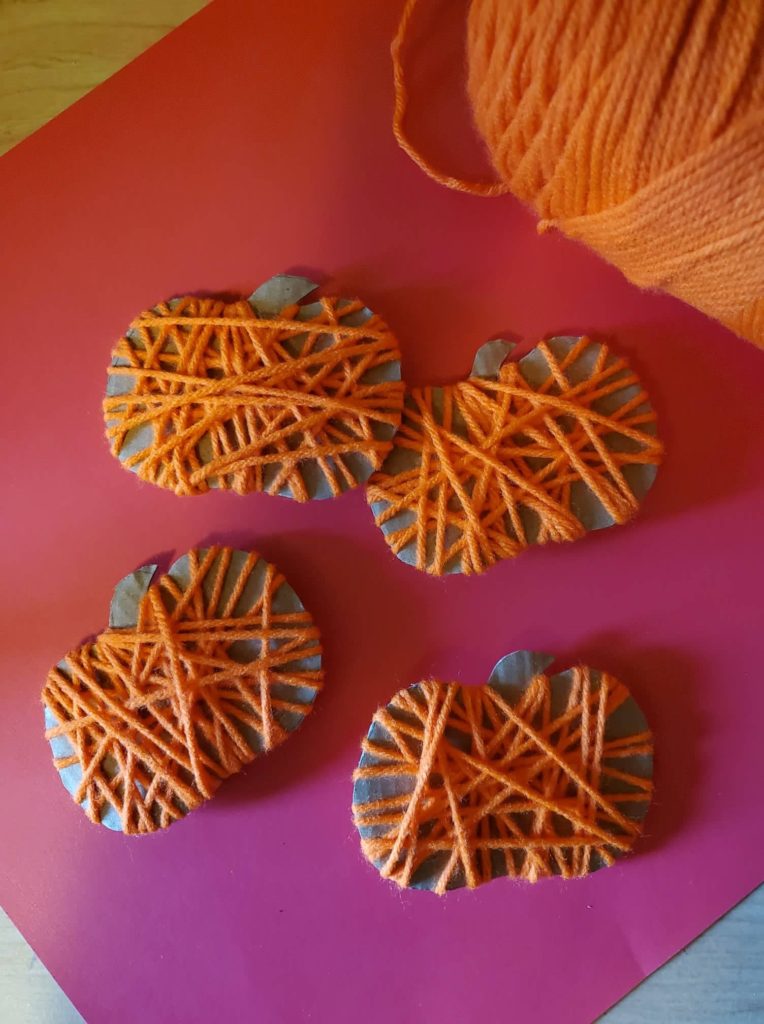
Cut out the pumpkin that you just drew. You can use this to stencil and draw more pumpkins for your kids’ craft! I made four pumpkins, one for each little one here at the house.
Step three: Getting enough yarn
This is the step where you’ll get the yarn ready for wrapping. I roughly measured two arm lengths of yarn and cut it. I did this once for each pumpkin.
Step four: Securing the yarn
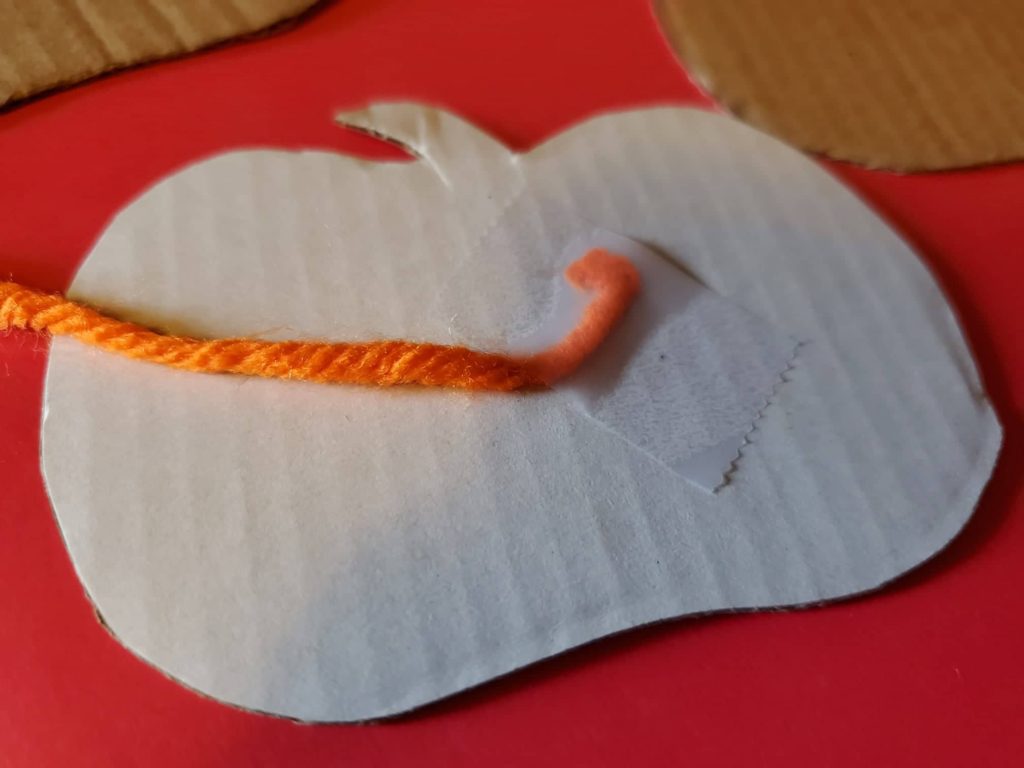
Tape the yarn to the back of the pumpkin. This will help anchor it so it doesn’t keep unwrapping when little one is wrapping it around the pumpkin.
Step five: Wrapping the yarn pumpkin crafts
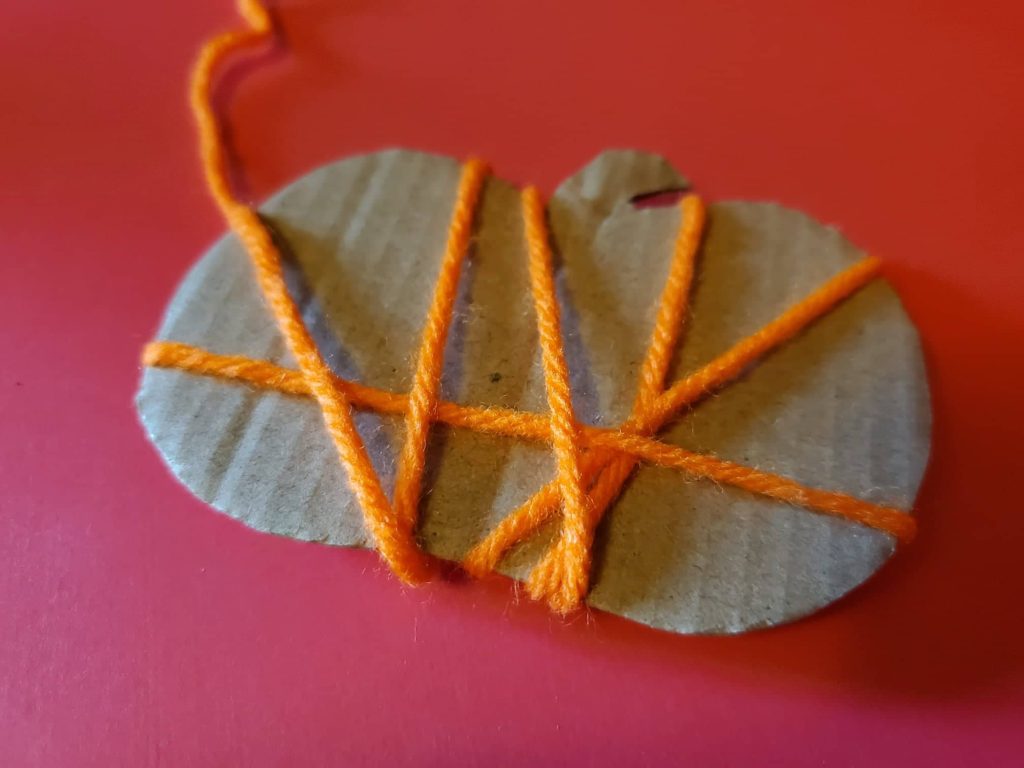
Let your little creators begin wrapping the yarn around the pumpkin. Show them how to wrap the yarn from every angle and cover the pumpkin with the brilliant orange yarn.
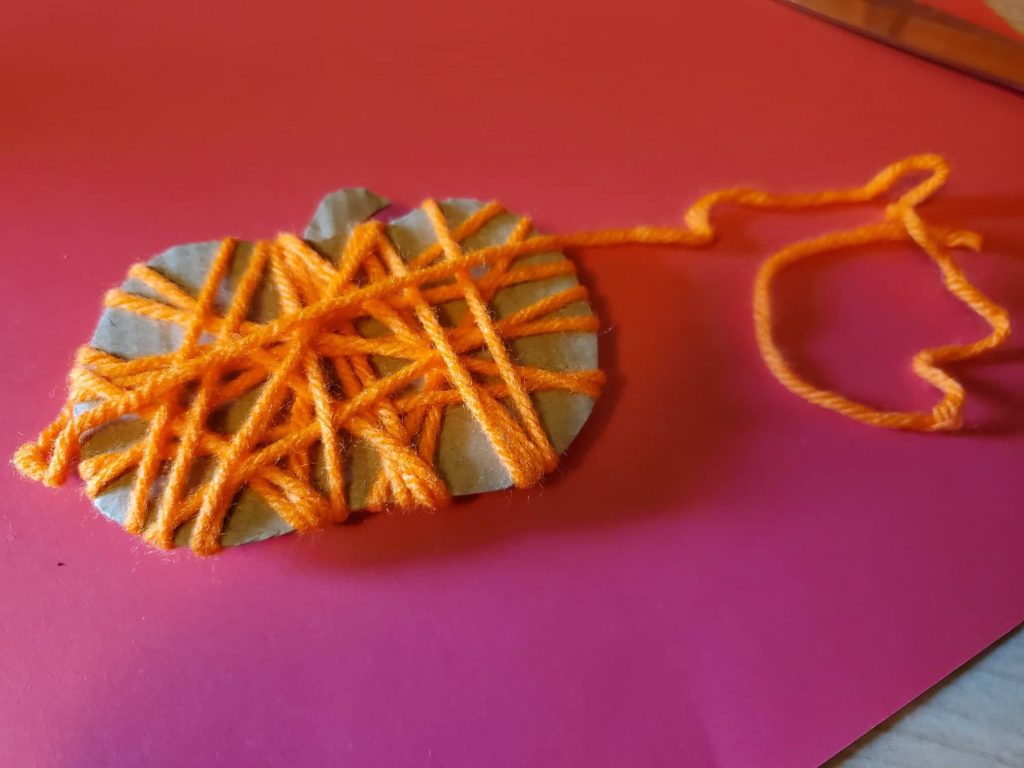
When they’re done wrapping, tie the yarn in a knot onto one of the strings on the back and snip off the excess.
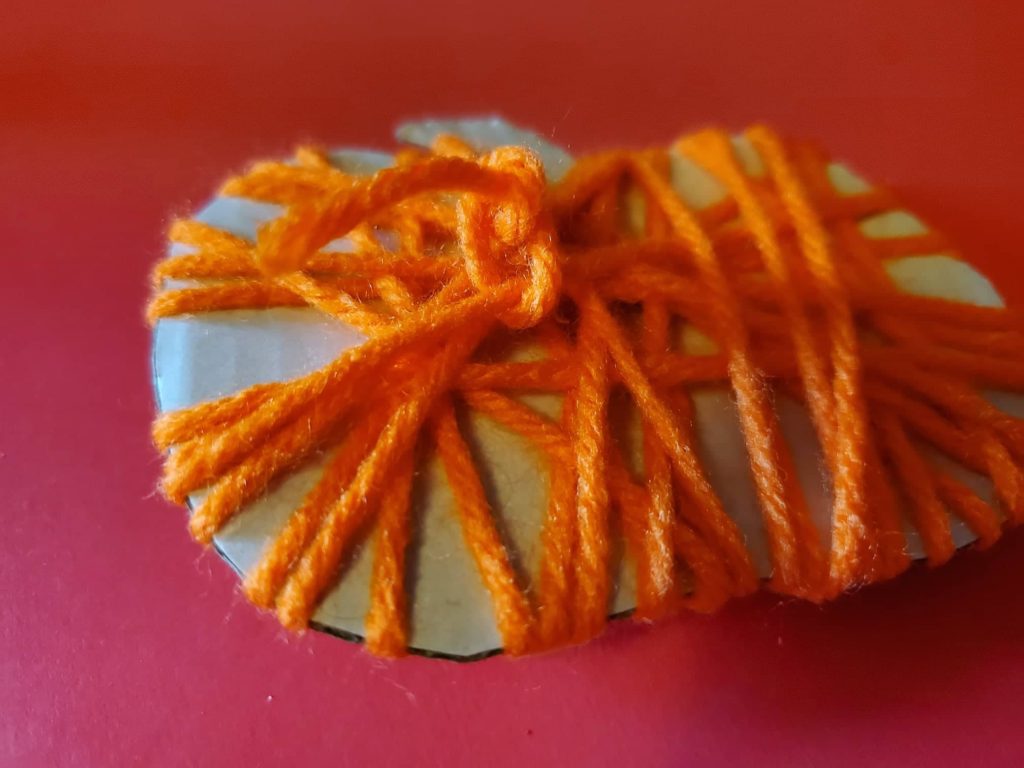
Display those beautiful pumpkin crafts for kids! You have a great harvest and you should be proud to display them!
There are plenty of grown up Halloween crafts here on TenGemsDIY.com. Here is one for Pool Noodle Halloween Candles> https://tengemsdiy.com/how-to-make-pool-noodle-halloween-candles/ Or How To Make A Black Snake Wreath!> https://tengemsdiy.com/how-to-make-a-black-snake-halloween-wreath-diy/
And this super easy tutorial for How To Make Easy DIY Halloween Garland!> https://tengemsdiy.com/how-to-make-easy-diy-halloween-garland/
We are a participant in the Amazon Services LLC Associates Program, and affiliate advertising program designed to provide a means for us to earn fees by linking to Amazon.com and affiliated sites.
