Pumpkin Tissue Paper Crafts For Kids are great for a bunch of reasons! Clean up is easy, it takes minimal supplies and kids love it! This craft allows little creators to experience the changing seasons first hand through creativity. Little artists can explore the colors of fall and talk about the harvesting of crops like bountiful pumpkins and brilliant yellow corn. With fall comes the changing of the trees, cooler weather and a new variety of crafts to celebrate and welcome it. After you’ve completed this fall project with your young ones, try this other great yarn pumpkin craft here!>> https://tengemsdiy.com/how-to-make-yarn-pumpkin-crafts-for-kids/
Or check out this super easy Yarn Spider Web Crafts For Kids> https://tengemsdiy.com/how-to-make-yarn-spider-web-crafts-for-kids/
And this super easy tutorial for Halloween Silhouette Bat Crafts For Kids! https://tengemsdiy.com/how-to-make-silhouette-bat-crafts-for-kids/
TenGemsDIY is a DIY and craft blog. Some of our posts contain affiliate links for products we have tried and recommend. While clicking the links will not cost any money, we may receive a commission for items purchased, which helps keep our website up and running. Here is the privacy policy for more information: https://tengemsdiy.com/?page_id=3
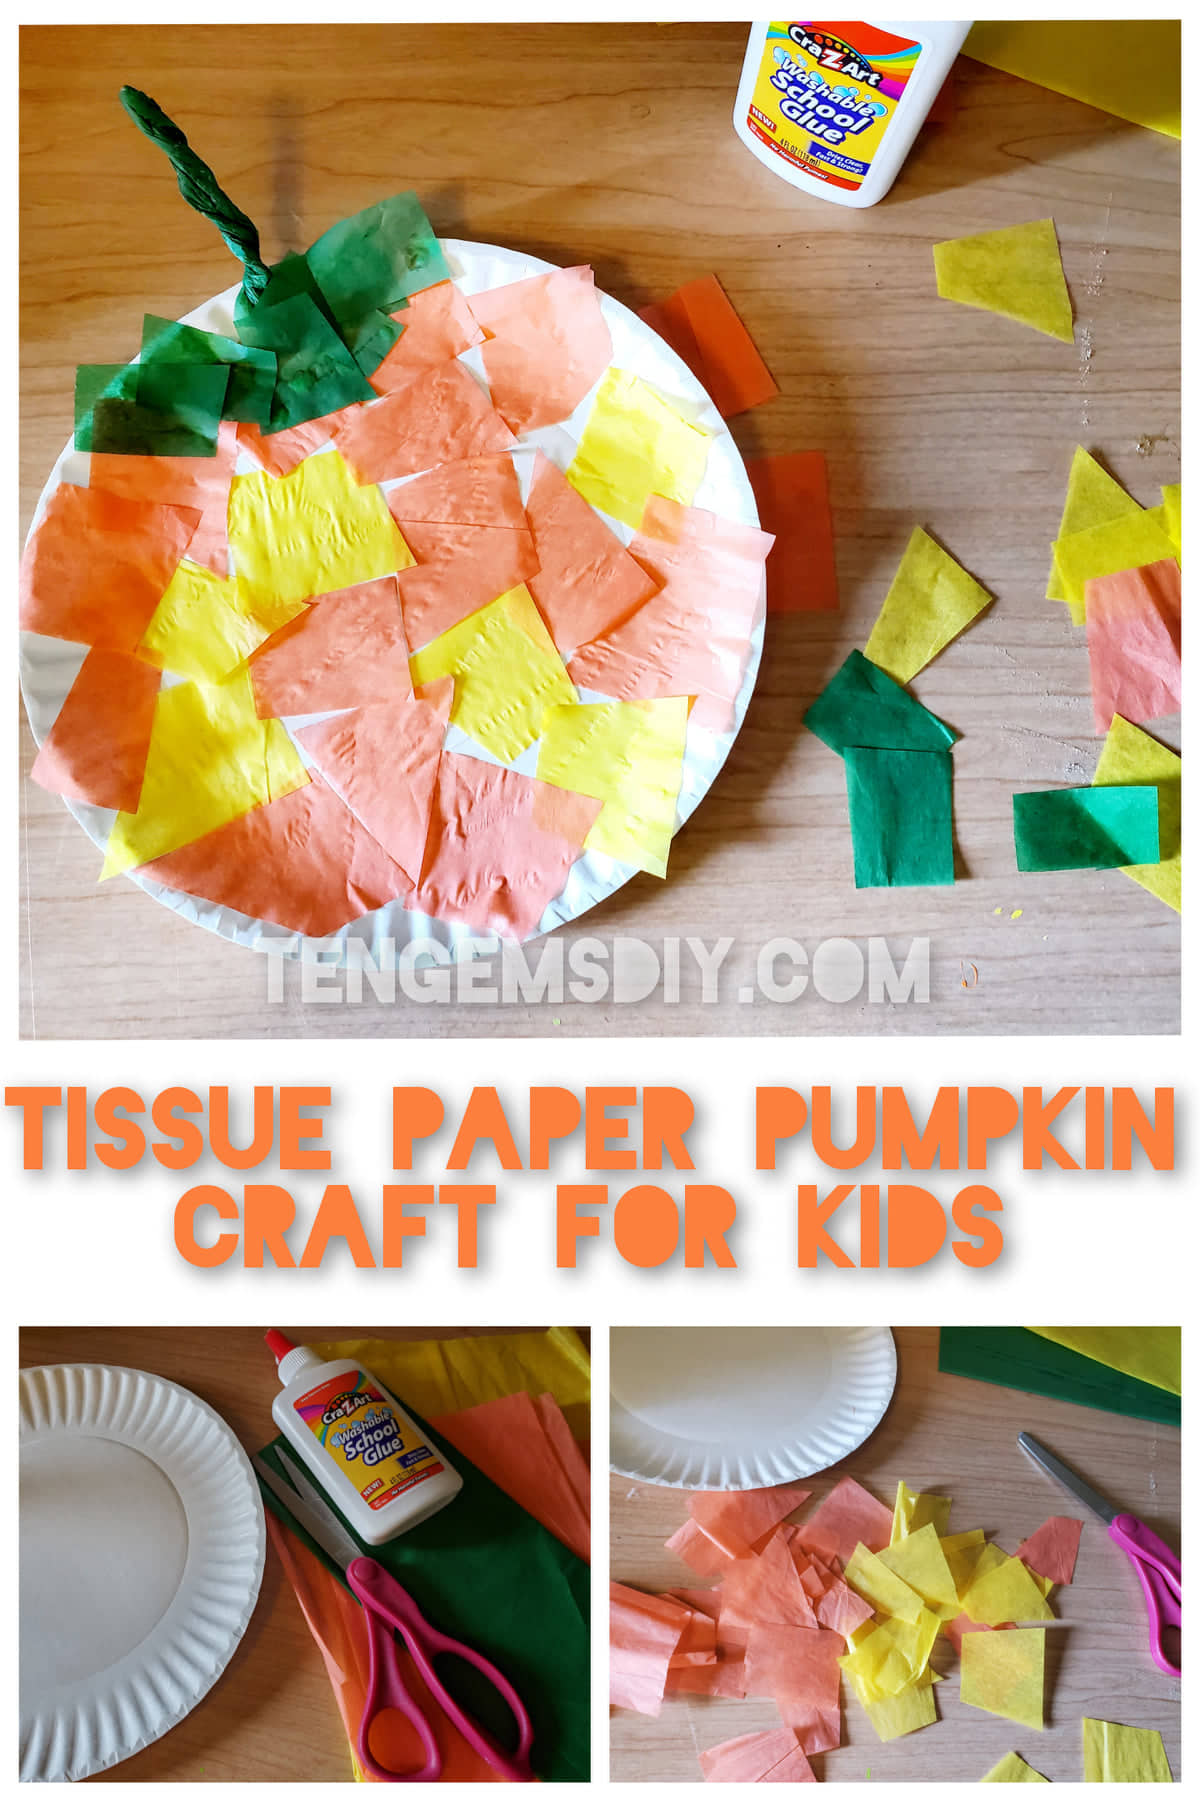
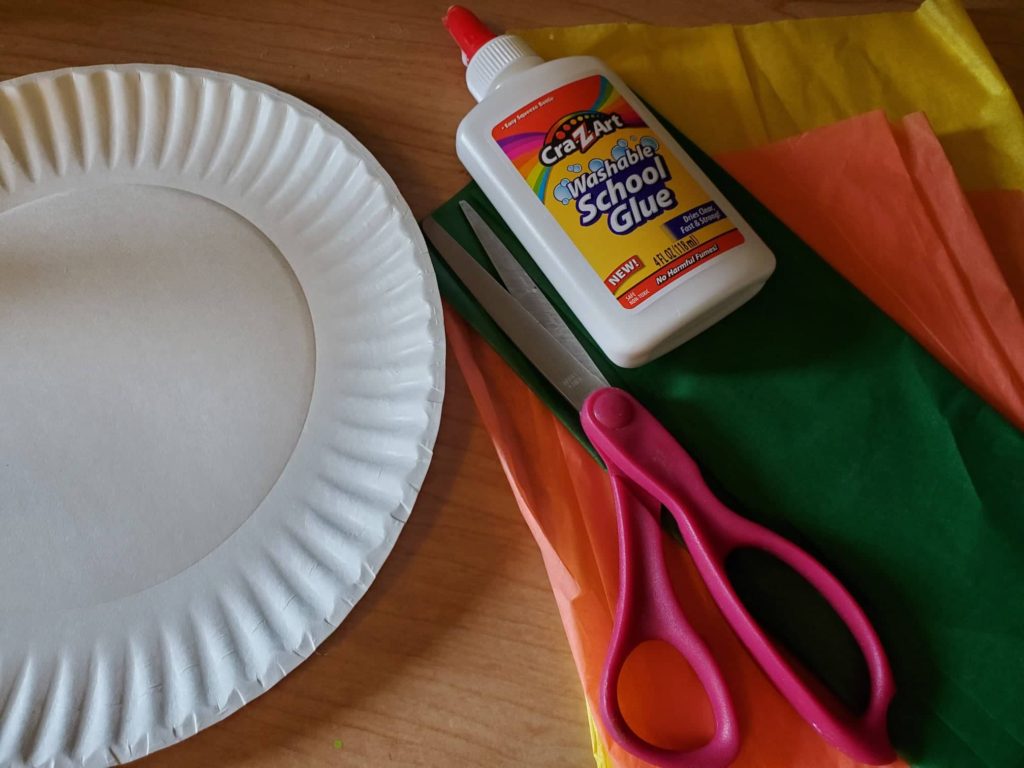
What you’ll need for your pumpkin tissue paper crafts for kids, and where to find them:
- Tissue paper in orange, green and yellow – https://amzn.to/3rscdja
- Paper plates – https://amzn.to/3hVmD88
- School glue – https://amzn.to/3f0HXr1
- Scissors – https://amzn.to/3kLkMo2
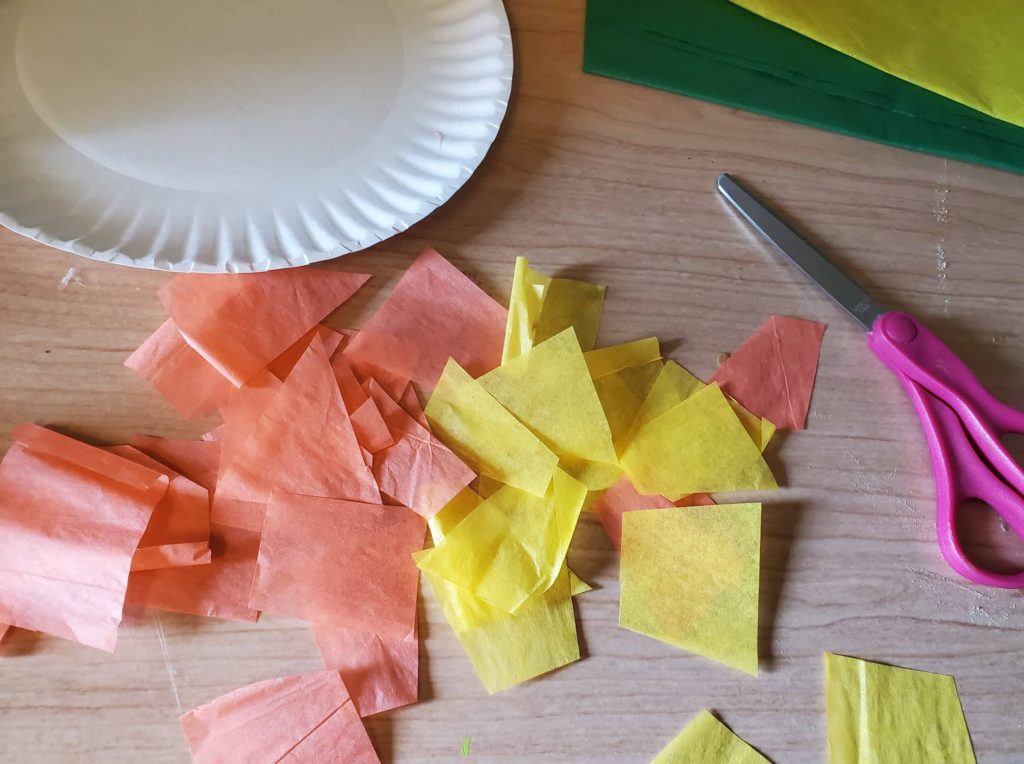
Step one: Getting your tissue paper ready
Talk to your little ones about scissor safety or do this step for them. If you didn’t want them using scissors, you could even have them tear the tissue paper into pieces.
Cut the orange and yellow tissue paper into pieces of all different shapes and sizes! This part can be fun for kids because it means no piece is the same.
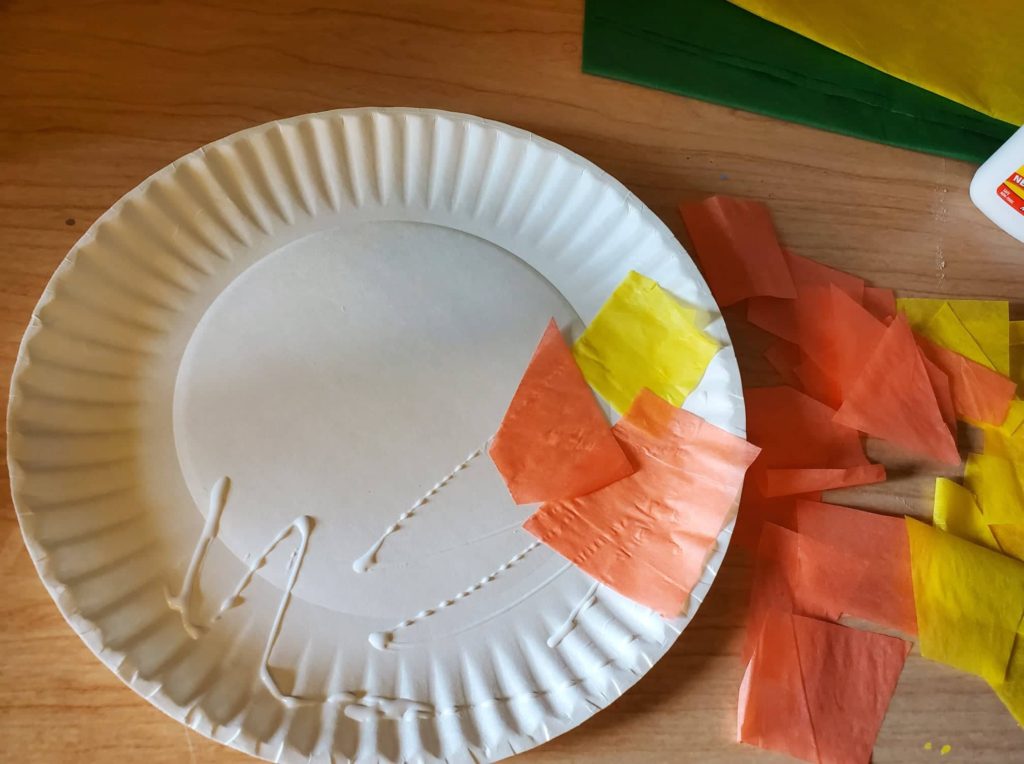
Step two: Getting gluey
Have your child lay some glue down on the paper plate. Start laying tissue paper over the glue in any pattern you like, or glue them down randomly! This pumpkin reflects the artist and art has no expectations!
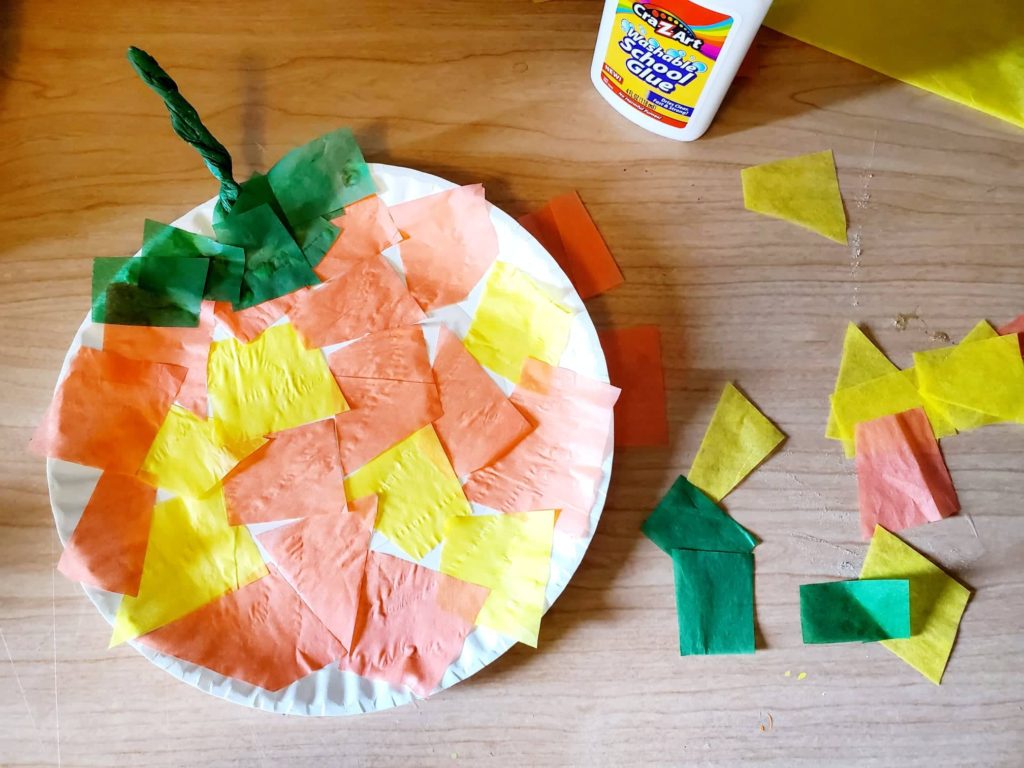
Step three: Making the pumpkin stem
For the stem, cut a longer piece of green tissue paper that is at least three or four inches wide. Wrap this green tissue paper around itself like shown in the photo until it’s all wrapped. Then you’ll twist the tissue paper so it looks like a pumpkin stem. Glue that nice green stem on to the top of the pumpkin!
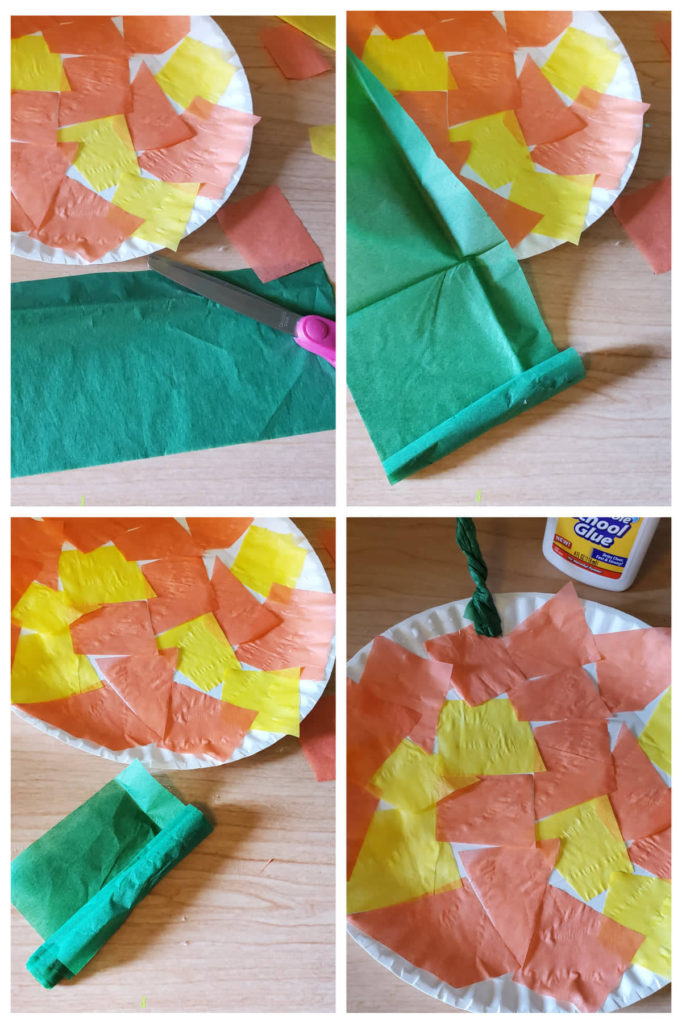
Step four: Finishing up your pumpkin tissue paper crafts for kids
Have your young artist cut or tear a few pieces of green tissue paper to glue at the base of the stem. Glue these pieces around the base of your pumpkin stem and it’s all finished!
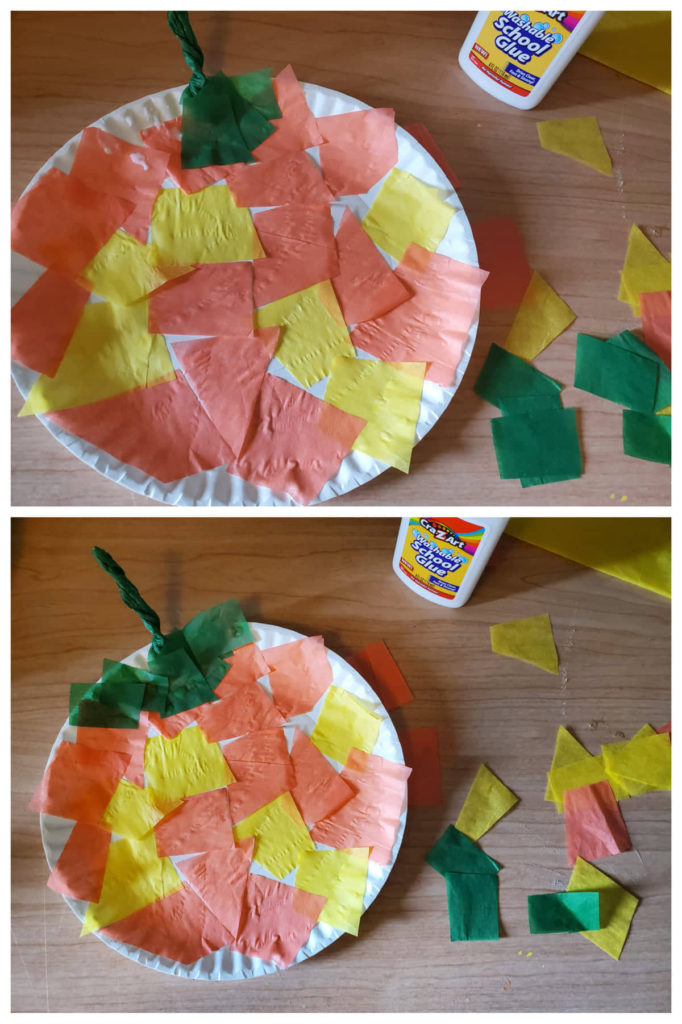
Look at that brilliant orange pumpkin! The colors of fall are amazing and people around the world wait all year to see its greatness. Display your pumpkin harvest with pride!
There are plenty of grown up Halloween crafts here on TenGemsDIY.com. Here is one for Pool Noodle Halloween Candles> https://tengemsdiy.com/how-to-make-pool-noodle-halloween-candles/
Or How To Make A Black Snake Wreath!> https://tengemsdiy.com/how-to-make-a-black-snake-halloween-wreath-diy/
And this super great tutorial for How To Make Easy DIY Halloween Garland!> https://tengemsdiy.com/how-to-make-easy-diy-halloween-garland/
We are a participant in the Amazon Services LLC Associates Program, and affiliate advertising program designed to provide a means for us to earn fees by linking to Amazon.com and affiliated sites.