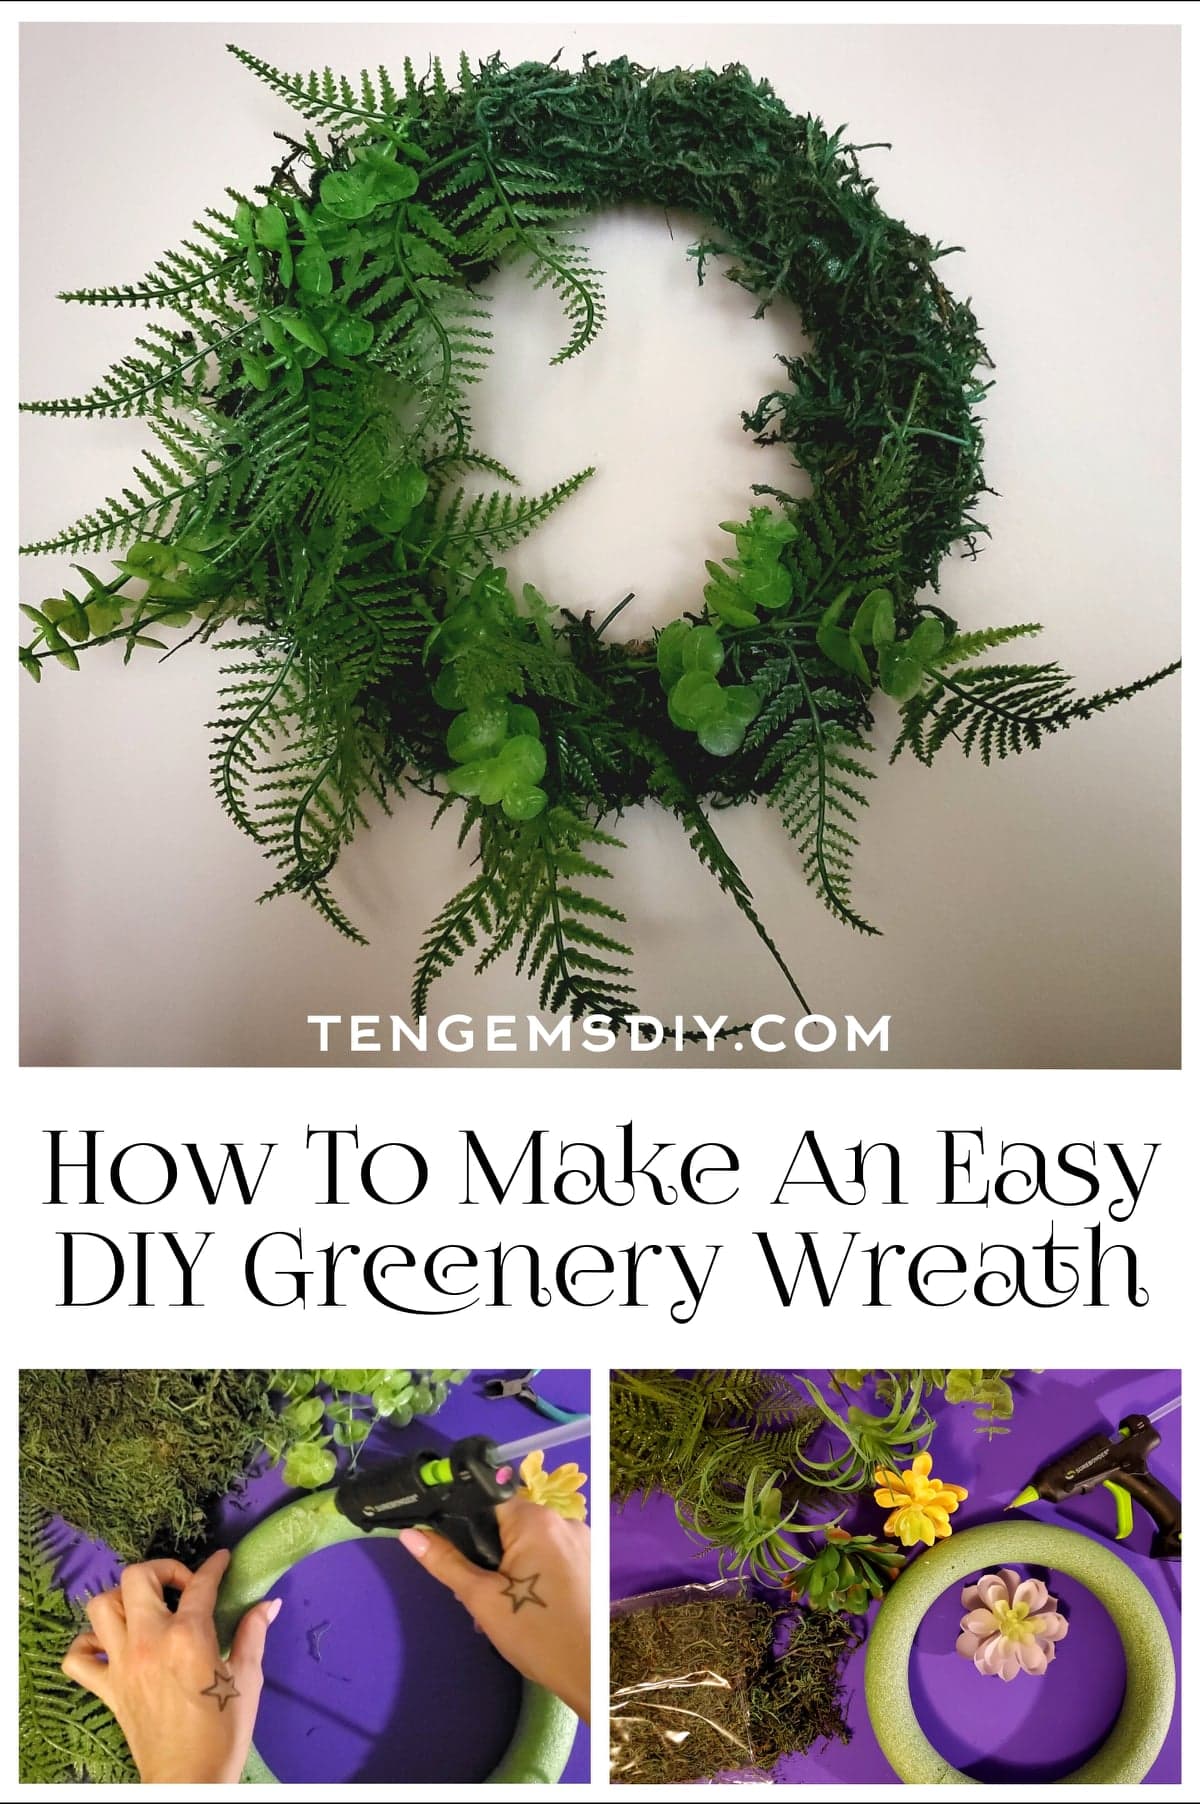
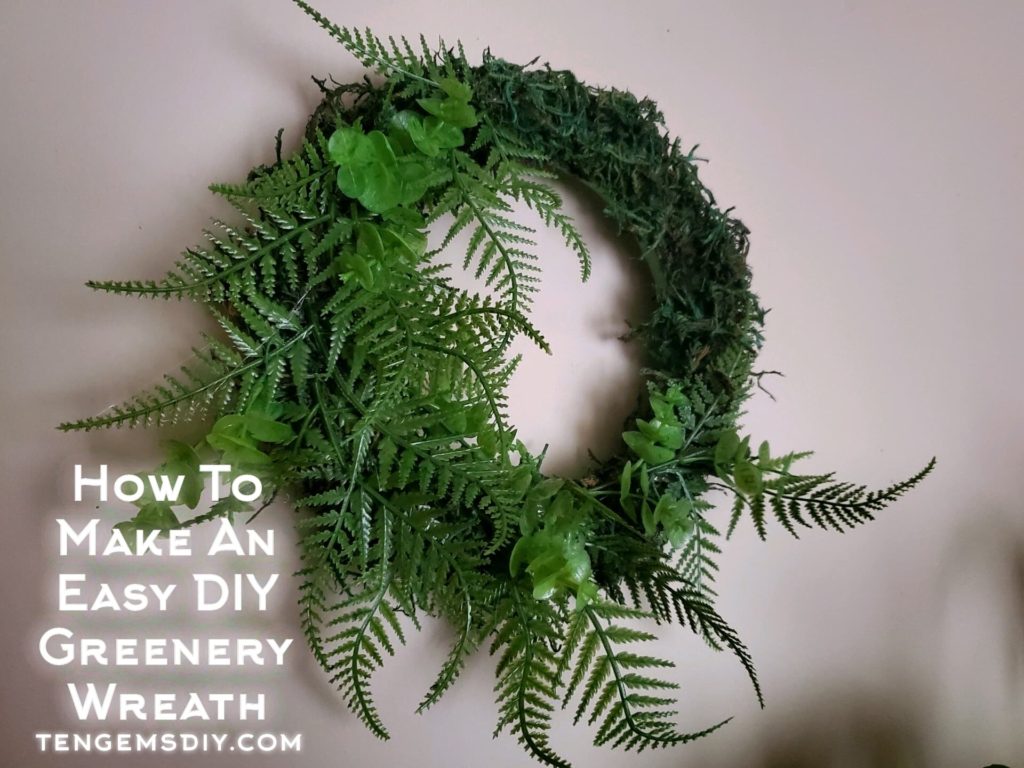
This tutorial for How To Make An Easy DIY Greenery Wreath shows you how simple it can be to make your own unique and creative nature inspired decor. Pick your favorite plants to add in or keep it simple with only beautiful fern leaves. You’ll only need a few supplies, all of which are listed later in the tutorial. Any way you decide to create your greenery wreath, is a great way to bring nature’s aesthetic in to your home.
TenGemsDIY is a DIY and craft blog. Some of our posts contain affiliate links for products we have tried and recommend. While clicking the links will not cost any money, we may receive a commission for items purchased, which helps keep our website up and running. Here is the privacy policy for more information: https://tengemsdiy.com/?page_id=3
After you’re done with your Easy DIY greenery Wreath, peek at these other home decor DIYs:
- How To Make DIY Canvas And Glitter Wall Art: https://tengemsdiy.com/how-to-make-diy-canvas-and-glitter-wall-art/
- DIY Retro Starburst Wall Art: https://tengemsdiy.com/how-to-make-diy-retro-starburst-wall-art/
- How to make Easy Canvas Cutout Art: https://tengemsdiy.com/how-to-make-easy-canvas-cutout-art/
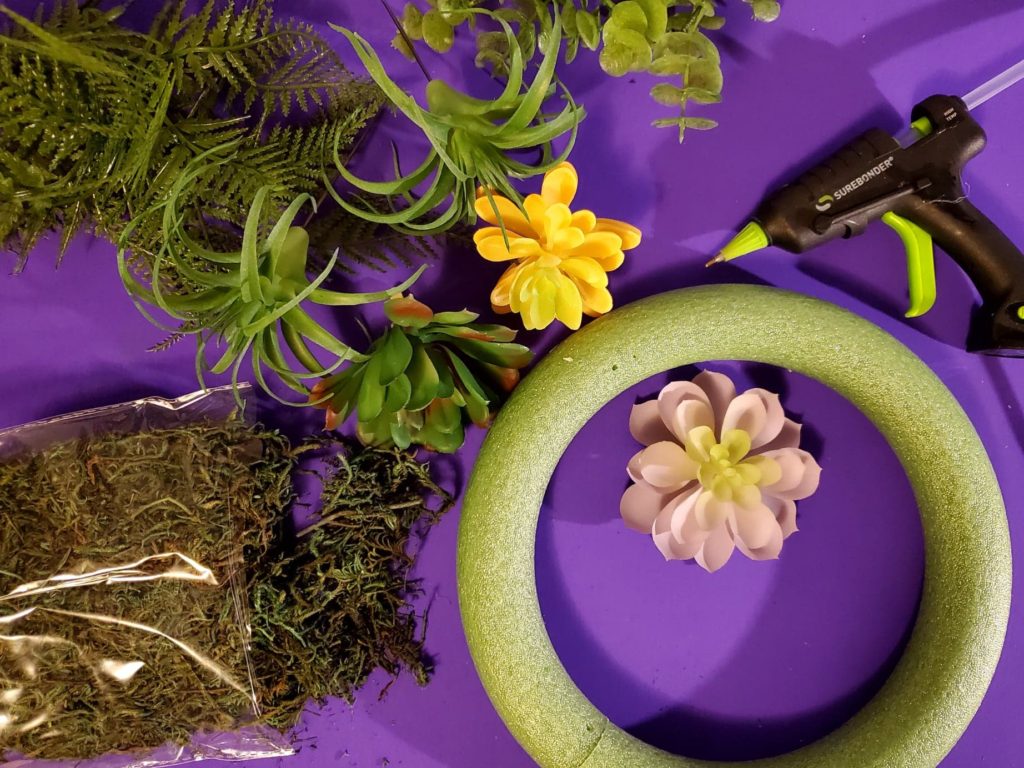
Supplies you’ll need for How To Make An Easy DIY greenery Wreath, and where to easily find them:
- 10″ foam wreath – https://amzn.to/3MfX6lZ
- Faux moss – https://amzn.to/3aiKFbF
- Faux fern leaves – https://amzn.to/3MayU4h
- Faux foliage – https://amzn.to/3NiLlwc
- Hot glue gun – https://amzn.to/3xbSzwn
- Extra hot glue sticks – https://amzn.to/3M7Uu9C
- Wire cutters – https://amzn.to/3x4RV2B
Step one: Prepping your faux plants
First things first, you’ll need to get all your supplies ready before you start gluing everything down.
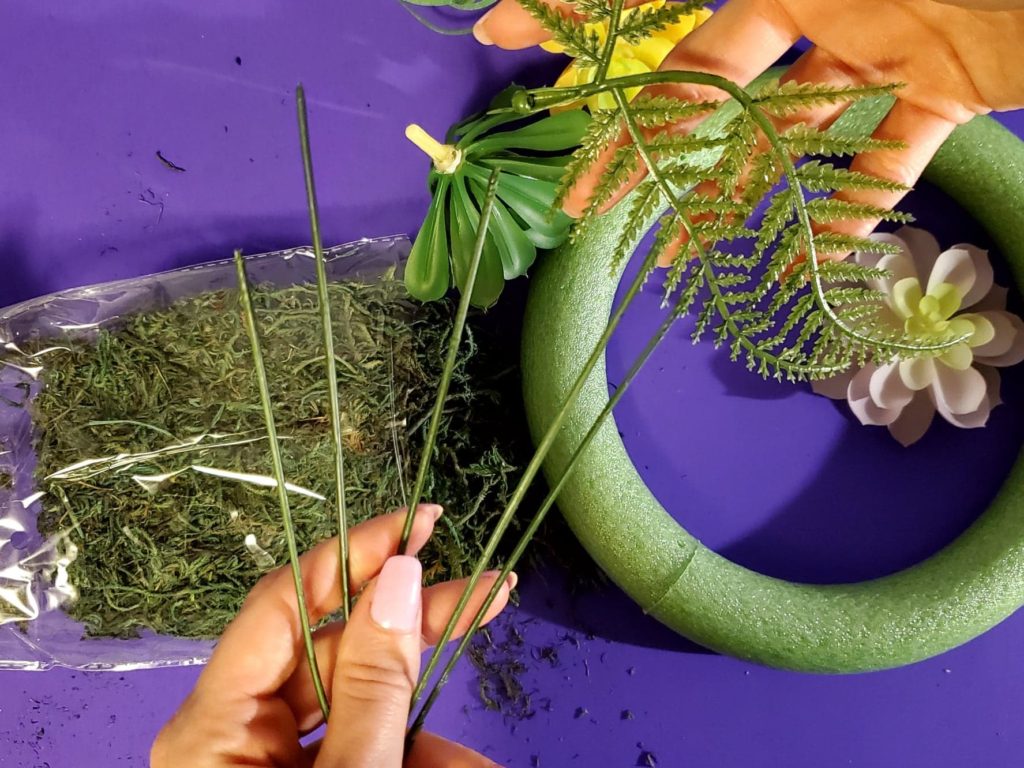
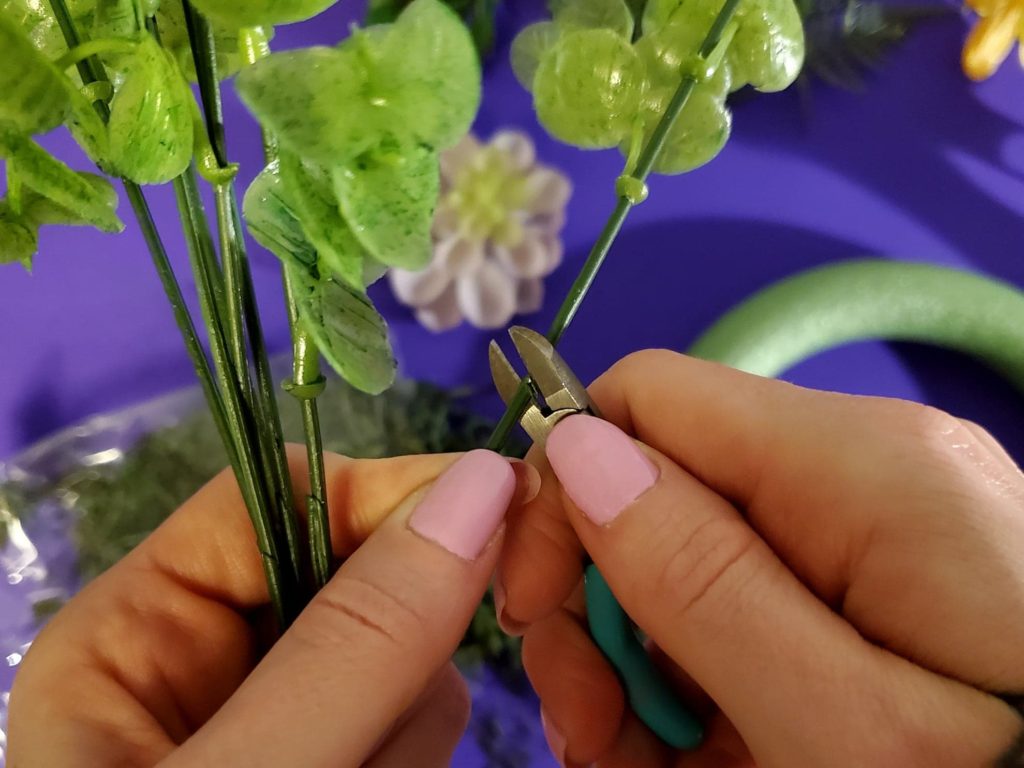
Grab your faux plants and start taking the leaves off. Here I have two different plants. The fern plant let me slide its leaves off of the stem. The other eucalyptus type plant, I had to use my wire cutters to cut the stems into smaller pieces. You can see in the photos below how I took them apart. After you’re done breaking the plants down in to smaller pieces, turn on your glue gun so it can warm up. You will need the extra glue sticks for this project. I’ve created a supply list at the top of this tutorial of all the supplies I’ve used.
Step two: Getting mossy!
One highly searched for craft question is “How do I attach dry moss to a wreath?”, and this is exactly how. In sections, add hot glue to your wreath. Then add your dry moss over the glue in patches. Be careful while you’re adding the dry moss so you don’t end up burning your hands on the hot glue.
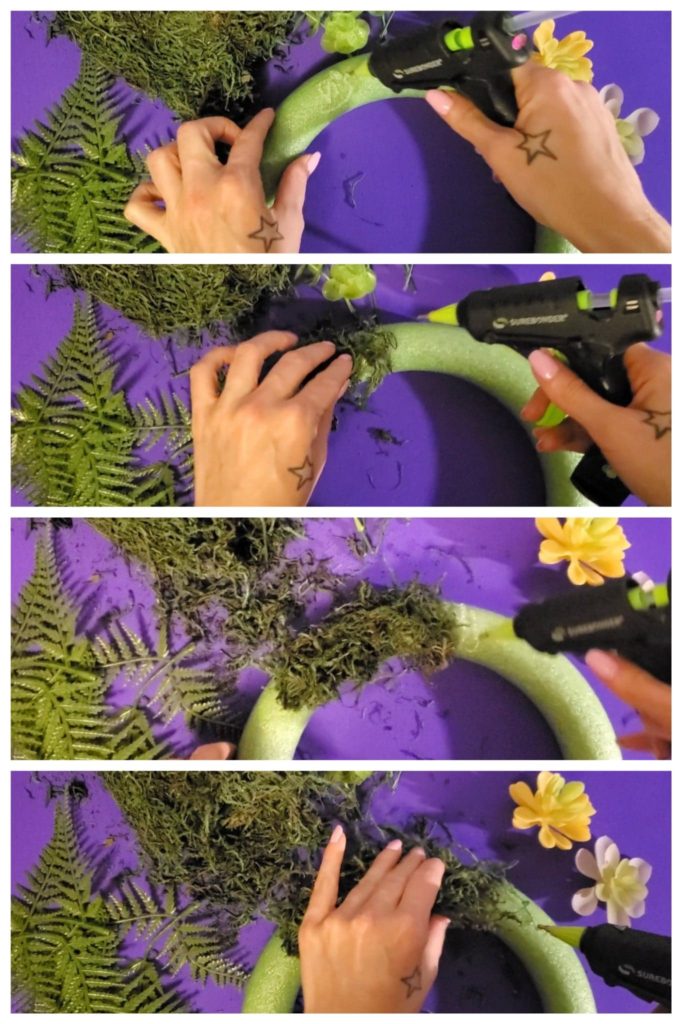
Keep adding your dry moss to your foam wreath until the whole wreath is covered. Take your time and be sure to cover the sides. It isn’t really necessary to cover the back in dry moss.
Step three: Adding your greenery to your wreath
After you have your wreath covered in moss and you are satisfied with it, the next step is to add your foliage and greenery. Earlier in the first step, we cut out greenery in to smaller, more manageable pieces.
One at a time, glue them to the wreath, with the stem buried under the moss and glued in place. Keep adding your fern and greenery leaves around your wreath until you are happy with how full the wreath is. If you need to, you can glue more moss over the greenery stems to hide them more.
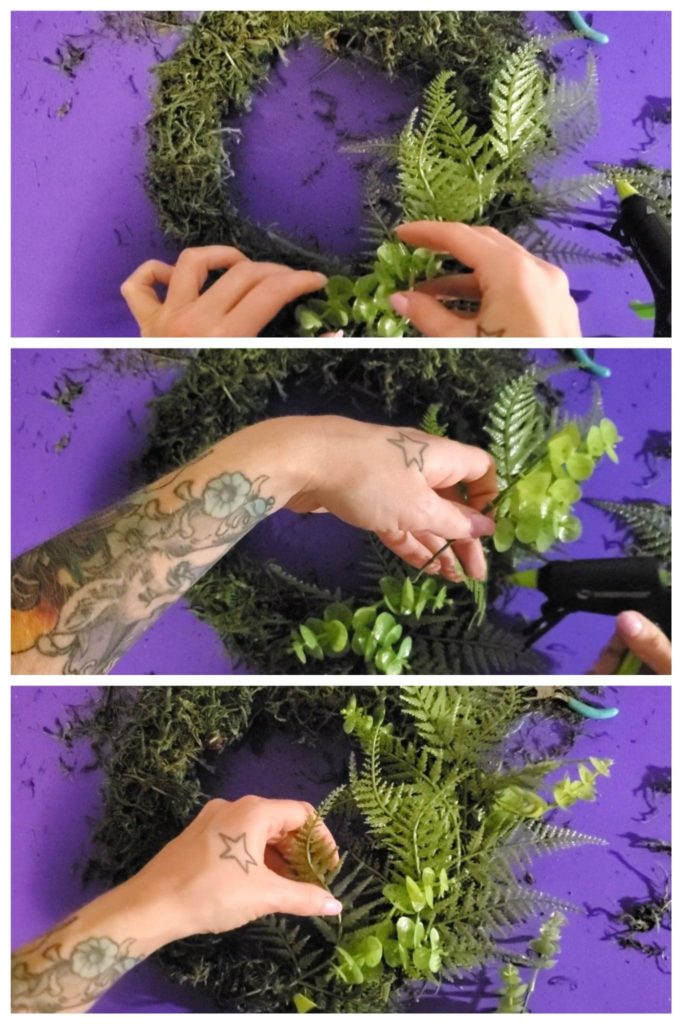
This finished wreath is only about 3/4 of the way covered in greenery and I love the asymmetrical look it brings with it. Show off your Easy DIY Greenery Wreath for everyone to see. It is beautiful!
We are a participant in the Amazon Services LLC Associates Program, and affiliate advertising program designed to provide a means for us to earn fees by linking to Amazon.com and affiliated sites.
