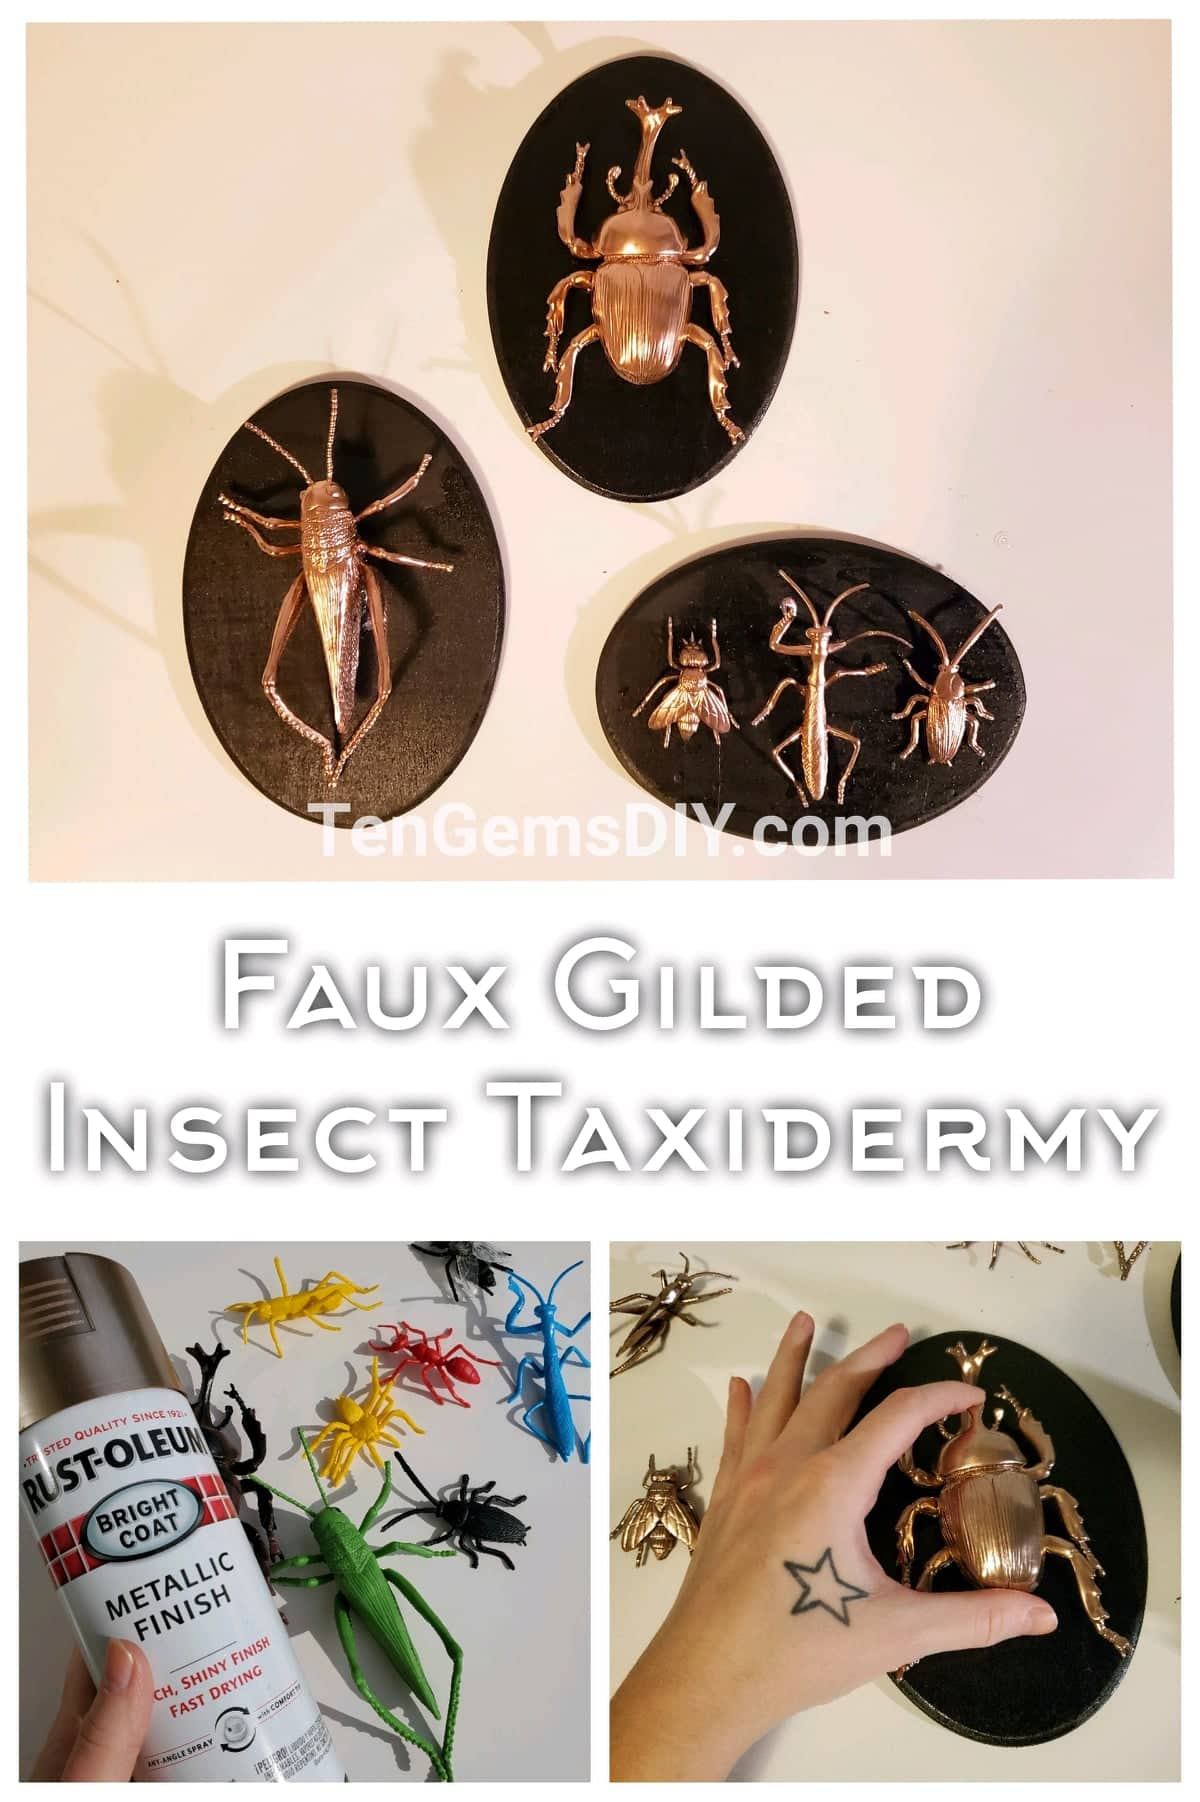
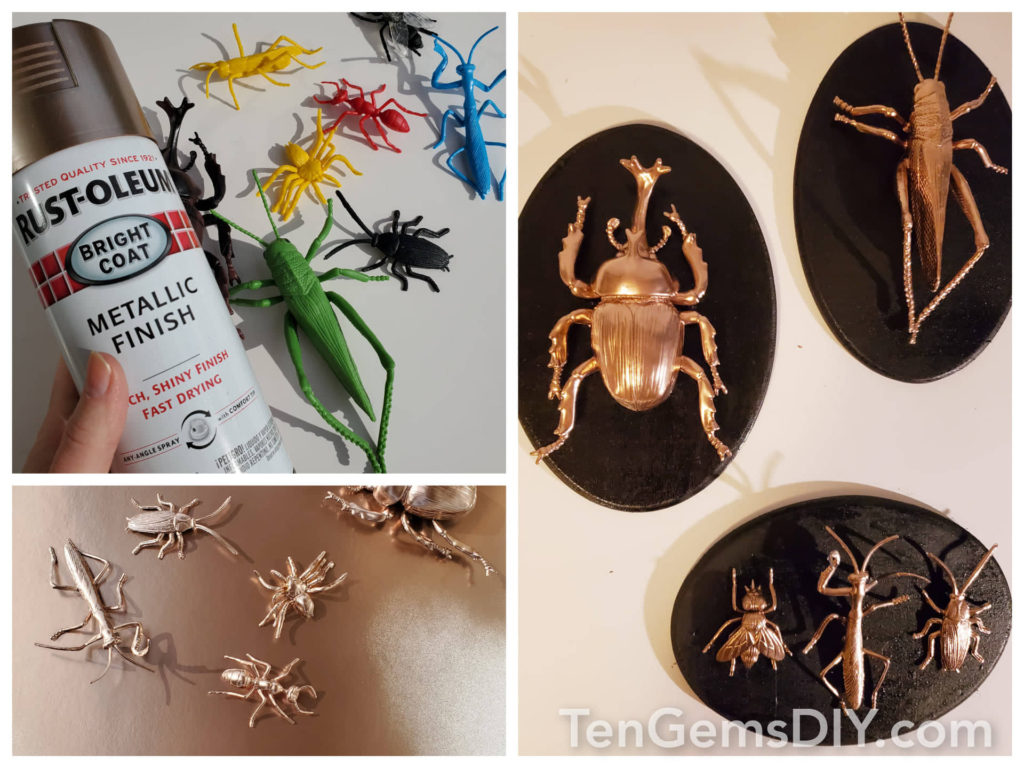
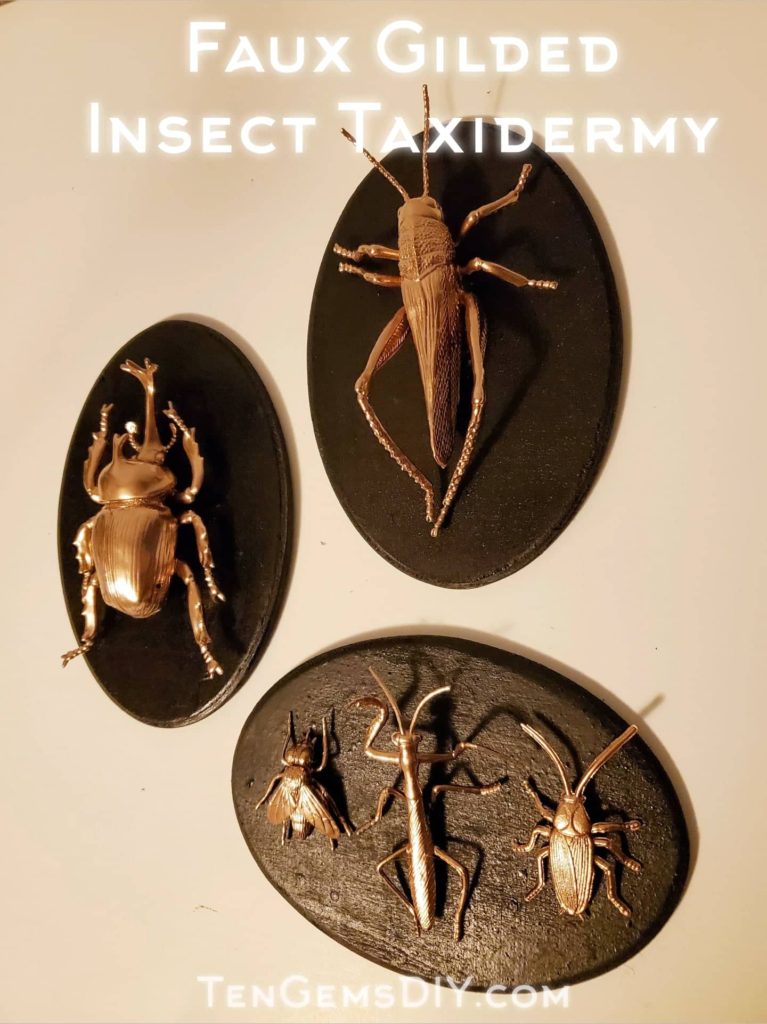
There is something a little eerie and interesting about this Faux Insect Taxidermy tutorial. They’re a good mix of art and science with just a little hint of spooky! Keep them hung up all year round for a unique focal point. This DIY takes minimal supplies and minimal effort, which is one of the best kinds of projects out there. Enjoy your creepy wall art for years to come! Below is the list of all the simple supplies and where to easily find them!
If you’re looking for other hauntingly easy Halloween tutorials to try, peek at these after you learn how to make your faux gilded insect taxidermy:
- How to make your own skeleton flamingos – https://tengemsdiy.com/how-to-make-your-own-skeleton-flamingos/
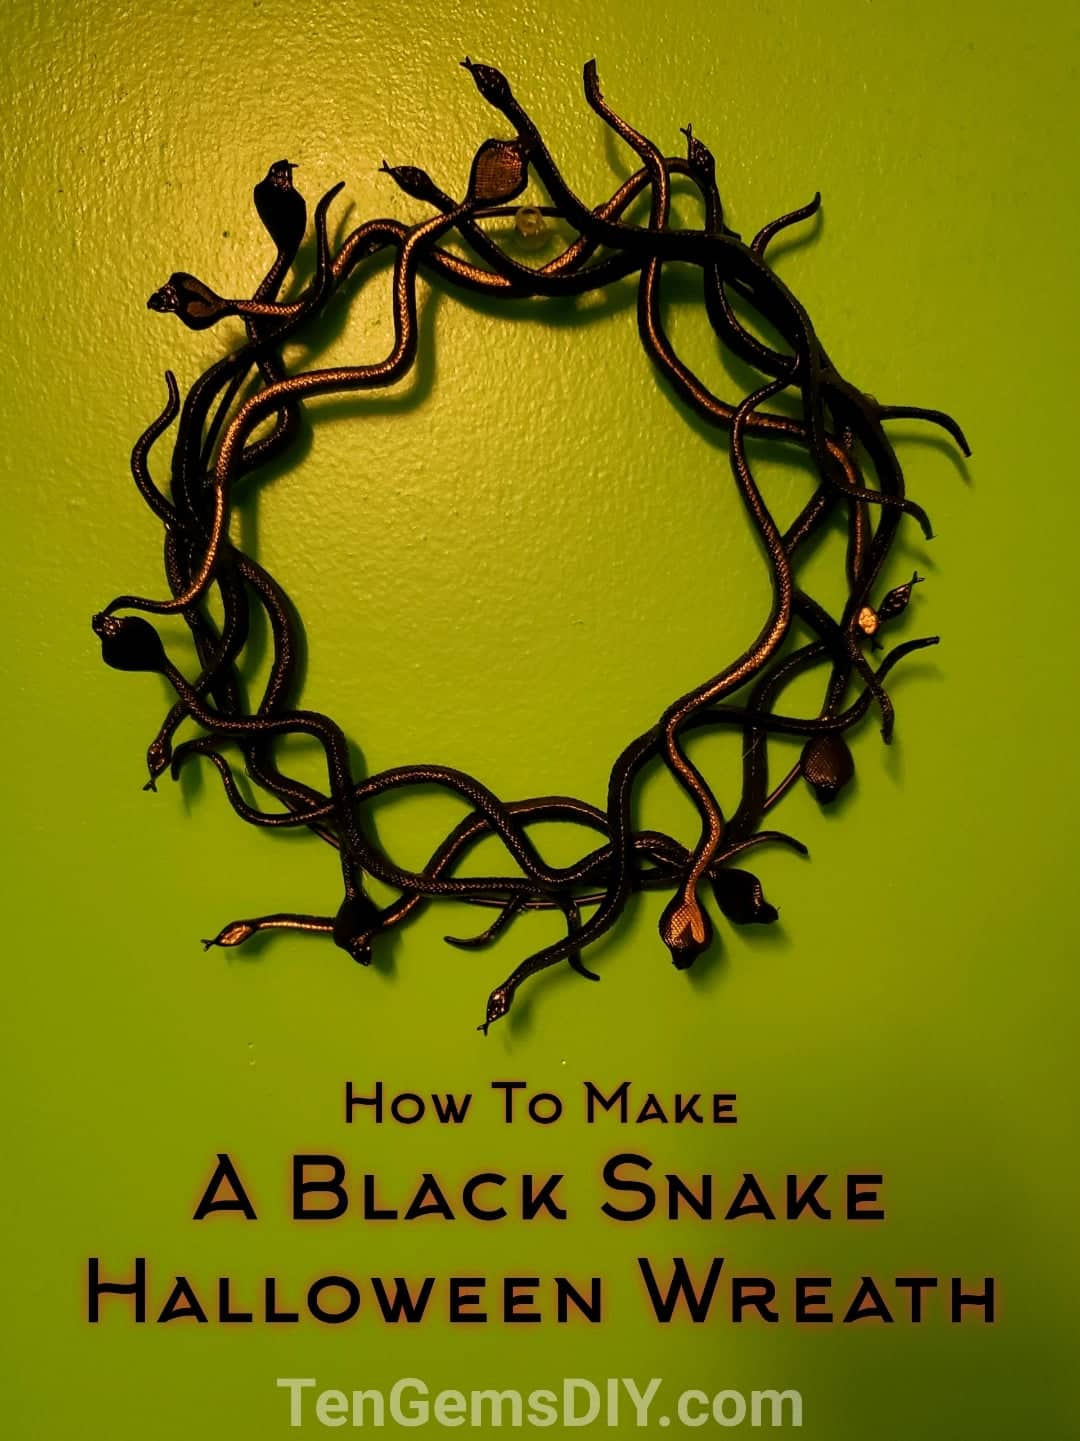
- Black snake Halloween wreath – https://tengemsdiy.com/how-to-make-a-black-snake-halloween-wreath-diy
- How to make pool noodle Halloween candles – https://tengemsdiy.com/how-to-make-pool-noodle-halloween-candles/
TenGemsDIY is a DIY and craft blog. Some of our posts contain affiliate links for products we have tried and recommend. While clicking the links will not cost any money, we may receive a commission for items purchased, which helps keep our website up and running. Here is the privacy policy for more information: https://tengemsdiy.com/?page_id=3
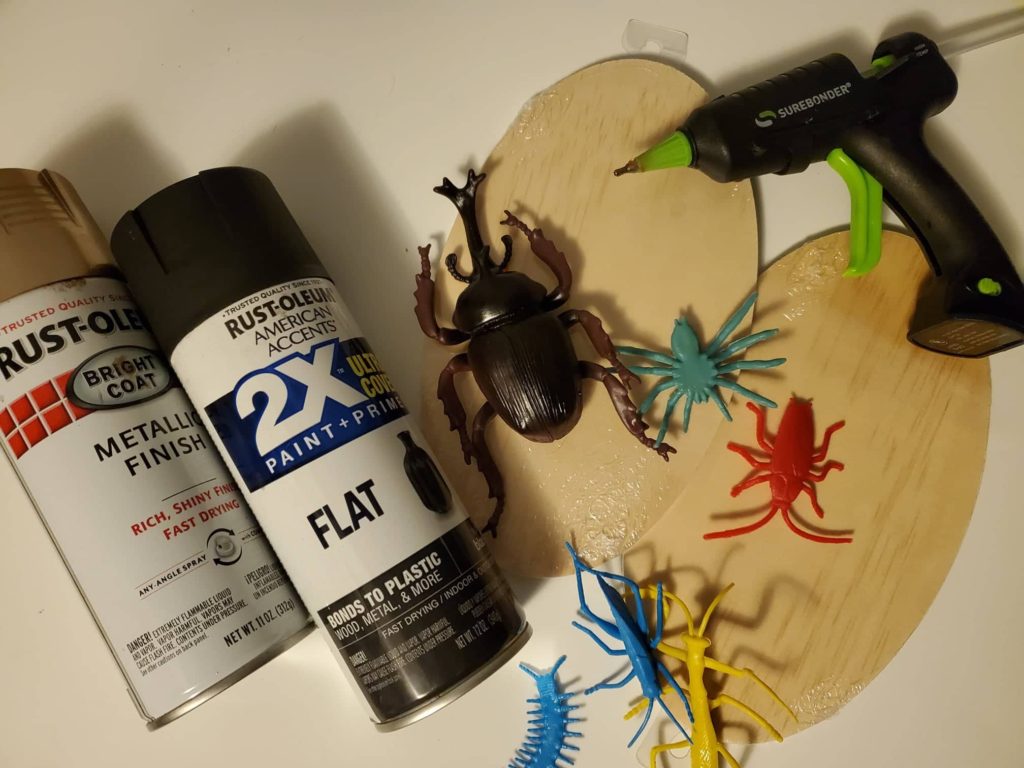
Supplies you’ll need for your Faux Gilded Insect Taxidermy:
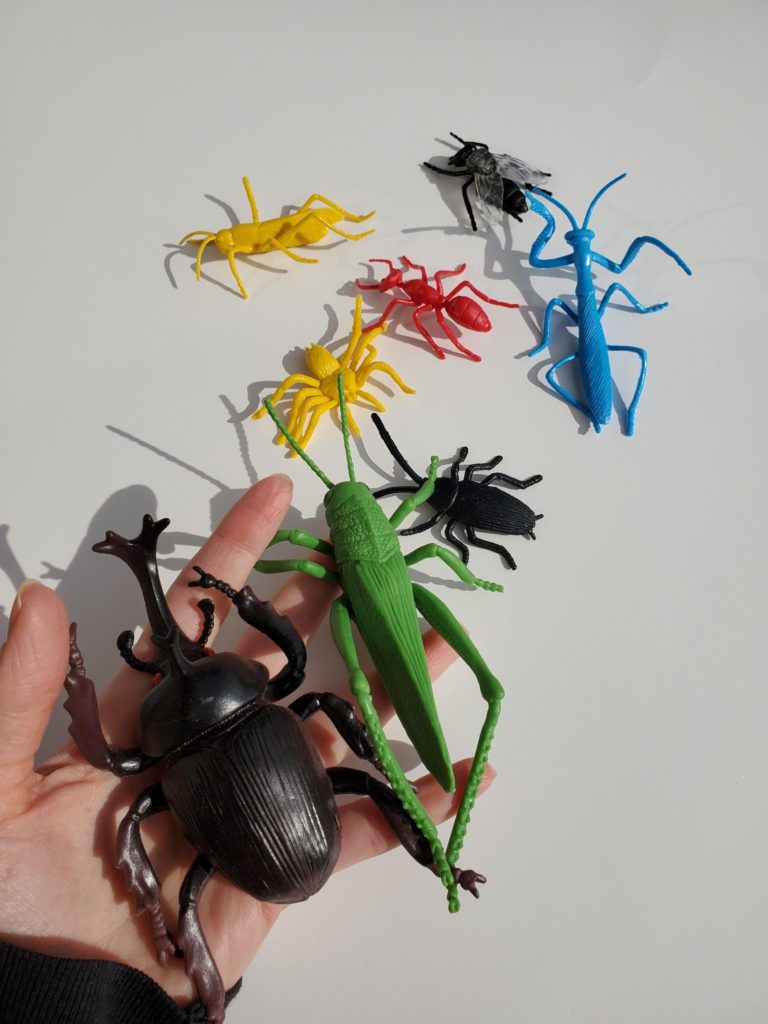
- Faux bugs – https://amzn.to/3cQn5Vc
- Rose gold spray paint – https://amzn.to/3ReqMTT
- Black spray paint – https://amzn.to/3KMSVif
- 7 inch oval plaques – https://amzn.to/3QiWBJD
- Hot glue gun – https://amzn.to/3CR4BPf
- Hot glue sticks – https://amzn.to/3emU7wQ
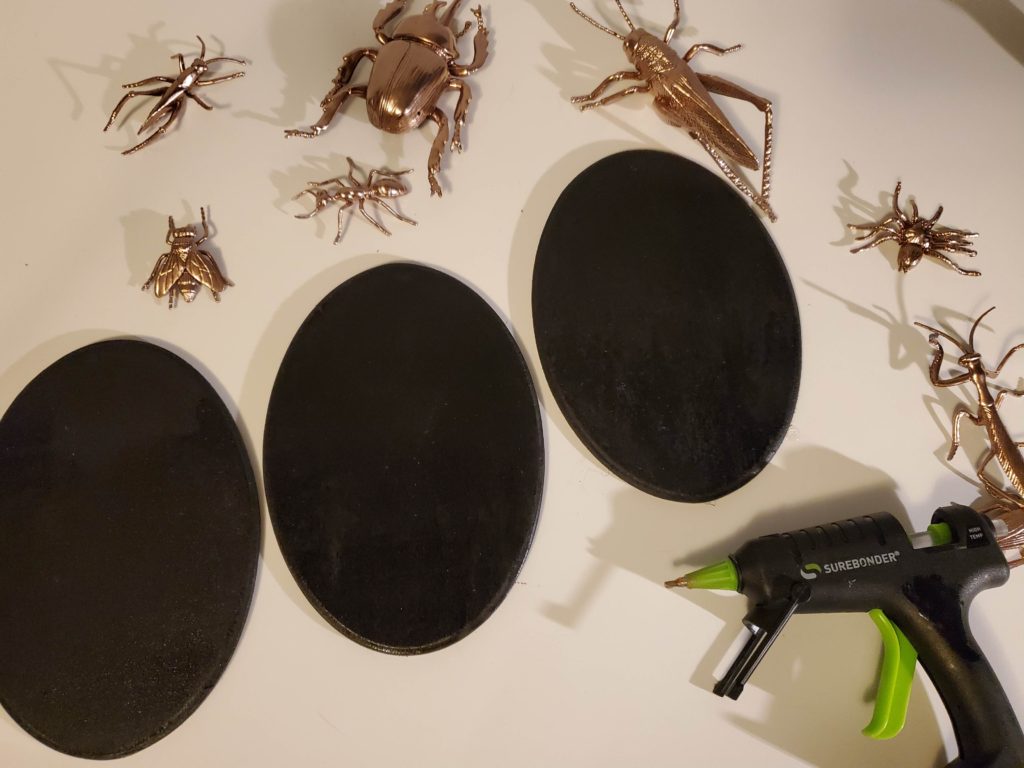
Step one: Getting everything set up and ready
The first step is pretty easy. Before you start to paint, you’ll want to find a clear spot outside and set down some newspaper or cardboard in two separate spots. Use something that will protect your work surface from spray paint. You want one spot to paint your oval plaques and another spot for your bugs.
Gather your faux bugs, your 7 inch oval plaques, your rose gold spray paint and your black spray paint. Lay your bugs out over the paper so they aren’t touching. Then, Lay your plaques out at your other paint station.
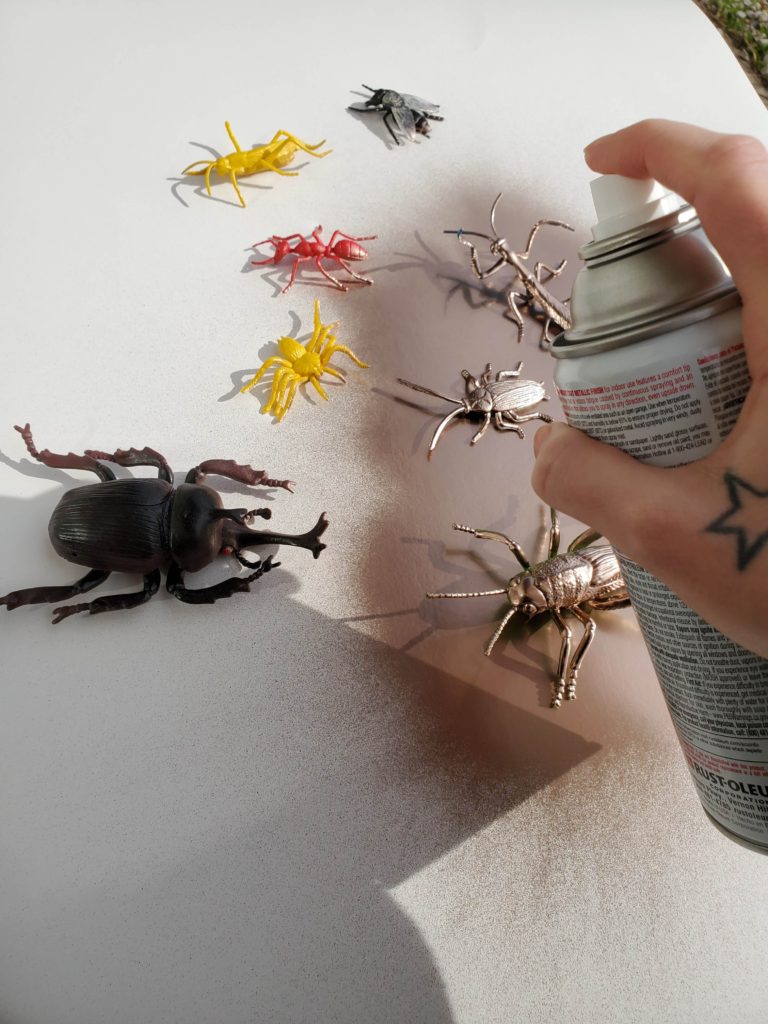
Step two: Breaking out all the spray paint!
This is the fun part! While spray painting your bugs with your rose gold spray paint, you’ll want to get a good, even coat over the whole bug. Get the sides as well. I didn’t bother with the underneath, as no one is going to see. Paint enough so that no previous color shows through. Allow your shimmering bugs time to air dry and come back for a second coat, if you feel it necessary. I like the rose gold Rustoleum spray paint as it looks more antiqued and mysterious.
Now we’ll paint the plaques. The black makes the beautiful rose gold spray paint stand out! I love this spray paint brand because it sticks to almost everything on earth. Spray an even layer of paint over your oval plaques, and remember to get the sides as well. Let the plaques air dry and come back for a second coat after an hour or so of dry time.
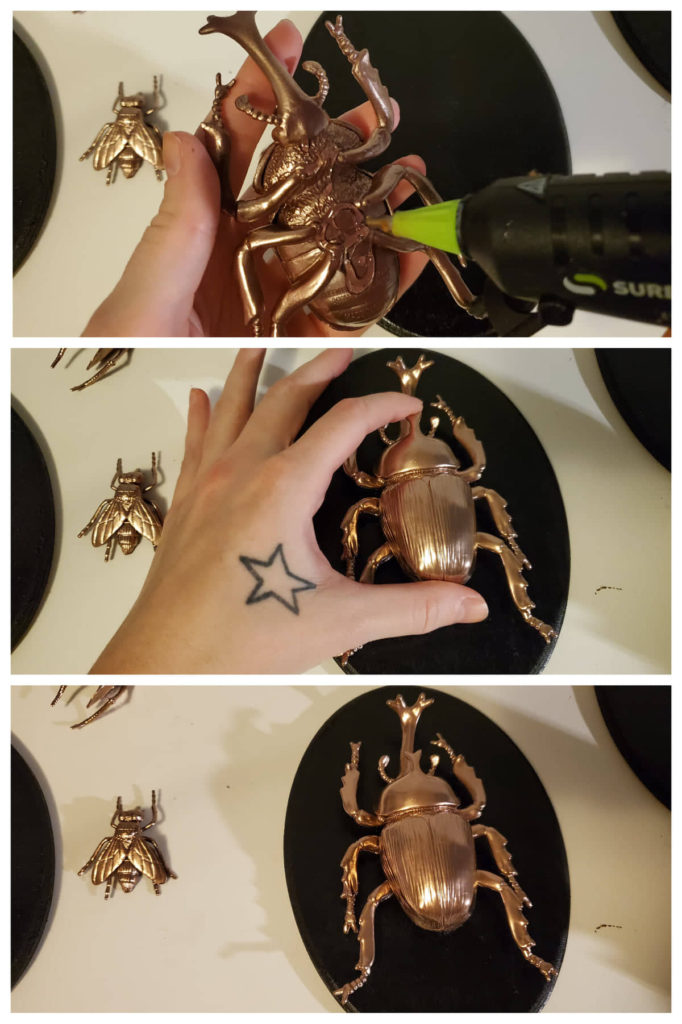
Step three: Putting your Faux Gilded Insect Taxidermy together
Get your glue gun ready and warmed up! Be sure to have those extra glue sticks handy just in case. After everything has finished drying outside, bring it all inside. This is a good time to arrange all of your bugs before gluing, to see how you want your Faux Gilded Insect Taxidermy to look.
After you’re sure of how you want your bugs to sit on your plaques, Carefully center them up and glue them down, one by one. Plenty of hot glue will hold the bugs.
Step four: Finding the best spot for your taxidermy bugs!
Where will be the best place to put them so everyone can see and admire them? These Faux Gilded Insect Taxidermy give a cool and spooky vibe that should be displayed all year long.
We are a participant in the Amazon Services LLC Associates Program, and affiliate advertising program designed to provide a means for us to earn fees by linking to Amazon.com and affiliated sites.