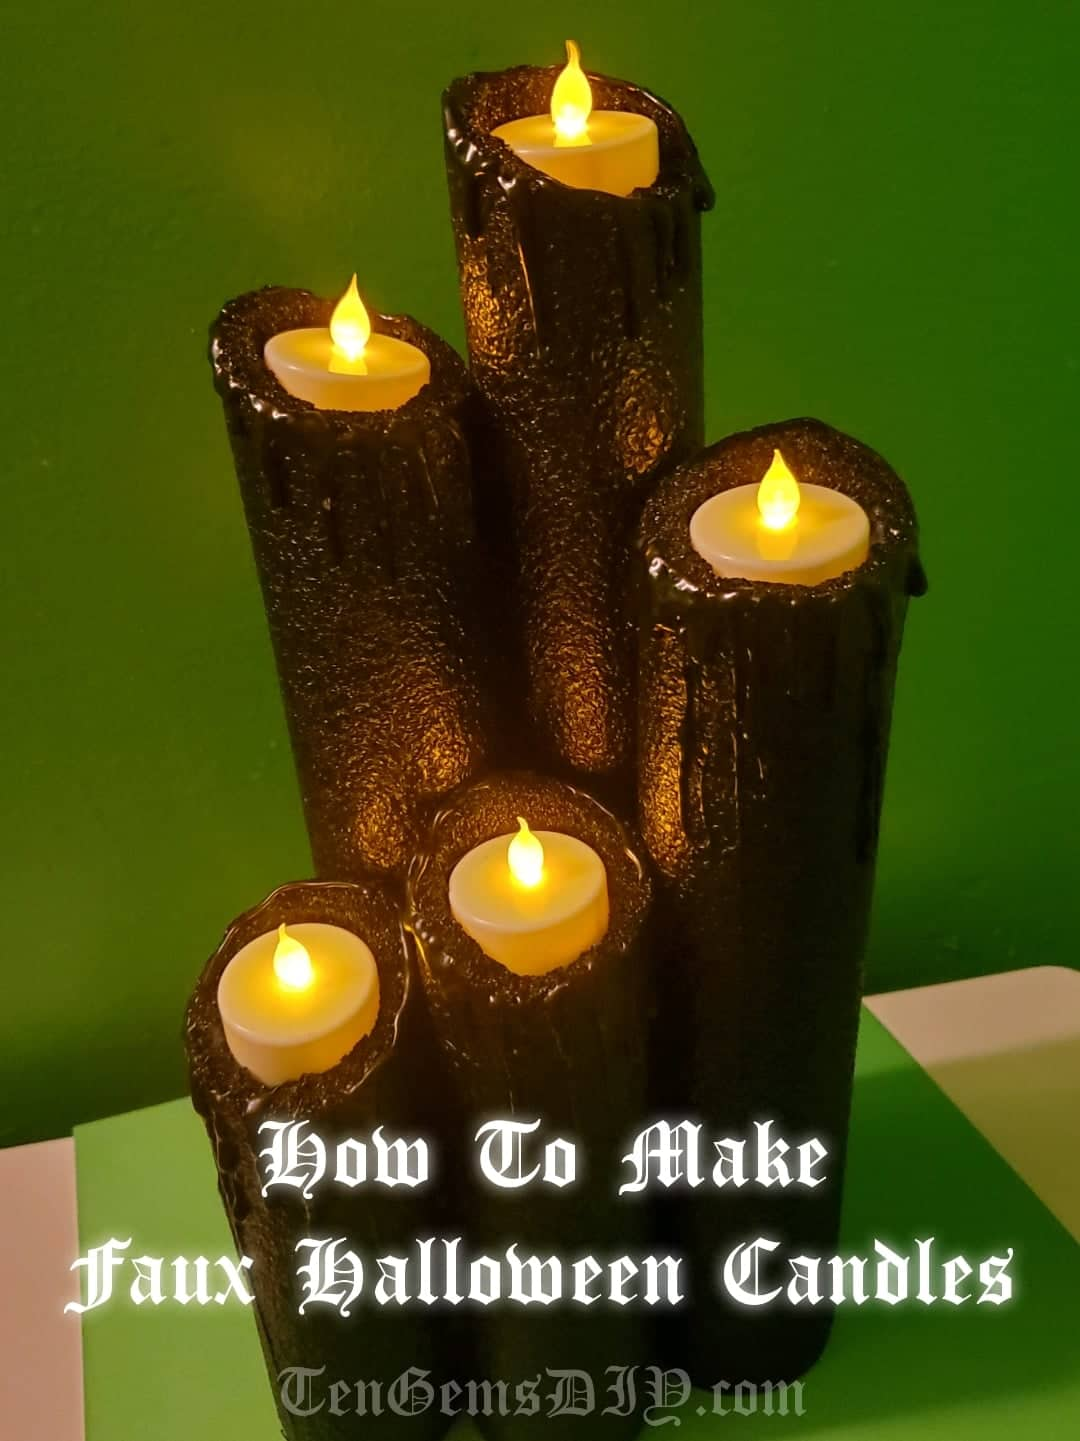
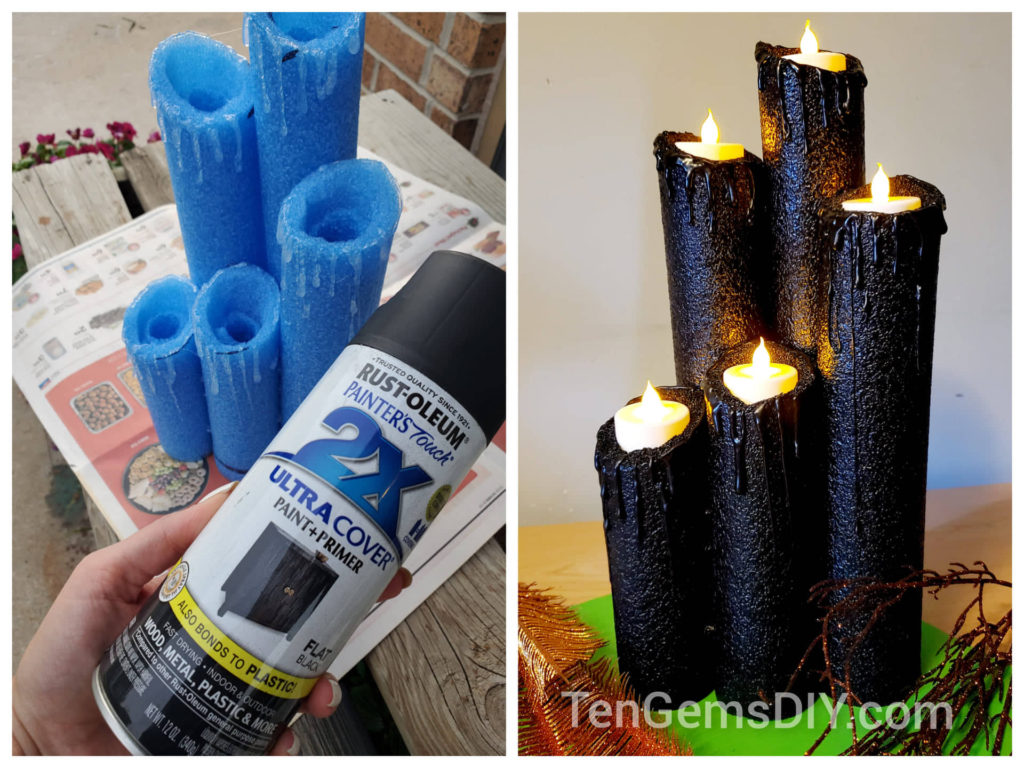
Spooky season is coming up fast, and I want to show you how to make pool noodle Halloween candles while there is still time! This is an amazingly creepy Halloween craft that is super unique and helps to set the spooky mood. Whether you like to throw Halloween parties for all of your ghoulish friends and family to enjoy, or you like to decorate just for yourself, this is one of the best Halloween projects out there.
For other fun and creepy Halloween projects, check out these easy tutorials –
- How to make your own skeleton flamingos – https://tengemsdiy.com/how-to-make-your-own-skeleton-flamingos/
- Black Snake Halloween Wreath – https://tengemsdiy.com/how-to-make-a-black-snake-halloween-wreath-diy/
- How to make foam bone letters – https://tengemsdiy.com/how-to-make-foam-bone-letters/
- How To Make Easy DIY Halloween Garland – https://tengemsdiy.com/how-to-make-easy-diy-halloween-garland/
- How to make faux gilded insect taxidermy – https://tengemsdiy.com/how-to-make-faux-gilded-insect-taxidermy/
TenGemsDIY is a DIY and craft blog. Some of our posts contain affiliate links for products we have tried and recommend. While clicking the links will not cost any money, we may receive a commission for items purchased, which helps keep our website up and running. Here is the privacy policy for more information: https://tengemsdiy.com/?page_id=3
Supplies you’ll need for your pool noodle Halloween candles and where to find them:
- Pool noodle – https://amzn.to/2Wr5Tgt
- Matte black spray paint – https://amzn.to/3BR8BMt
- Electric tea lights – https://amzn.to/3BSEbJJ
- Hot glue gun – My all time favorite brand – https://amzn.to/3ycWnMa
- Plenty of hot glue sticks – https://amzn.to/2WxDxkX
- Craft knife – Xacto has been the only brand I use – https://amzn.to/2Vgt24X
- Ruler – https://amzn.to/3l6GHpT
- Permanent marker – https://amzn.to/3rDFuaS

Step one: Measuring out your candles
How long your pool noodle is will determine how many candles you get out of one noodle. The noodle used here is 6 feet long. With my ruler and permanent marker, I made a slightly angled line at 6 inches. The angle will create a realistic drippy look later.
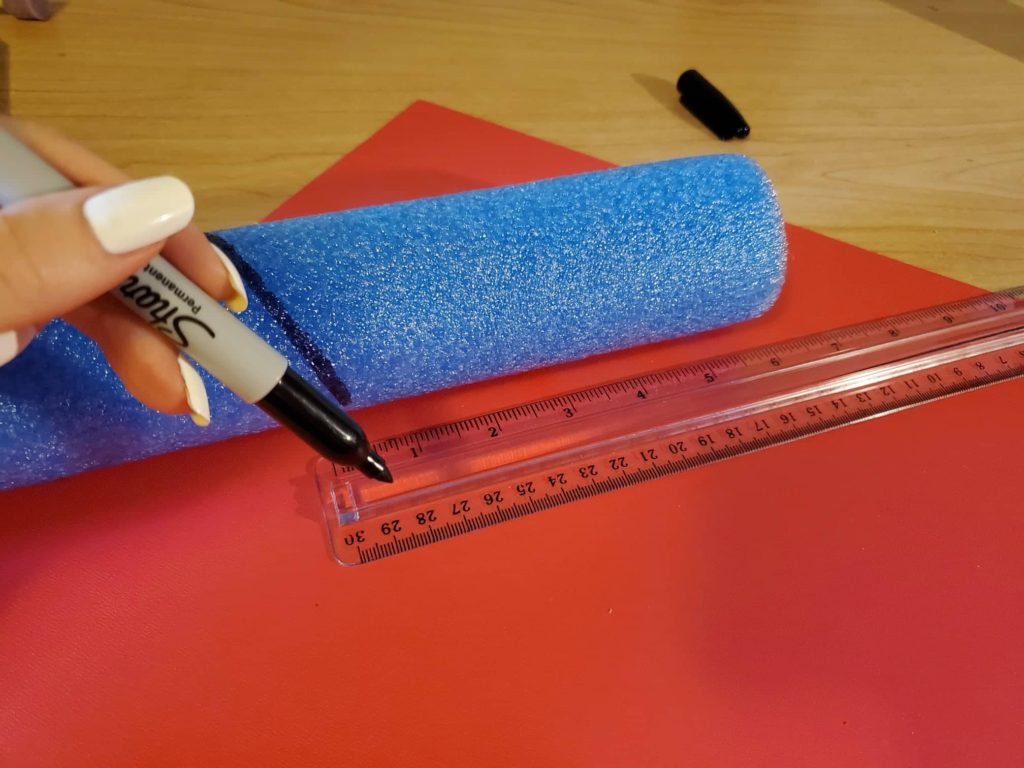
For the second candle, I then measured 7 inches from the angled line – this time I drew a straight line to make a flat bottom for the second candle as to not waste pool noodle.
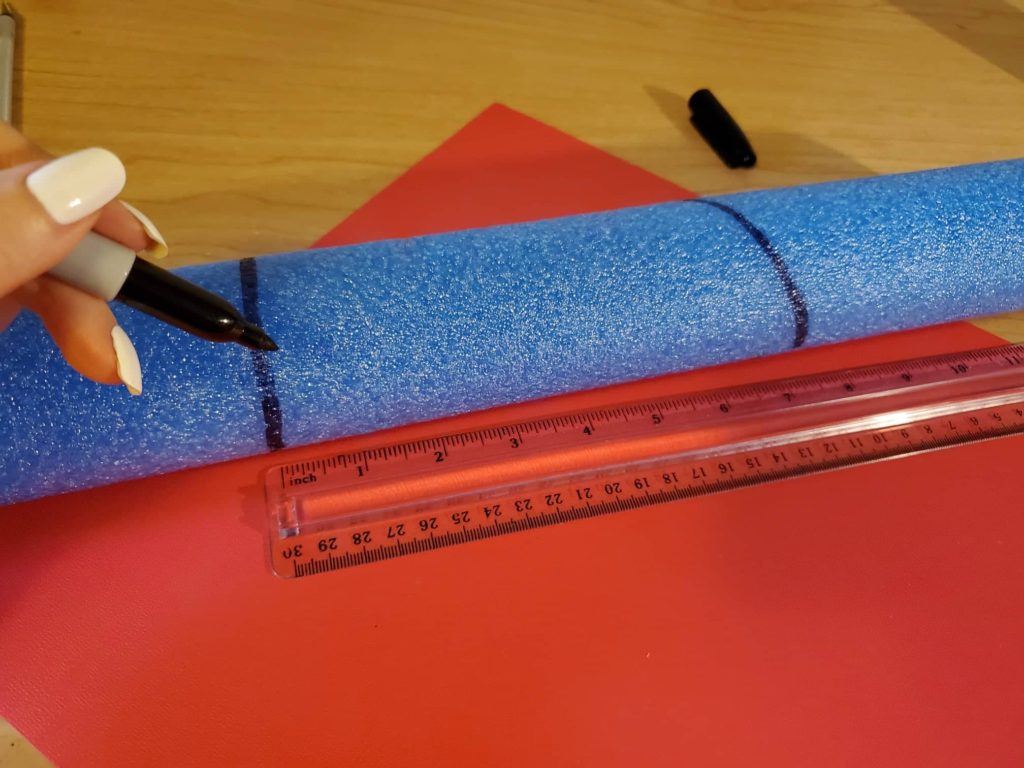
The third candle I measured up another amount and then drew an angled line and made five candles in total from one pool noodle.
Step two: Making the cut
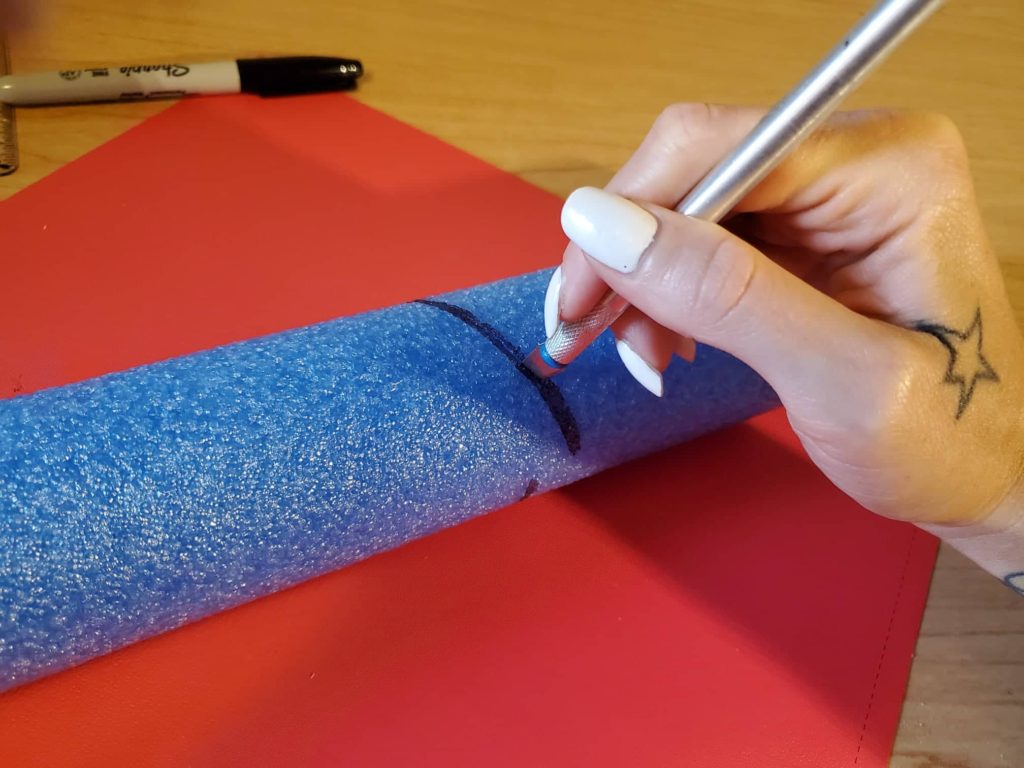
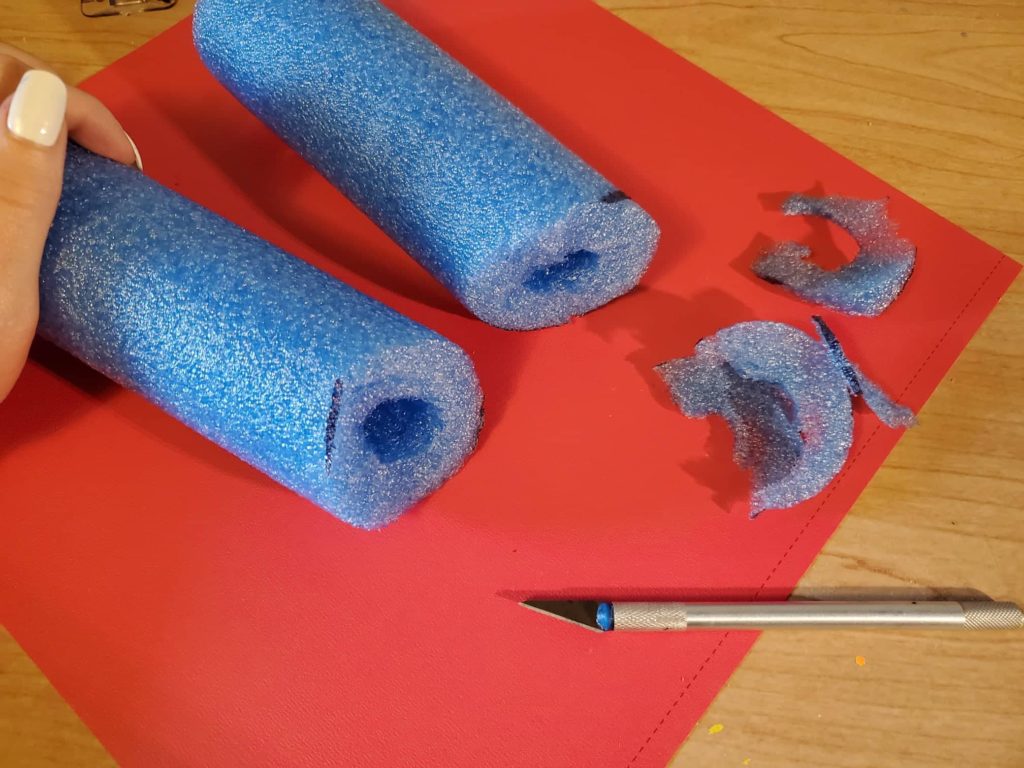
Carefully cut along the lines you have previously measured and marked. Take the time now to clean them up or adjust the angle in any way you wish.
Step Three: Helping the tea lights fit in to your pool noodle Halloween candles
As you can see here in this photo, the electric tea light is much larger than the hole through the pool noodle! You can use your electric tea light and permanent marker to trace how big of a hole you will need to hollow out.
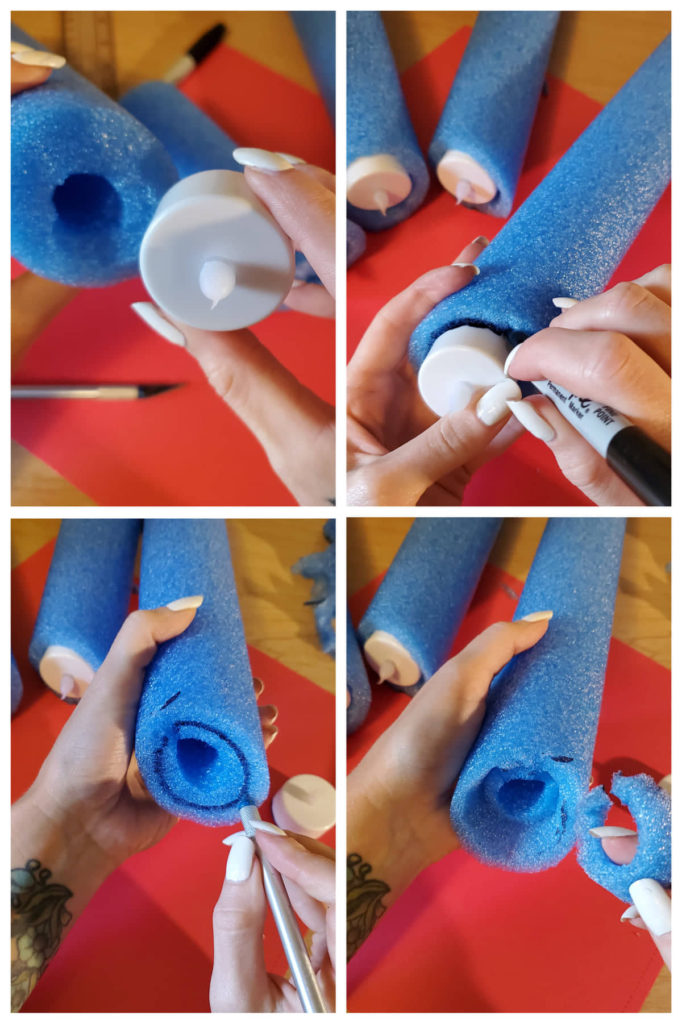
Use your artist’s knife to cut down in to the pool noodle and cut the foam out. Please be careful doing this. You only need to hollow out about an inch or less so you can fit your tea light snug in to the pool noodles.
Step four: Warm up your glue gun!
While you’re waiting for your glue gun to warm up, set your pool noodles up and arrange them to how you think you might like them. I had a tiny bit of noodle left over, so I made one of my candles a tiny bit taller.

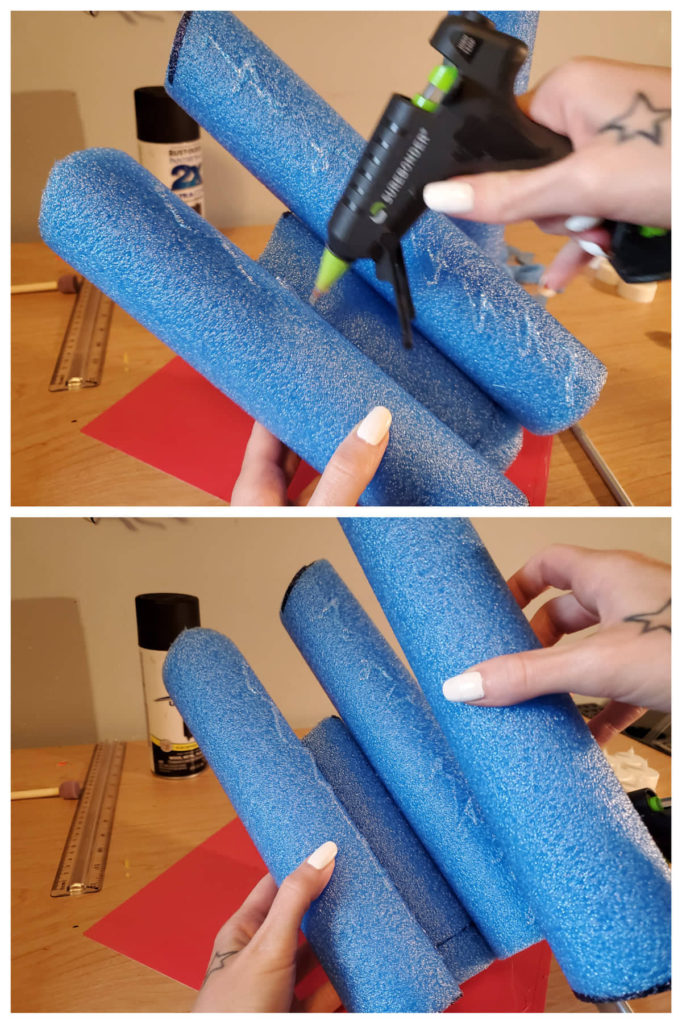
Put plenty of hot glue on your first pool noodle. You want to use enough that you know your candles won’t fall apart. Attach your gluey candle to the next candle and hold them for a few seconds, allowing the glue to cool.
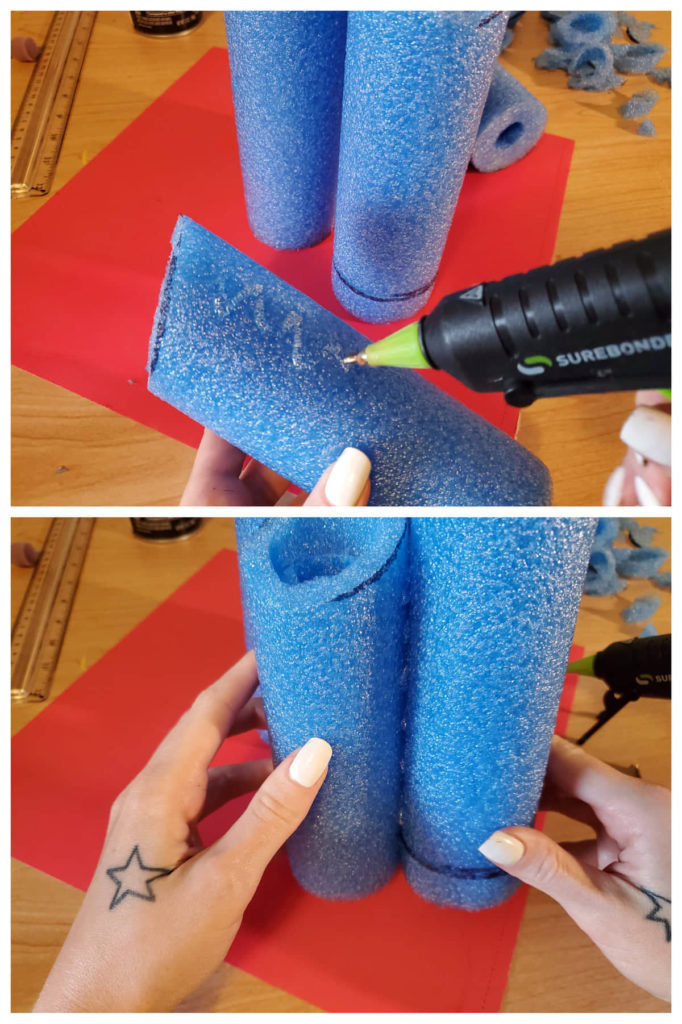
Add glue to the next candle and attach another candle, holding it firmly and allowing it to cool. Glue all of your candles together until you are finished.
Step five: Getting drippy
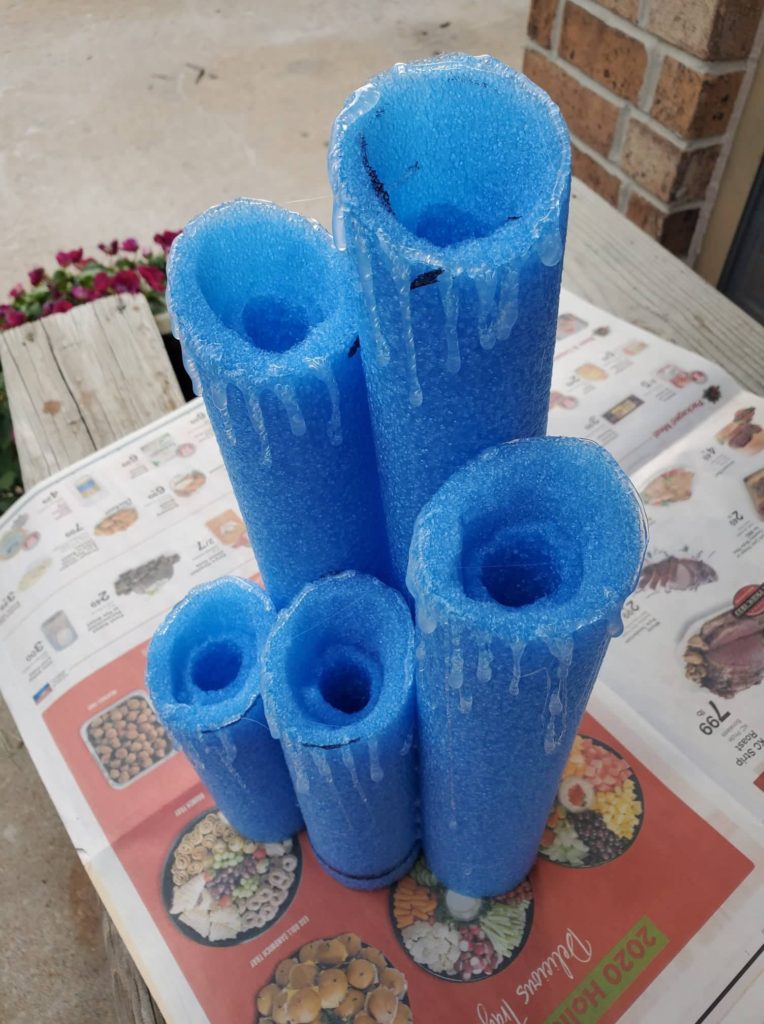
So this step is kinda cool! You’re going to make the dripping “wax” for your pool noodle Halloween candles. With your glue gun still going, you’re going to allow your hot glue to drip from the top of your candle, down the side. It helps if you pull your hot glue gun slightly over the edge for a second and then back while still allowing hot glue to flow from the glue gun. Do this all around the top edges of your candles until you are happy with the effect!

Step six: Paint it BLACK!
When spray painting, it is always a good idea to be outside and to bring some newspapers or something with you to cover your work surface if you don’t want to get paint everywhere. Set up your work station and get your black spray paint! I love this spray paint because most of my projects do require painting on plastic and it adheres so well. The link for it is up in the supply list!
My kitty is here to supervise.
Spray plenty of spray paint all over your pool noodle Halloween candles. You will probably have to do a second coat, just to make sure all of the pores are filled in. Be sure to get in between the candles well too! Allow them to dry, preferably at least over night.
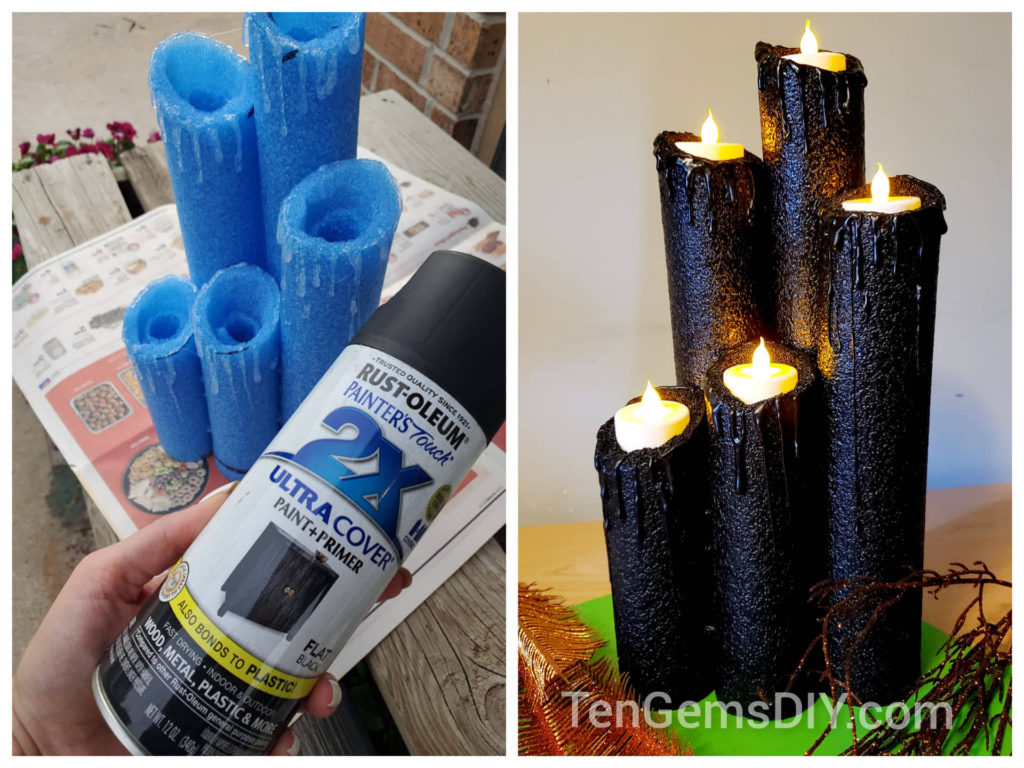
Step seven: Finding the perfect spot for your pool noodle Halloween candles
After your candles have dried and the paint is all set, you can turn on those tea lights and put them in your candles! Find the perfect place to put your pool noodle Halloween candles. You’re going to have the creepiest place in the whole neighborhood!
We are a participant in the Amazon Services LLC Associates Program, and affiliate advertising program designed to provide a means for us to earn fees by linking to Amazon.com and affiliated sites.
