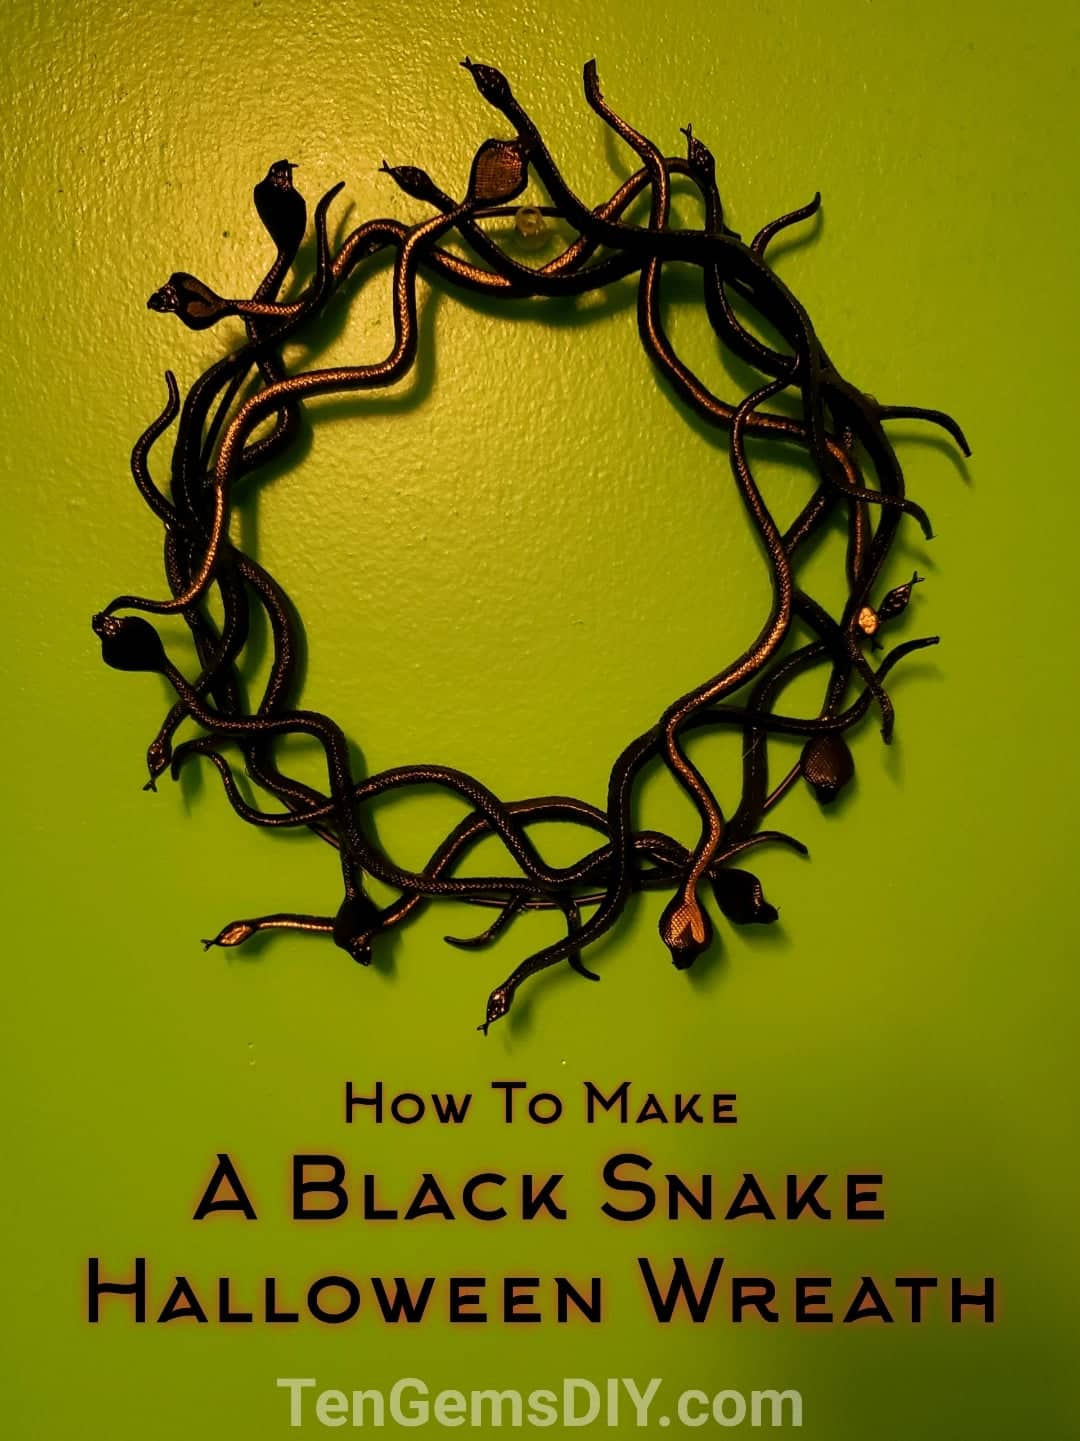
Halloween decorations are half the fun of celebrating, and here were going to make a very unique black snake Halloween wreath DIY! Halloween is a very special holiday itself. There are so many back stories as to how it came to be, but for right now where going to focus on the spookiness of the holiday! For some, the spookiness is the best part. It’s hard to match the enjoyment you get from dressing up and decorating and throwing scary parties with your friends! We welcome you, Halloween!
For other fun and creepy Halloween projects, check out these easy tutorials –
- How to make your own skeleton flamingos – https://tengemsdiy.com/how-to-make-your-own-skeleton-flamingos/
- Pool Noodle Halloween Candles – https://tengemsdiy.com/how-to-make-pool-noodle-halloween-candles/
- Or How To Make Easy DIY Halloween Garland – https://tengemsdiy.com/how-to-make-easy-diy-halloween-garland/
- How to make faux gilded insect taxidermy – https://tengemsdiy.com/how-to-make-faux-gilded-insect-taxidermy/

TenGemsDIY is a DIY and craft blog. Some of our posts contain affiliate links for products we have tried and recommend. While clicking the links will not cost any money, we may receive a commission for items purchased, which helps keep our website up and running. Here is the privacy policy for more information: https://tengemsdiy.com/?page_id=3
Supplies you’ll need for your Black Snake Halloween Wreath DIY and where to find them:
- Small plastic snakes – https://amzn.to/3l28RlM
- 8″ wire wreath hoop – https://amzn.to/3eQBC12
- Matte black spray paint – I recommend this as it bonds well to plastic – https://amzn.to/2W8o4Yb
- Hot glue gun – https://amzn.to/36ZG4pT
- Gold acrylic paint – https://amzn.to/36Z69Fx – This one also bonds well to plastic
- Small detailing paint brushes – https://amzn.to/3iJ3sO1

Step one: Gathering your supplies
This step just makes sure you have everything you make need. The list described up top shows all of your materials. I also like to take this time before painting or gluing to make sure I have enough snakes for my wreath.

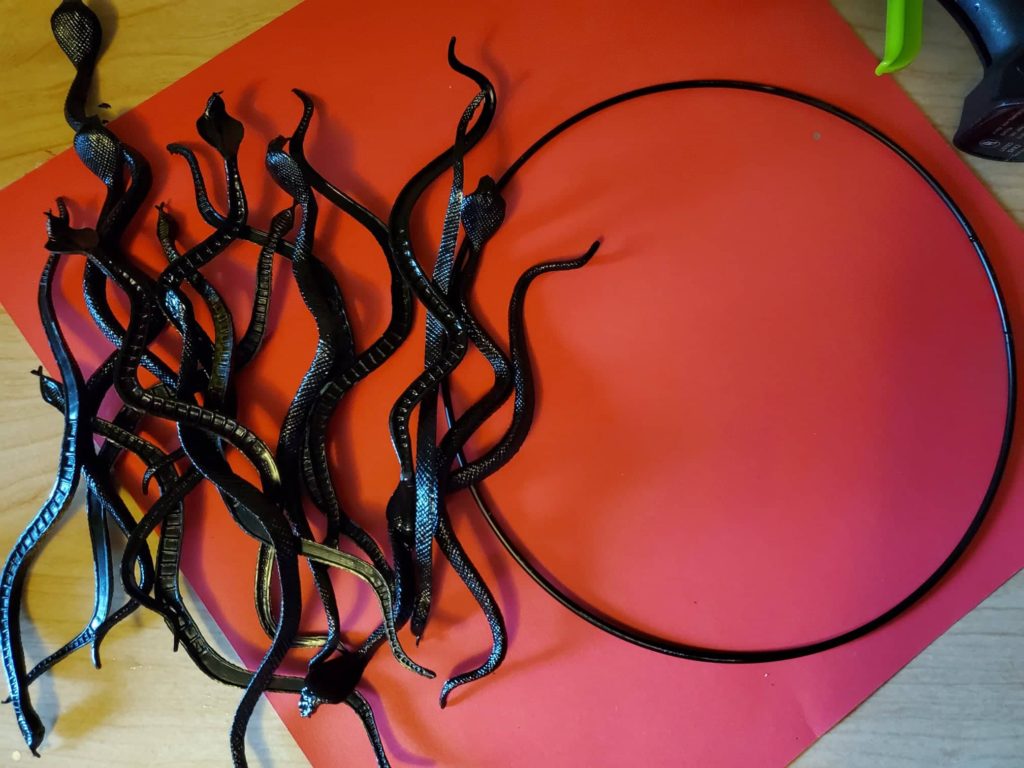
To do this, Lay your wire wreath down and randomly place your plastic snakes on top of the wire. This allows you the chance to see if you have enough snakes, and for you to get an idea of how you’ll lay the snakes down when you’re ready to glue and make a more permanent move.
Step two: Paint it all BLACK!
Black is probably the spookiest color of them all, so let’s paint everything black! This step should be done outside, as it is never safe to use spray paint in a poorly ventilated area.
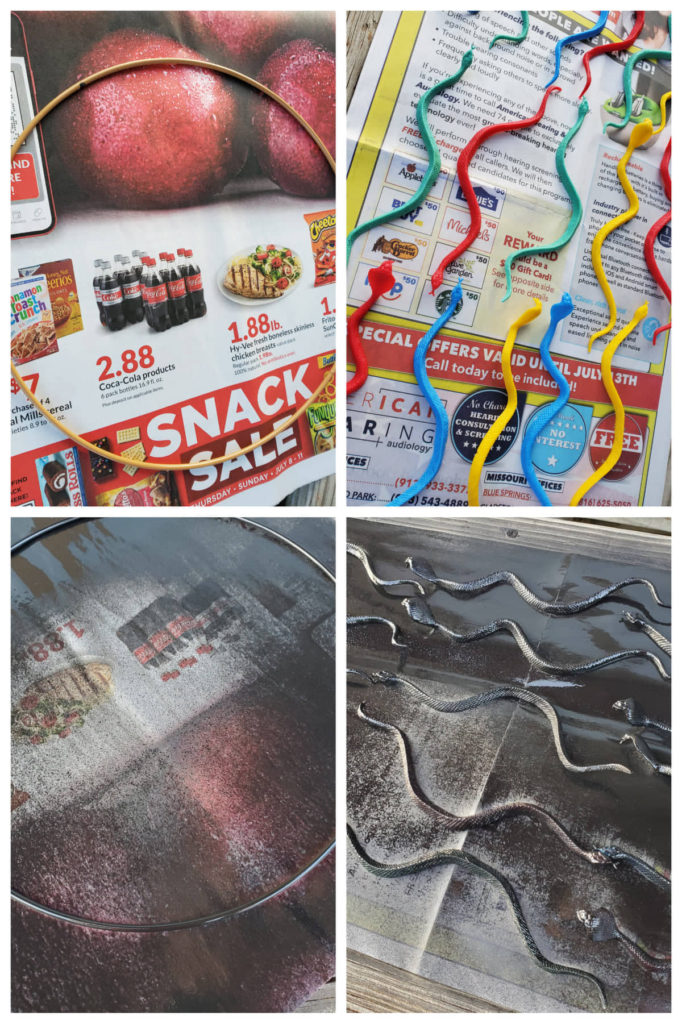
In a clear spot outside, lay down enough newspaper to protect the grass or any surface you may not want paint on. Lay your wire wreath ring on one newspaper, and on another newspaper, lay down all of your snakes so they don’t touch. If your snakes are touching and you try to spray paint them, you might get spots on your snakes from where the paint couldn’t get to. Evenly spray the first coat over your plastic snakes and wire wreath ring. It’s best to do at least two coats, so let the first dry for 30 minutes or so and come back to spray a second coat.
After you’ve let the second coat dry (preferably overnight), come back and flip the snakes and wire ring over so you can paint the other side. Repeat the two coats and allow to dry completely.
Step three: Adding a hint of gold
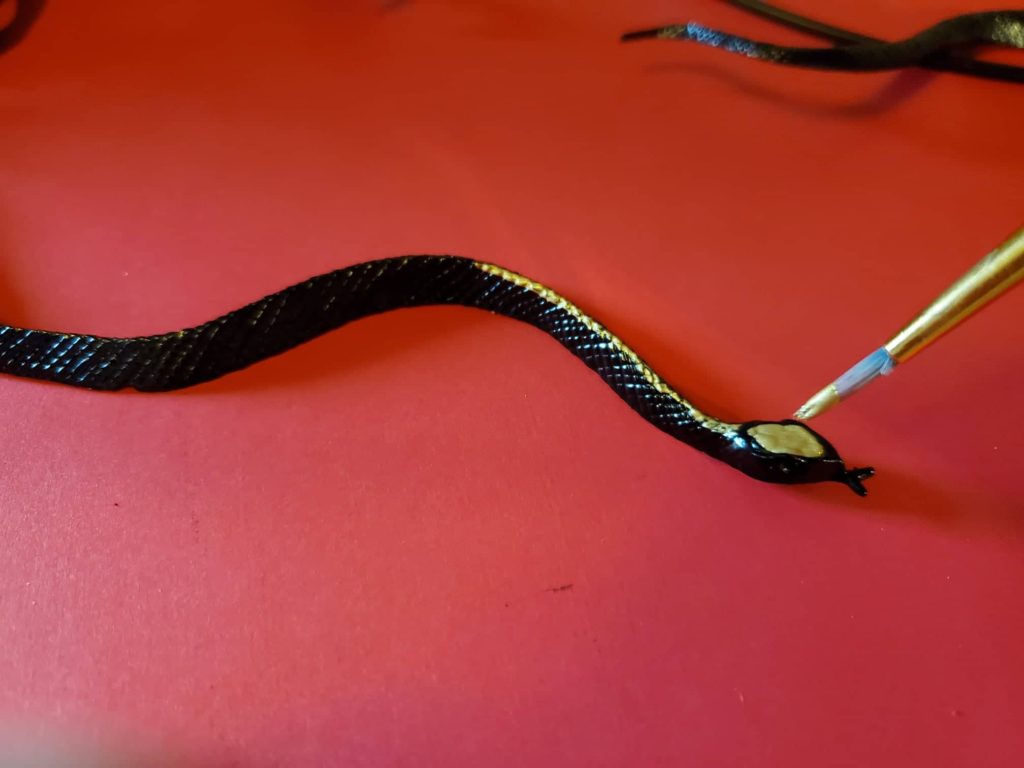
Here you’ll put the gold acrylic paint to use by adding some detail to a few of the snakes. I picked five snakes to embellish just a little so they would stand out from the others and to add a bit of detail. You can paint simple lines along the spine of your snake and on the snake heads. A little bit of gold goes a long way. Acrylic paint dries fairly quickly, so give them a few minutes at least.
Step four: Putting together your black snake Halloween wreath DIY!
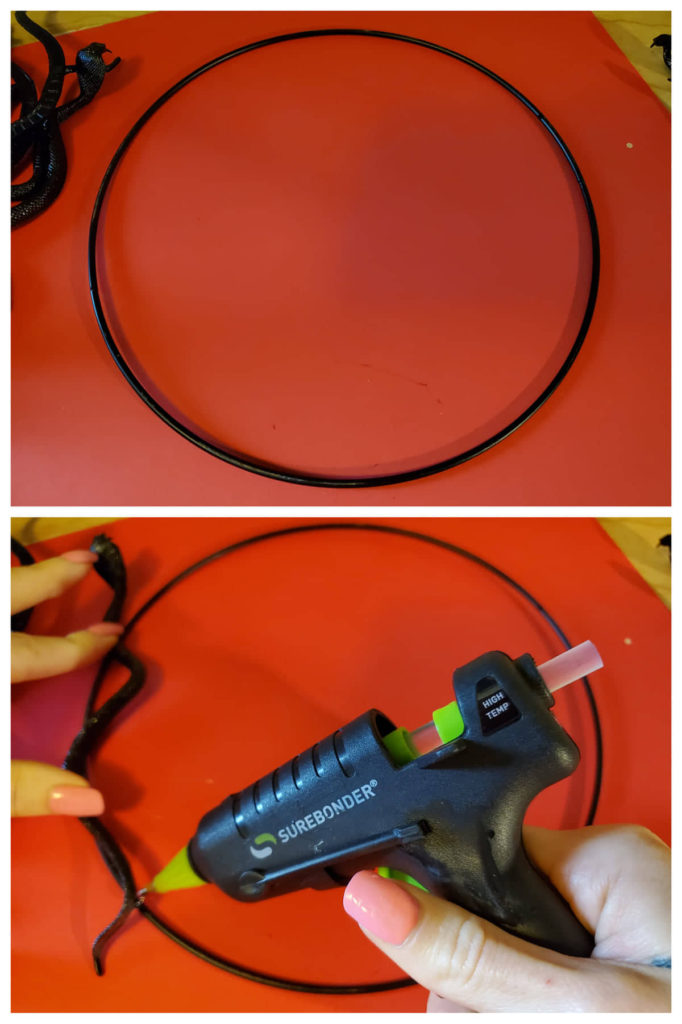
Get your glue gun going and set out your wire wreath ring on a flat work surface. Start by gluing down your first snake. You want to glue under every point on the wire ring that the snake comes in contact with. This will help keep the snakes secured better. Add another snake in a different spot on the wreath, again, gluing under every point of contact. When the snakes overlap, glue them together. Keep adding and overlapping your snakes until you are satisfied with your wreath!
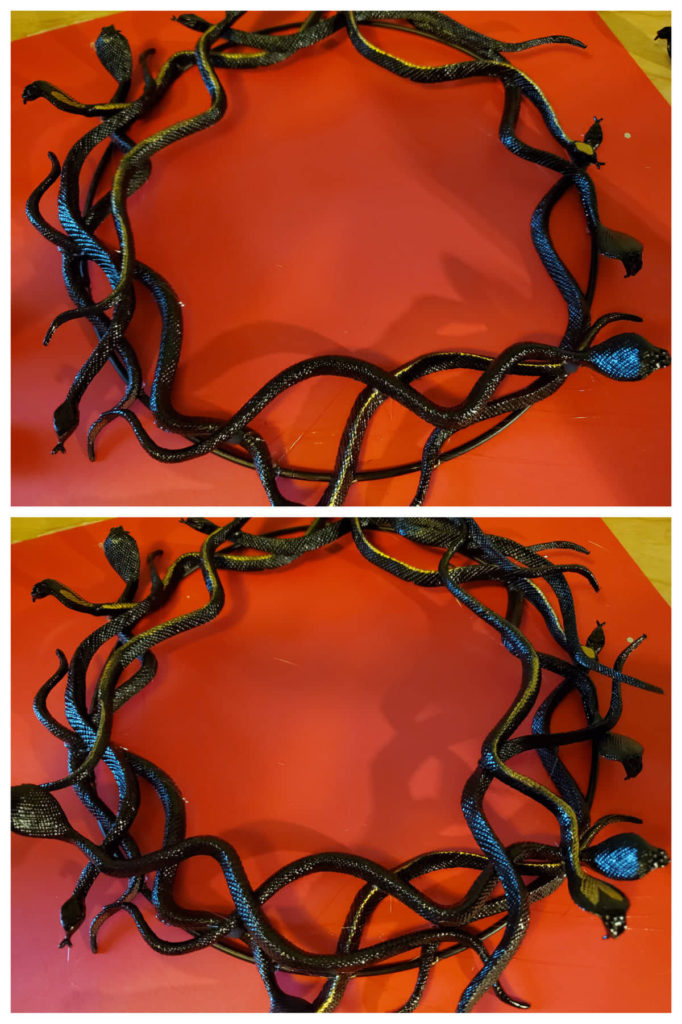
Step five: Finishing up
Clean any hot glue strings you may have. Hang that spooky work of Halloween art up for every trick or treater to see this season!
If you’ve got young creators at home and would like to incorporate some spookiness into their creative time, try these easy tutorials!
Yarn pumpkin crafts for kids! – https://tengemsdiy.com/how-to-make-yarn-pumpkin-crafts-for-kids/
Or these tissue paper pumpkin crafts for kids! – https://tengemsdiy.com/how-to-make-pumpkin-tissue-paper-crafts-for-kids/
We are a participant in the Amazon Services LLC Associates Program, and affiliate advertising program designed to provide a means for us to earn fees by linking to Amazon.com and affiliated sites.
