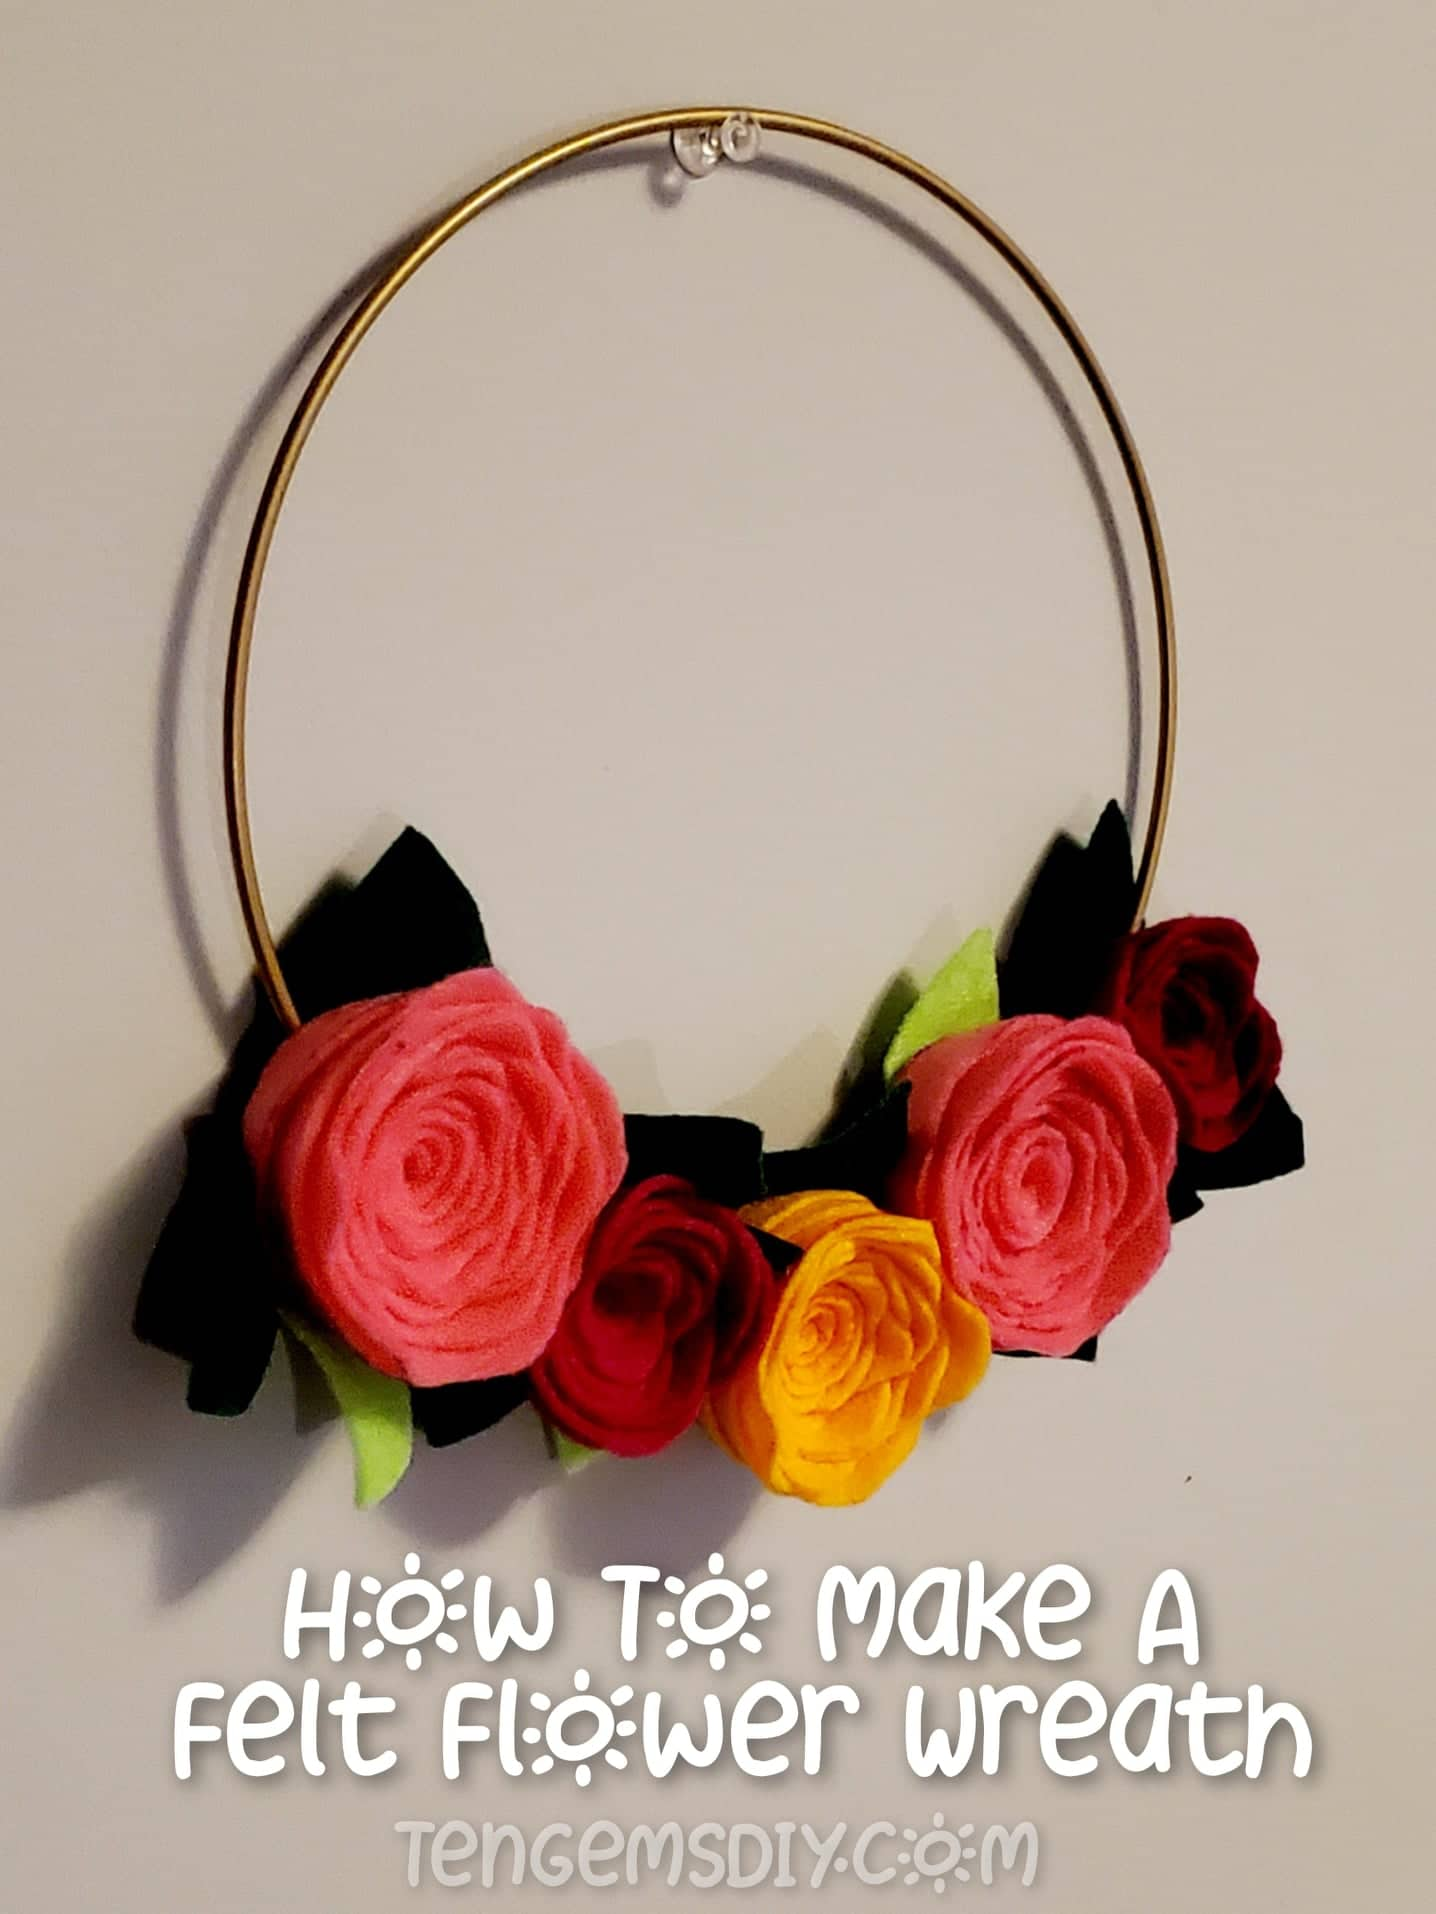
You’re here to learn how to make a felt flower wreath! I have already made the tutorial on how to make the easiest felt roses. We all know that easy crafts are the best crafts and these flowers are right there in that category. Wreaths are always going to be a timeless and beautiful accent to any home and they are wonderful gifts. Making your own wreaths feels so satisfying and they almost seem even prettier when they’re hand made. Here’s the tutorial on how to make the felt roses, then come right back to finish your wreath here! >> https://tengemsdiy.com/how-to-make-easy-felt-roses/
If you’re looking for other great wall art ideas for when you’re finished with this project, see these super fun tutorials!
How To Make DIY Retro Starburst Wall Art – https://tengemsdiy.com/how-to-make-diy-retro-starburst-wall-art/
How To Make Easy Canvas Cutout Art – https://tengemsdiy.com/how-to-make-easy-canvas-cutout-art/
Or How To Make Geometric Wall art – https://tengemsdiy.com/how-to-make-geometric-wall-art/
TenGemsDIY is a DIY and craft blog. Some of our posts contain affiliate links for products we have tried and recommend. While clicking the links will not cost any money, we may receive a commission for items purchased, which helps keep our website up and running. Here is the privacy policy for more information: https://tengemsdiy.com/?page_id=3
Supplies you’ll need for your felt flower wreath and where to pick them up:
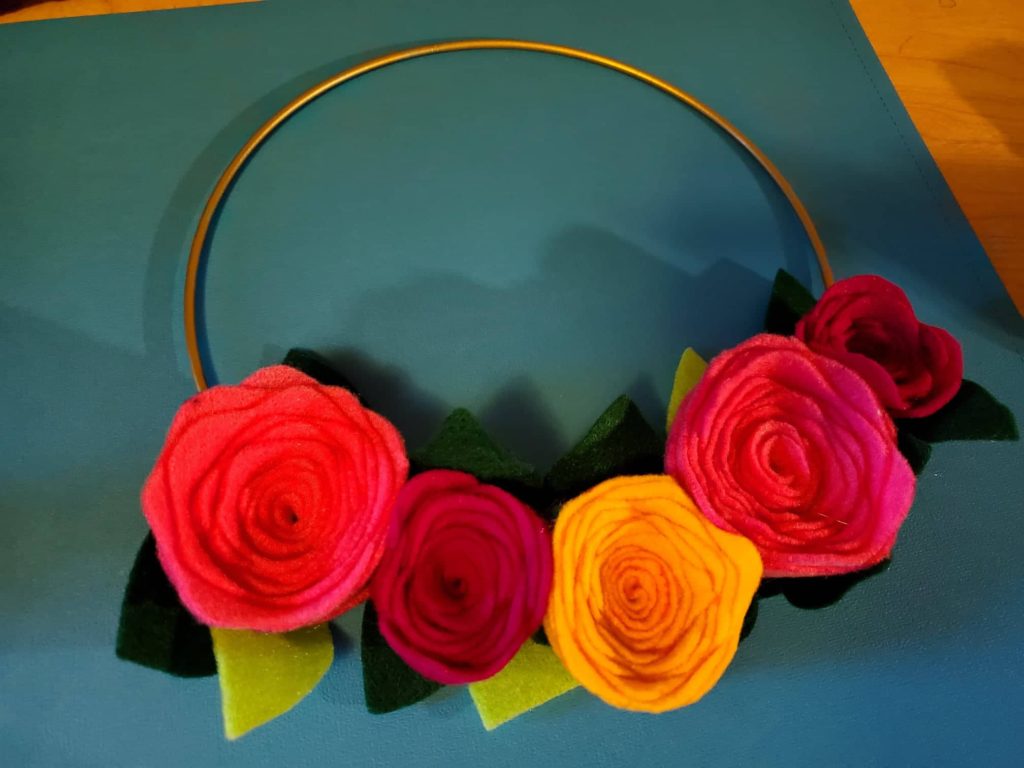
- Premade felt flowers – This wreath used five flowers – https://tengemsdiy.com/how-to-make-easy-felt-roses/
- One wire wreath ring – I used an 8 inch wreath ring for this wreath – https://amzn.to/3k1k31N
- Hot glue gun – https://amzn.to/3k2V4ez
- Green felt for leaves – https://amzn.to/3wAhWEG
- Fabric scissors – Fiskars will always be my first choice – https://amzn.to/3e5CG0N
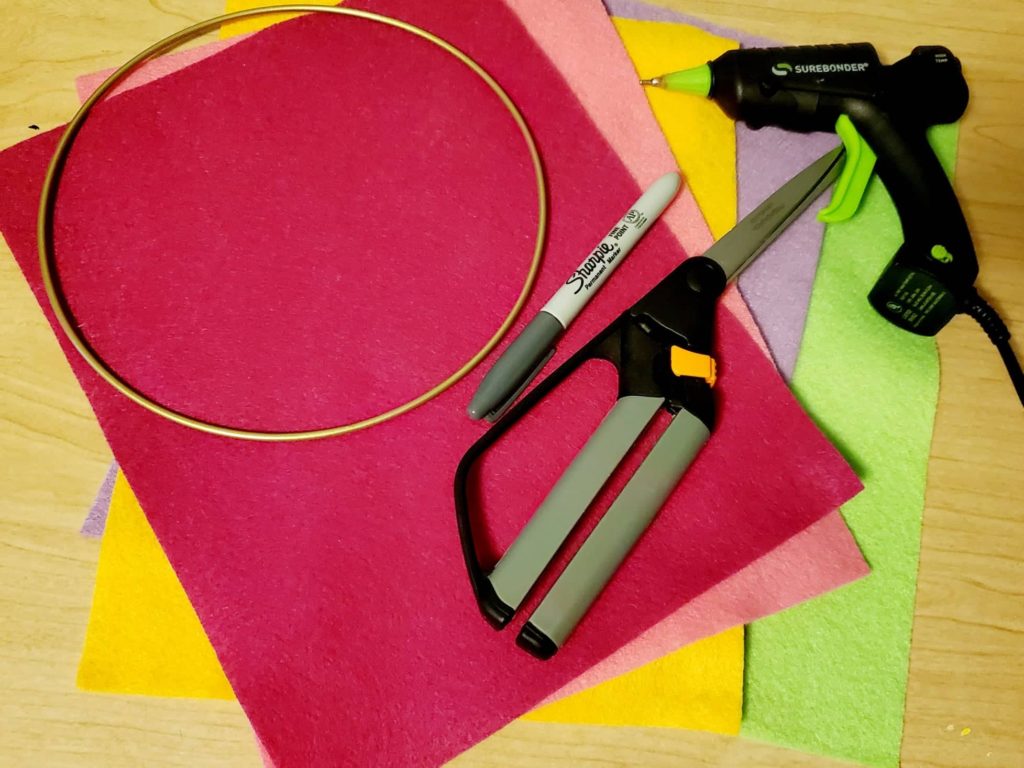
Step one: Getting your flowers ready
This is just the part where you gather everything you may need for your felt flower wreath. I mave made five felt flowers with the tutorial that was previously linked. You can absolutely use more or less. This is your wreath and it should reflect your creativity!
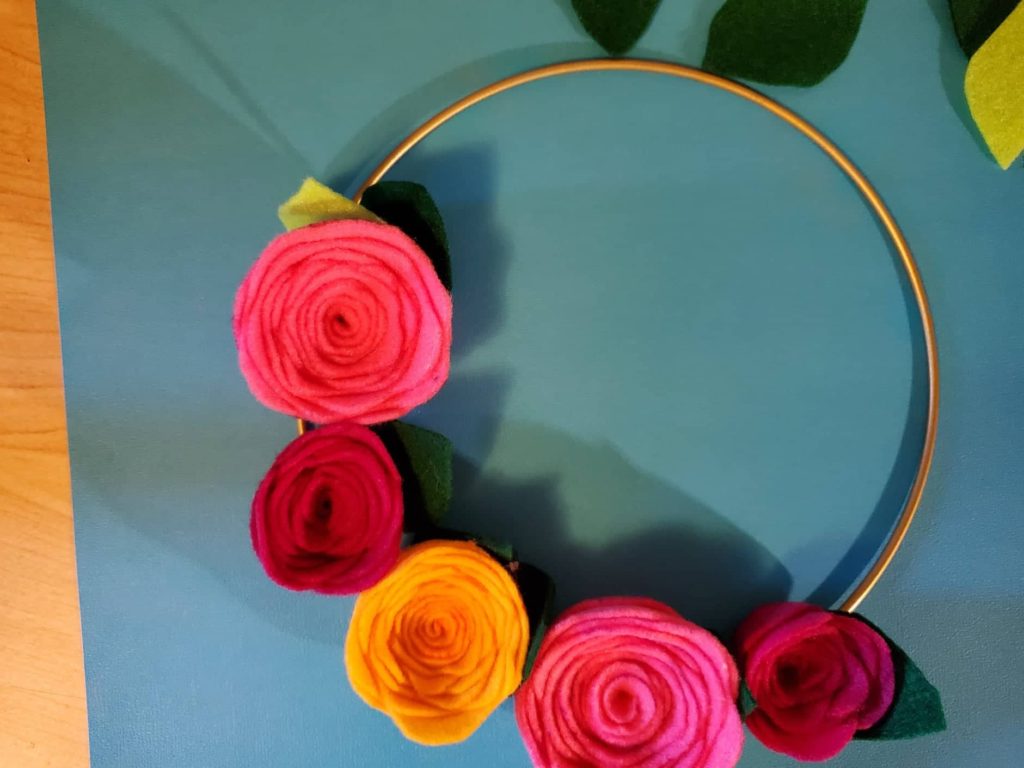
I like to lay all of my flowers out before I commit to gluing anything down. This gives the opportunity to make sure I like where everything is or if I need to go back and fix anything.
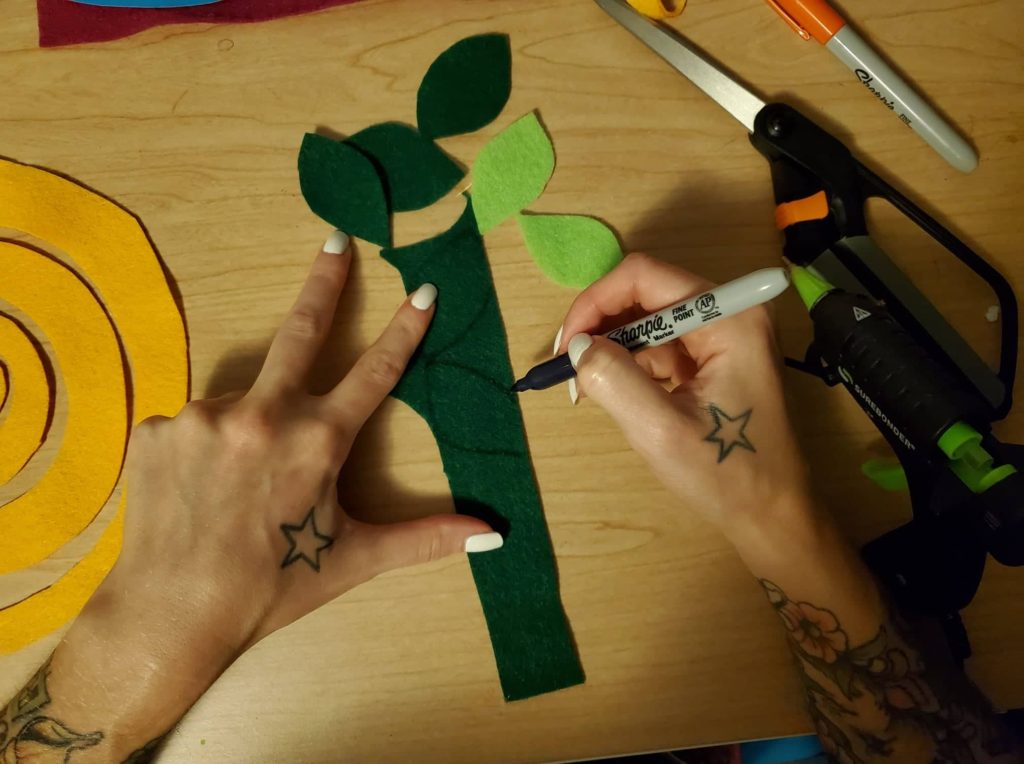
Step two: Cut out some extra leaves
Use your extra green felt and fabric scissors to cut out a handful of green leaves. These will be used later to cover the back of the wreath and help secure the flowers.
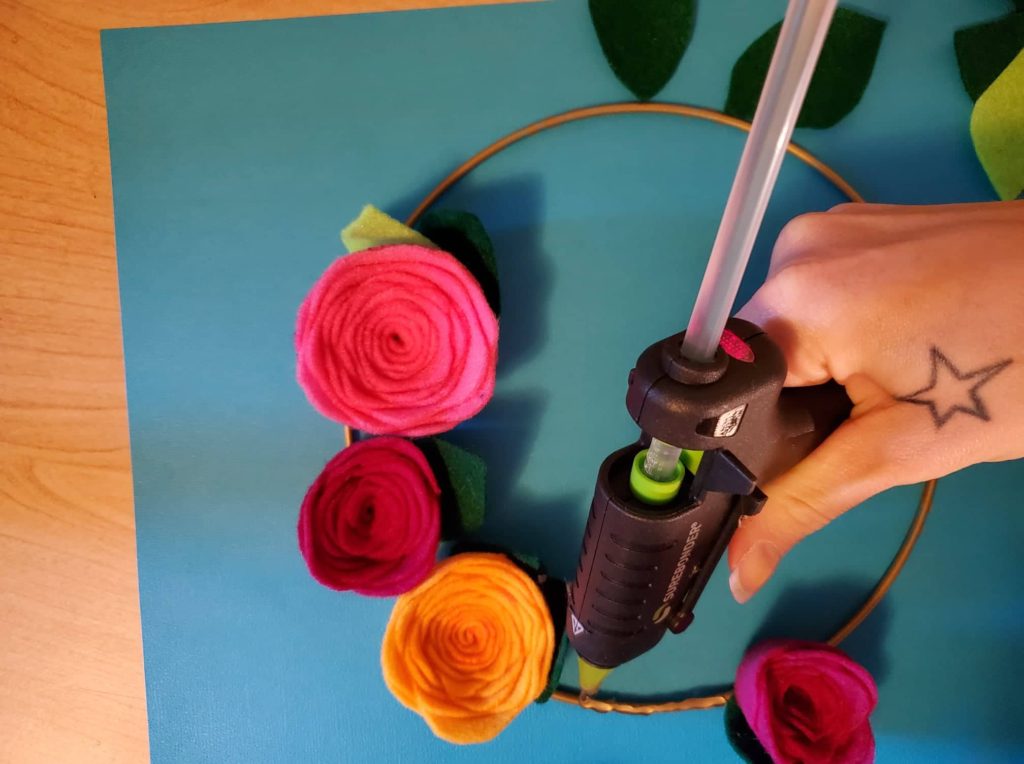
Step three: Getting gluey
After your hot glue gun is nice and hot, lift one flower at a time and glue directly on to the wire wreath frame where you want your flower to be. Press it back on firmly and let it cool for a few seconds. Move on to the next flower and repeat. Glue down all of the flowers and let them cool.
Step four: Covering the back
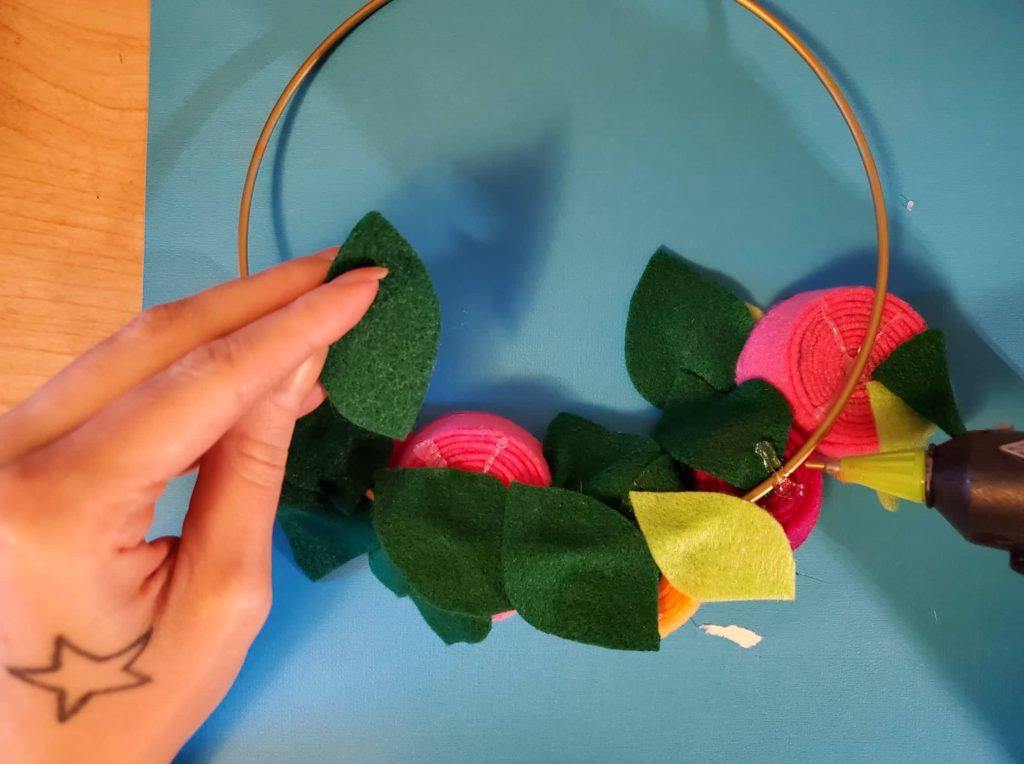
If you flip the wreath over, it might be a little messy on the back. Keep your glue gun plugged in and here you’ll use your extra leaves to cover the back and secure the roses. Glue over the wire wreath ring and onto the back of your rose and lay a leaf over the glue.
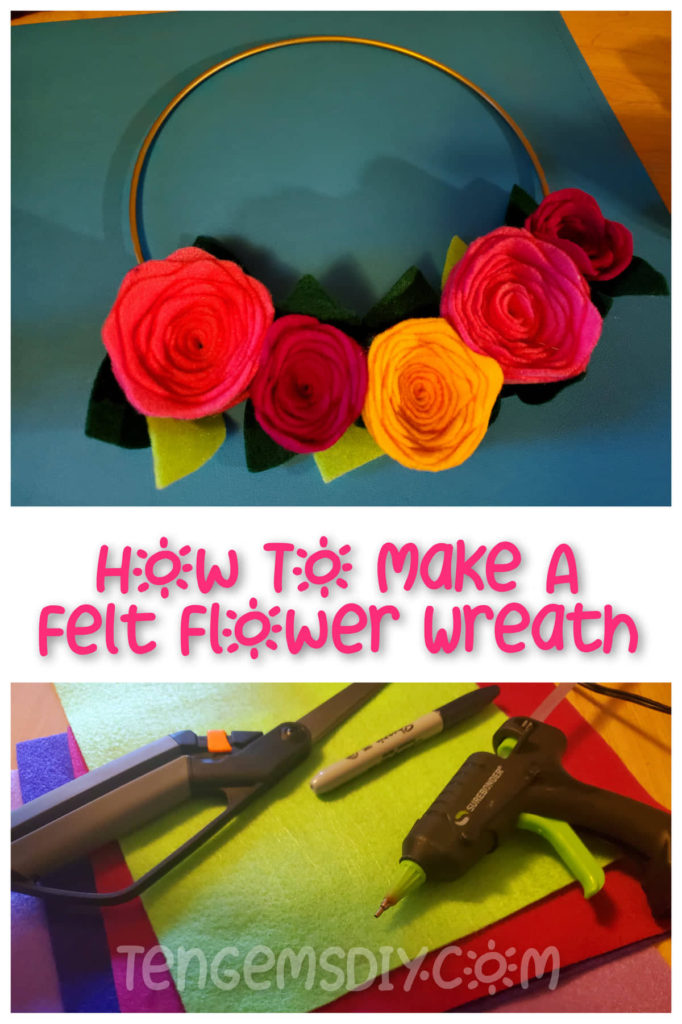
The last step is finding the perfect spot to display your felt flower wreath! It can be a difficult choice because your wreath will look beautiful anywhere!
We are a participant in the Amazon Services LLC Associates Program, and affiliate advertising program designed to provide a means for us to earn fees by linking to Amazon.com and affiliated sites.
