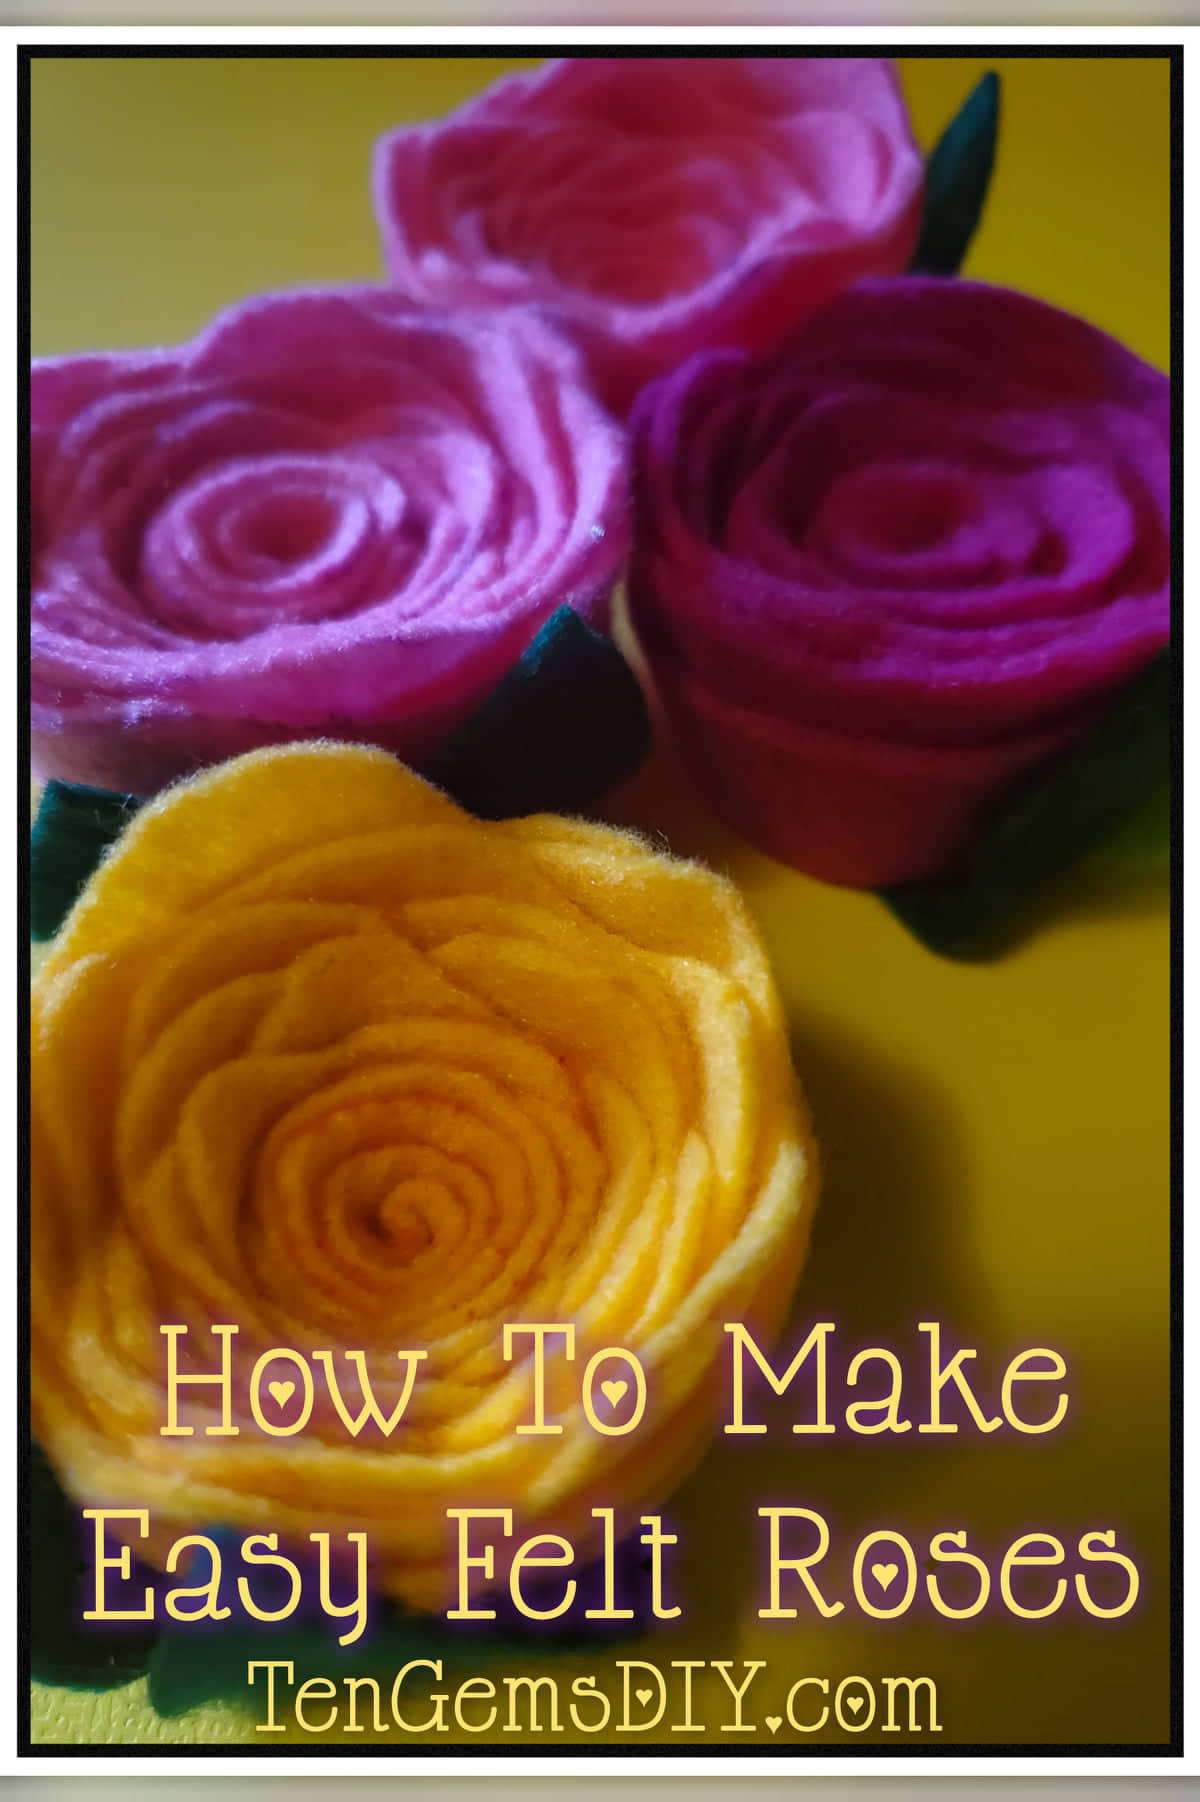
Here I want to show you how to make easy felt roses. Roses will forever be an iconic flower. Beautiful blooms are loved in every color for every occasion. And it’s even better when your pretty flowers don’t die on you. The felt used to make these handmade roses gives them dimension and makes them sturdy. The tutorial is fairly short and painless which makes it even more fun! If you’re looking for an idea for how to use your felt roses when you’re done, check out this tutorial on how to make a felt flower wreath! https://tengemsdiy.com/how-to-make-a-felt-flower-wreath/
TenGemsDIY is a DIY and craft blog. Some of our posts contain affiliate links for products we have tried and recommend. While clicking the links will not cost any money, we may receive a commission for items purchased, which helps keep our website up and running. Here is the privacy policy for more information: https://tengemsdiy.com/?page_id=3
Here are the supplies you’ll need for your felt roses and where to pick them up:
- Felt in various colors – https://amzn.to/36j1bmR
- Hot glue gun – Forever my favorite brand – https://amzn.to/36cV2ID
- Markers – I try to use a variety of colors – https://amzn.to/36j18rb
- Paper – a sheet of copy paper will work just fine
- Fabric scissors – https://amzn.to/3xl9TwM – Fiskars is a durable and great brand!
- Scissors – https://amzn.to/3AweRZG

Step one: Cutting out some nice little leaves
Use a green or different shades of green to cut out a few leaves for your rose. I like to use at least two per rose.
Step two: Making your stencil for the rose base
This is the first step where you’ll use your paper to make a stencil. A stencil makes it easy to trace multiple rose bases. Start with a swirl as pictured here. It will look like a spiral with the outermost edge being wavy. The wavy side will result in petals later! The spiral base shown here is about eight inches across. Cut out your rose base stencil.
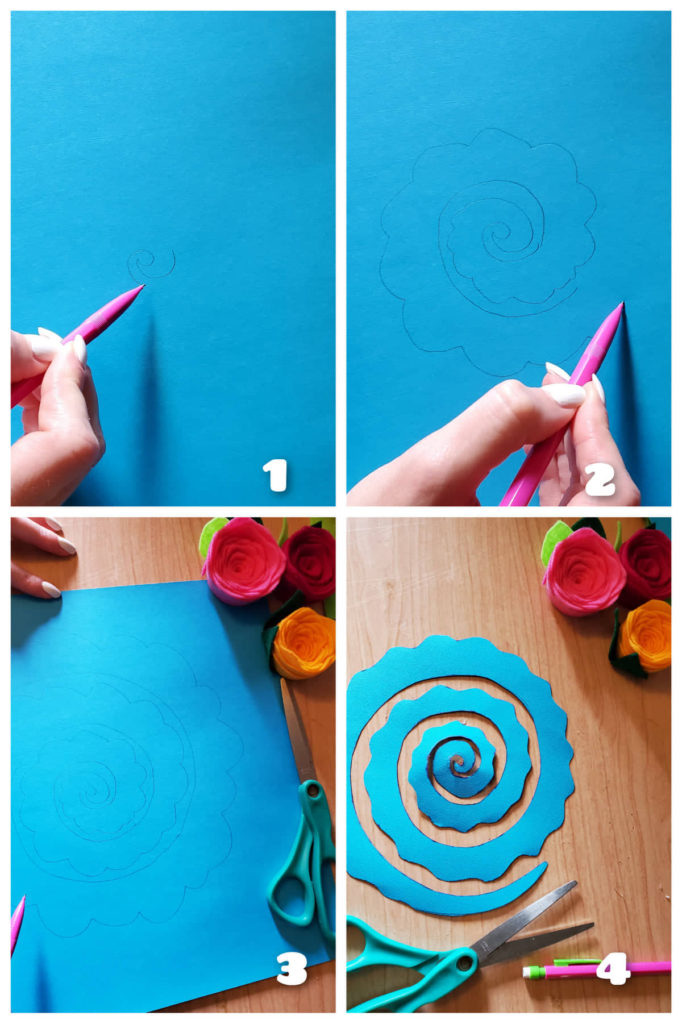
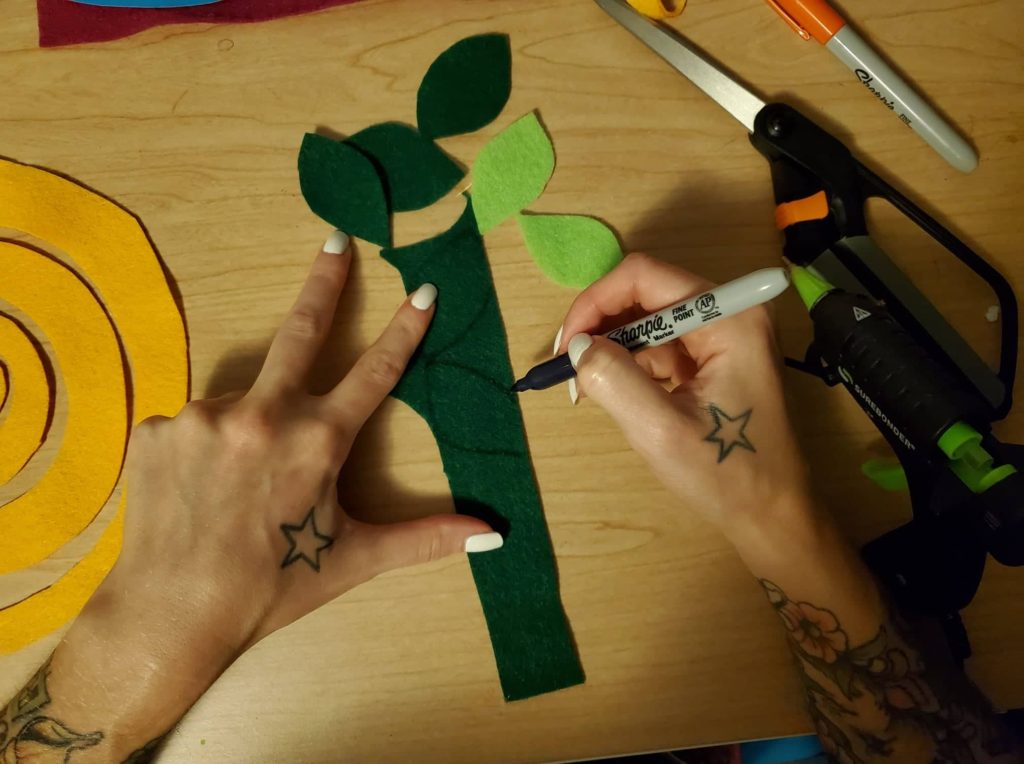
Step three: Putting the stencil to use!
Use your new rose stencil to trace your first rose base swirl. I like to use a marker that is a similar color to the felt I’ve used. It just irks me a little to have dark colored marker on my light colored felt. I like to keep a stash of various colored markers nearby when I make flowers. When you trace, it doesn’t have to be perfect. Just as long as you have a good idea of where you need to be cutting.

Step four: Get your fabric scissors for this one
The reason I say fabric scissors are so important here is because felt can be a pain to cut with dulled everyday-use scissors, partly because it is so thick. Fabric scissors like the ones I’ve linked to in the supply list keep their sharpness and cut easily through tough, fibrous fabrics like felt.
Cut your rose swirl out and lay it out nicely after cleaning any loose trimmings away.
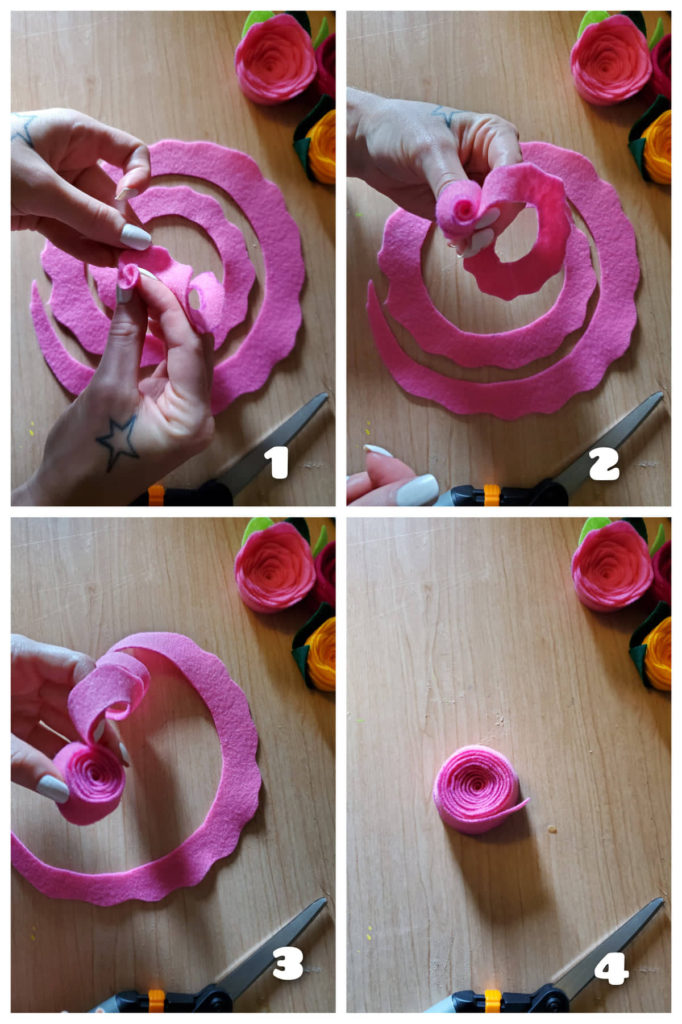
Step five: Making your felt rose
After you’ve laid the rose swirl out, take it from the center and start to wrap the felt around itself. Wrap all of it up until you have to more. The felt will stick to itself, but use your handy mini glue gun to secure the end of the rose so it doesn’t come unraveled. While your glue gun is still hot, this is a good time to add leaves to the bottom of the rose. I like to glue some of the leaf to the bottom of the rose, and let it come up the side so it has a natural look to it.
You can use these roses all over your home and even as the focal point in other projects! Your roses are beautiful and I would love to see how you have used them!
We are a participant in the Amazon Services LLC Associates Program, and affiliate advertising program designed to provide a means for us to earn fees by linking to Amazon.com and affiliated sites.